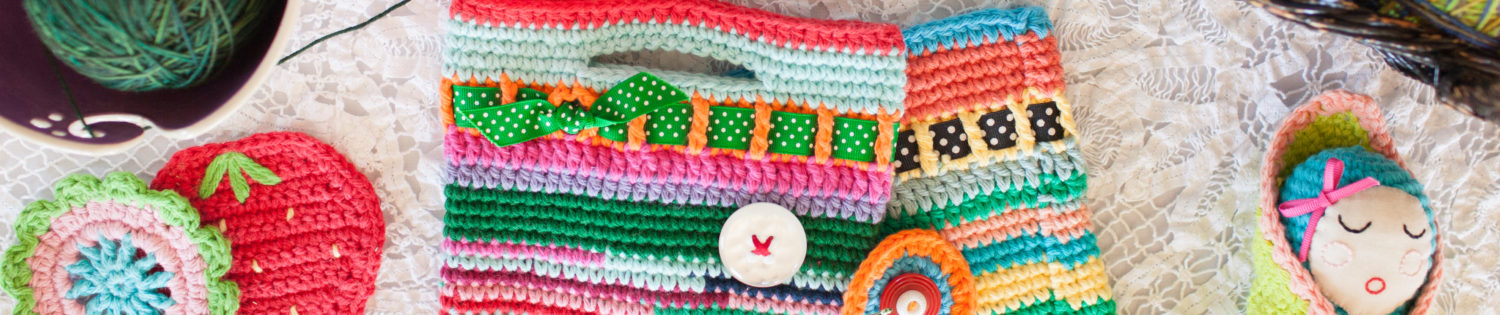

As you know, I crochet tons of stuff and I sew buttons to most all of it; mostly because buttons make everything better, right? Agreed. So, I wanted to show how I sew buttons onto my finished crochet projects because it’s not the same as sewing onto more solid fabrics and I’ve got a style to share that I’m really happy with. Hopefully it will come in handy for you too!
I usually use thread that matches my yarn so the thread does not show on the back of the project, but for this, I’m using a contrasting thread so it shows up in the photos.
Here goes… Thread your needle with a thread color that will blend with your yarn color, but don’t knot it. You don’t want to bother with knots because they will likely slip through a gap in the crochet.
On the back side of the project, slip your needle through a few of the crochet strands.

Pull the thread through until the tail is nearly gone.

Now, you’re going to basically wrap the thread around a single strand of yarn a few times to secure it. So, slip your needle under the strand of yarn next to where your thread has emerged.

Then, slip your needle under that same strand again the same way and pull it tight.

Now, do that a couple more times.


So, you’ve basically just made your knot and now your thread is secured. Put your needle through to the front at the location you want to sew your button.

Put your button on your needle and proceed to sew it onto the project.


Finish with your needle at the back. Now, you can sew more buttons or finish off. If you’re sewing more buttons, you don’t have to start all over, simply slide your needle under some yarn strands until it’s in position for the next button and sew it on.

I’ll show how I like to finish off, but first, here’s how I like to sew buttons with a shank at the back onto crochet.
For this type of button, place it where you want it and push the shank through between two crochet stitches so the shank shows through at the back of the project. Slip your needle through the shank, picking up a strand of yarn on either side of the shank as well. All your work is done on the back of the project for this type of button.

Take a few more stitches like this until your button is secure.


Now you’re ready to finish off. Loop the thread under a single yarn strand at the back of the crochet work.

Loop it through a few more times.

Then, slip your needle under a few strands of yarn and pull snug.

Then, snip your thread.

You’re done and your buttons and thread ends are secure and hidden.
 Bite-Size Candy Corn
 Chocolate Valentine Truffle and Wrapper
 Christmas Tree Coasters
 Crochet Tissue Cozy
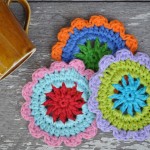 Cute Cotton Coasters
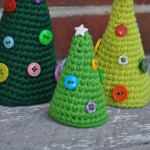 Cute Little Christmas Trees
 July 4th Pennant Bunting
 Mini Frankenstein
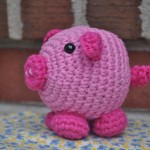 Petunia the Palm-Size Pig
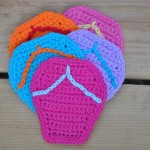 Summertime Flip Flop Coasters
 Super Fun Bean Bags
 Sweet Strawberry Coaster
 Teeny Tiny Apple Sweater
 Tic-Tac-Toe Travel Game
6 Responses to Sewing Buttons onto Finished Crochet