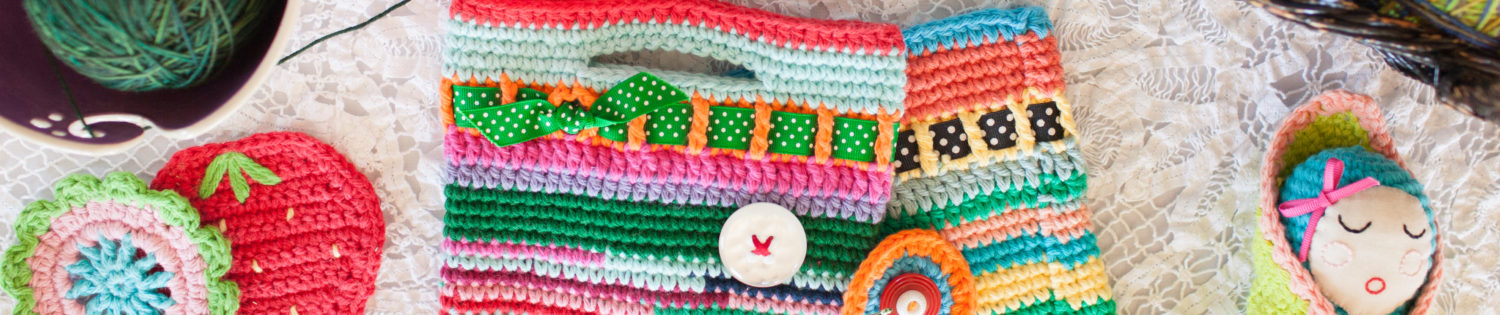

Materials:
U.S. size 9 or ‘I’ hook
Cotton worsted weight yarn (Lily Sugar ‘n Cream)
Yarn needle
7″ piece of 3/8″ wide grosgrain ribbon
One button (3/4″ vintage plastic shown)
Needle and thread for sewing button
Here’s my simple pattern for a cute little personal tissue holder:
Make a chain-free single crochet foundation of 18 stitches – Future Girl provides a great tutorial here for chain-free foundations – (or, if you don’t do chain-free foundations, simply chain 19 and make a single crochet row of 18 stitches beginning in the second chain from hook); ch 1, turn (at the end of each row, chain 1 before turning).
Here is a photo of my chain-free foundation (it curls a little more than a chain foundation, but it straightens out as you add more rows).

Rows 2-19: Sc in ea st to end of row (18 sts)
(at the end of row 19, chain 3 for the turning chain)

Row 20: Dc in ea st to end of row (18 sts)

Row 21: Sc in ea st to end of row (18 sts)

Leave a long tail approximately 36 inches in length and fasten off; do not weave in end.
Weave the ribbon through the double crochet row, ensuring that the ribbon ends go over the outside double crochet posts instead of under them.

Fold the ribbon ends under your work and sew the ribbon to itself using a coordinating thread that will blend in with the ribbon color. I use my sewing machine and I back stitch a couple of times to make it secure.

Here’s the underside.

Next, sew the button in place over the second double crochet post in from one side (there should be 9 posts showing on the front).

Fold the top and bottom edges toward the center of the piece so the bottom is folded up approximately 1 1/2″.

And the top edge is folded approximately 2″.

There should be an overlap of about an inch.

Next, using a yarn needle, sew up the sides with the long tail you left.

Be sure to sew through all three layers where they overlap.

When you get to the end of one side, weave your yarn all the way across the bottom or top edge to the other side instead of cutting it and starting over. The side sewing should all be one continuous strand.


When you’re done stitching the sides, weave your end all the way across the top or bottom edge of the project to secure it and then trim the end.

Put some tissue inside and you’re done!

 Bite-Size Candy Corn
 Chocolate Valentine Truffle and Wrapper
 Christmas Tree Coasters
 Crochet Tissue Cozy
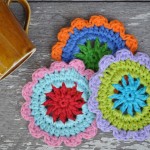 Cute Cotton Coasters
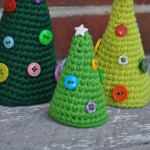 Cute Little Christmas Trees
 July 4th Pennant Bunting
 Mini Frankenstein
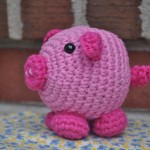 Petunia the Palm-Size Pig
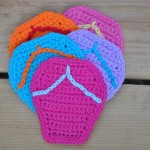 Summertime Flip Flop Coasters
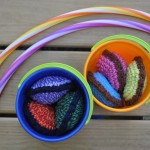 Super Fun Bean Bags
 Sweet Strawberry Coaster
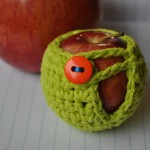 Teeny Tiny Apple Sweater
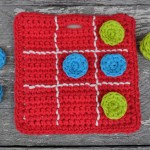 Tic-Tac-Toe Travel Game
Pingback: Crochet Tissue Cozy Pattern | | Fiber Arts | Scoop.it