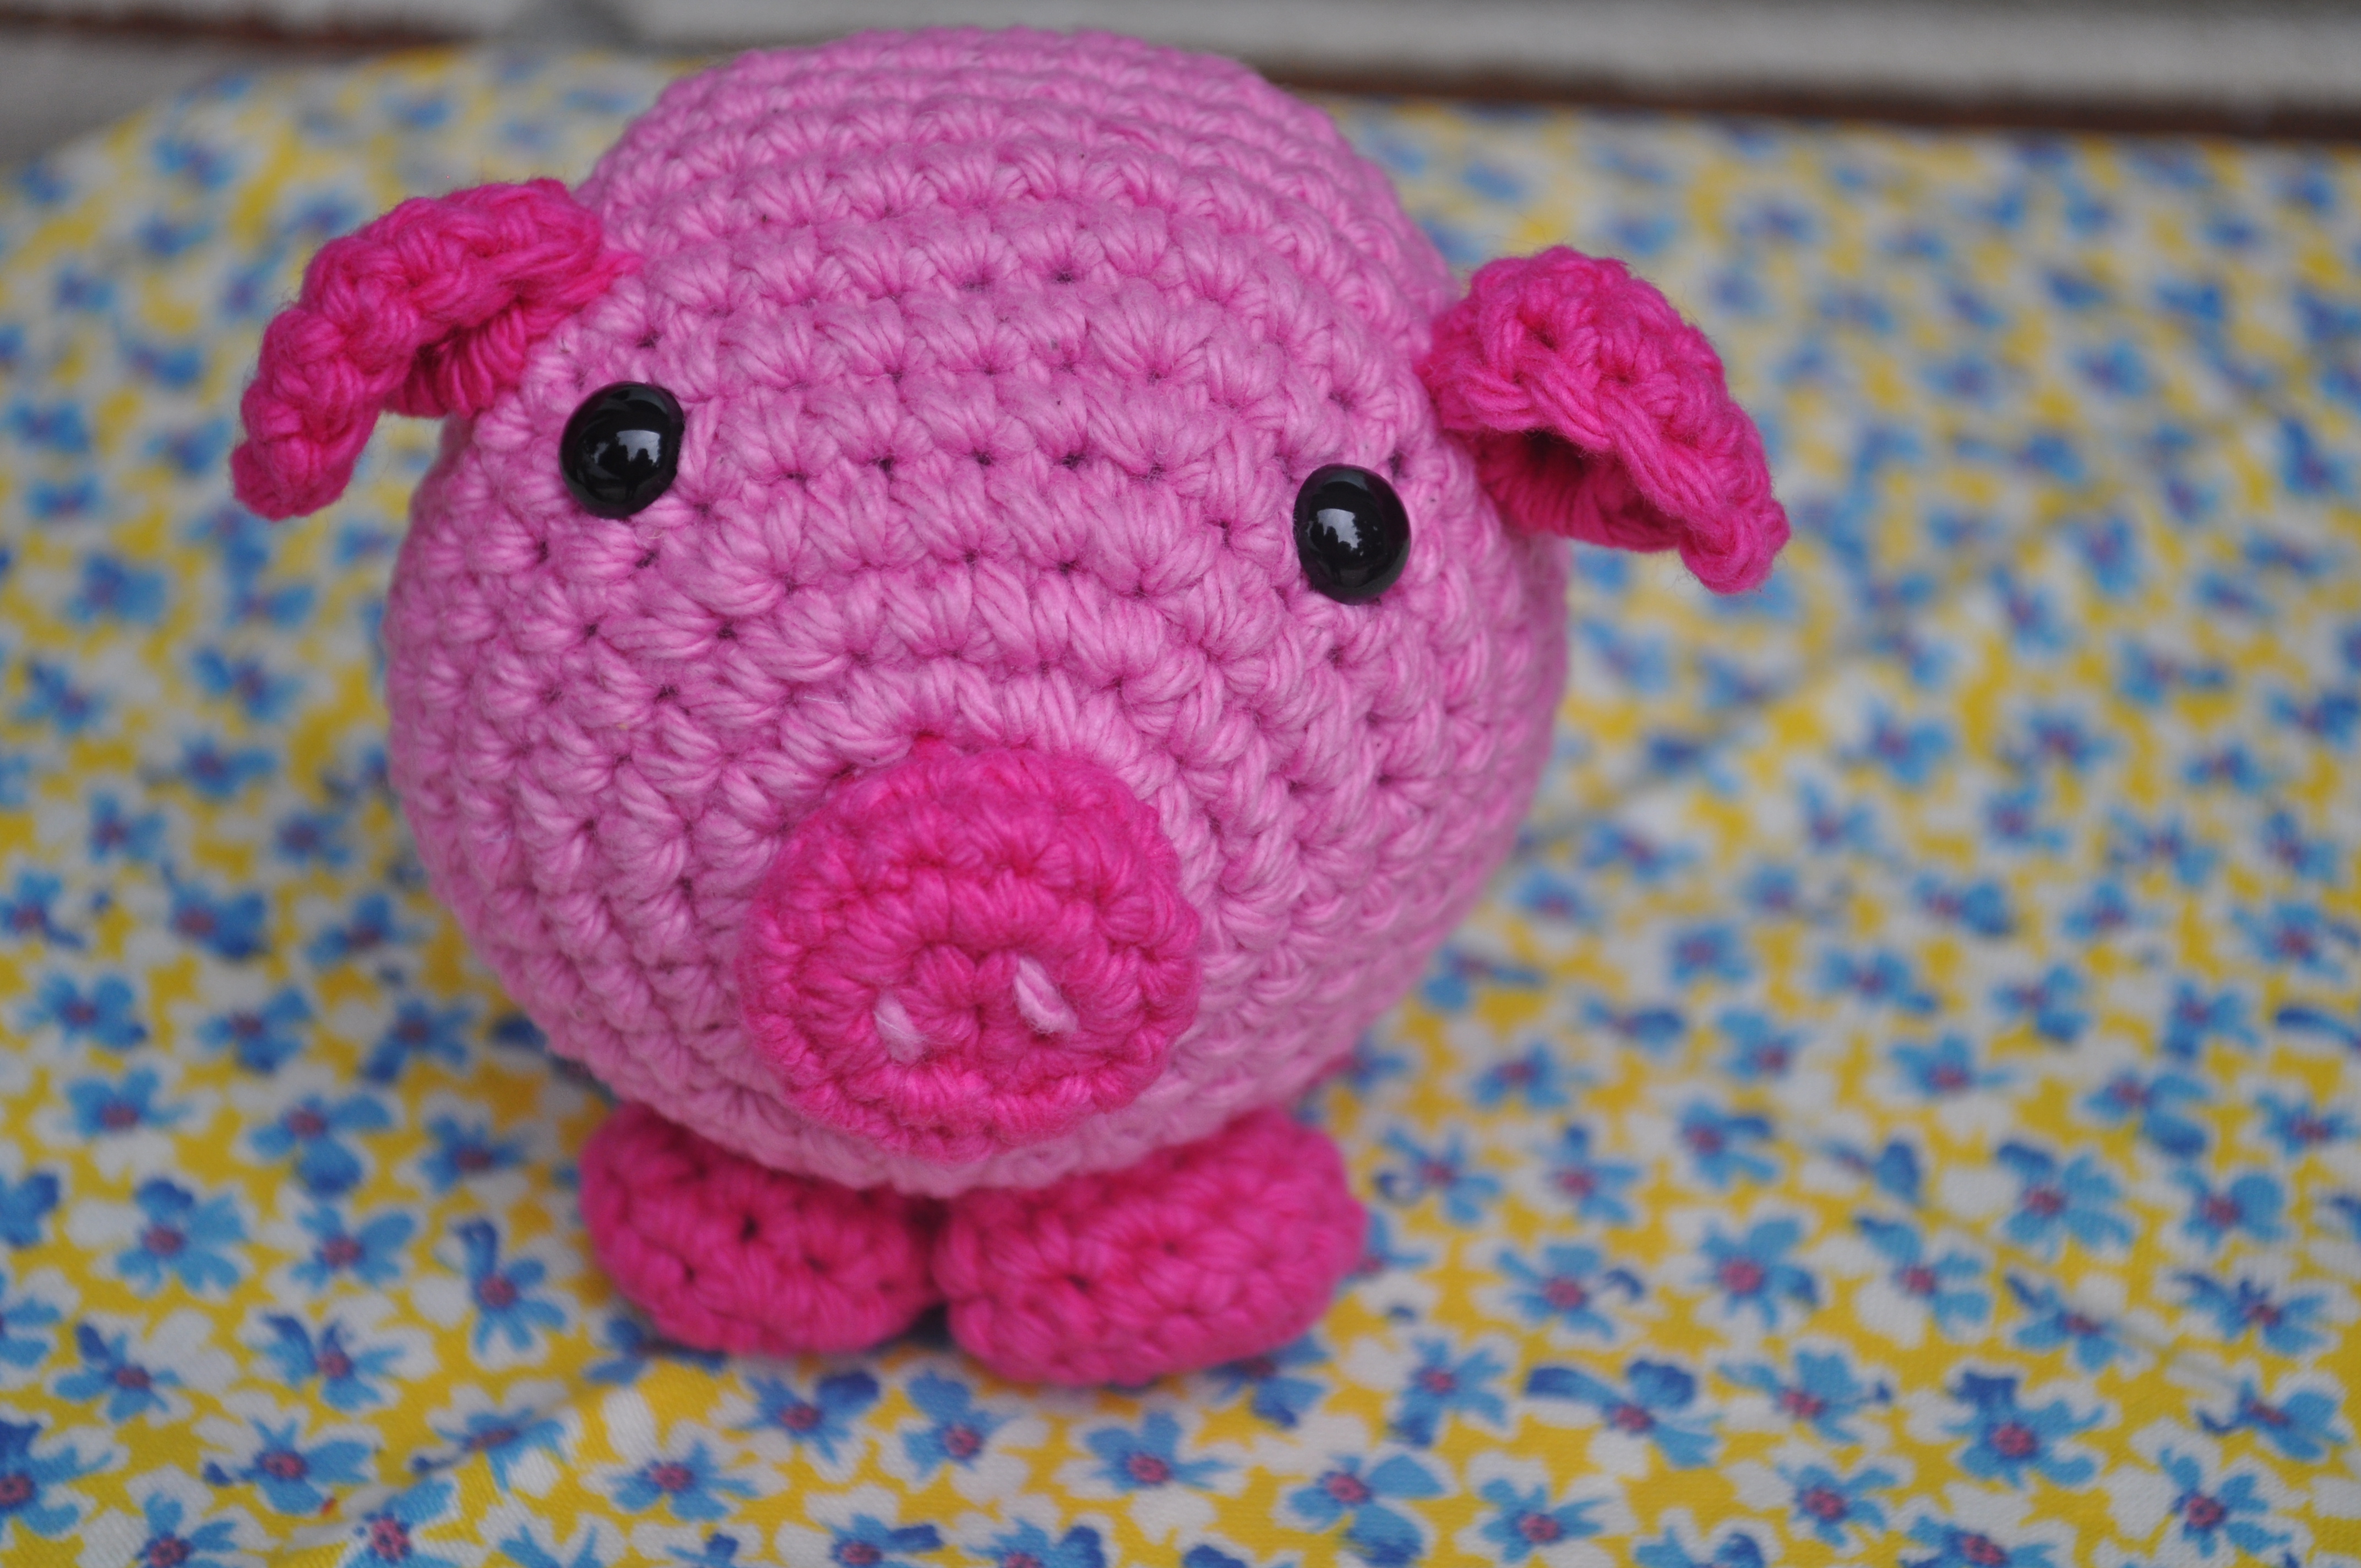
I made a cute little palm-size pig. Named her Petunia. Alliterations. I like them.
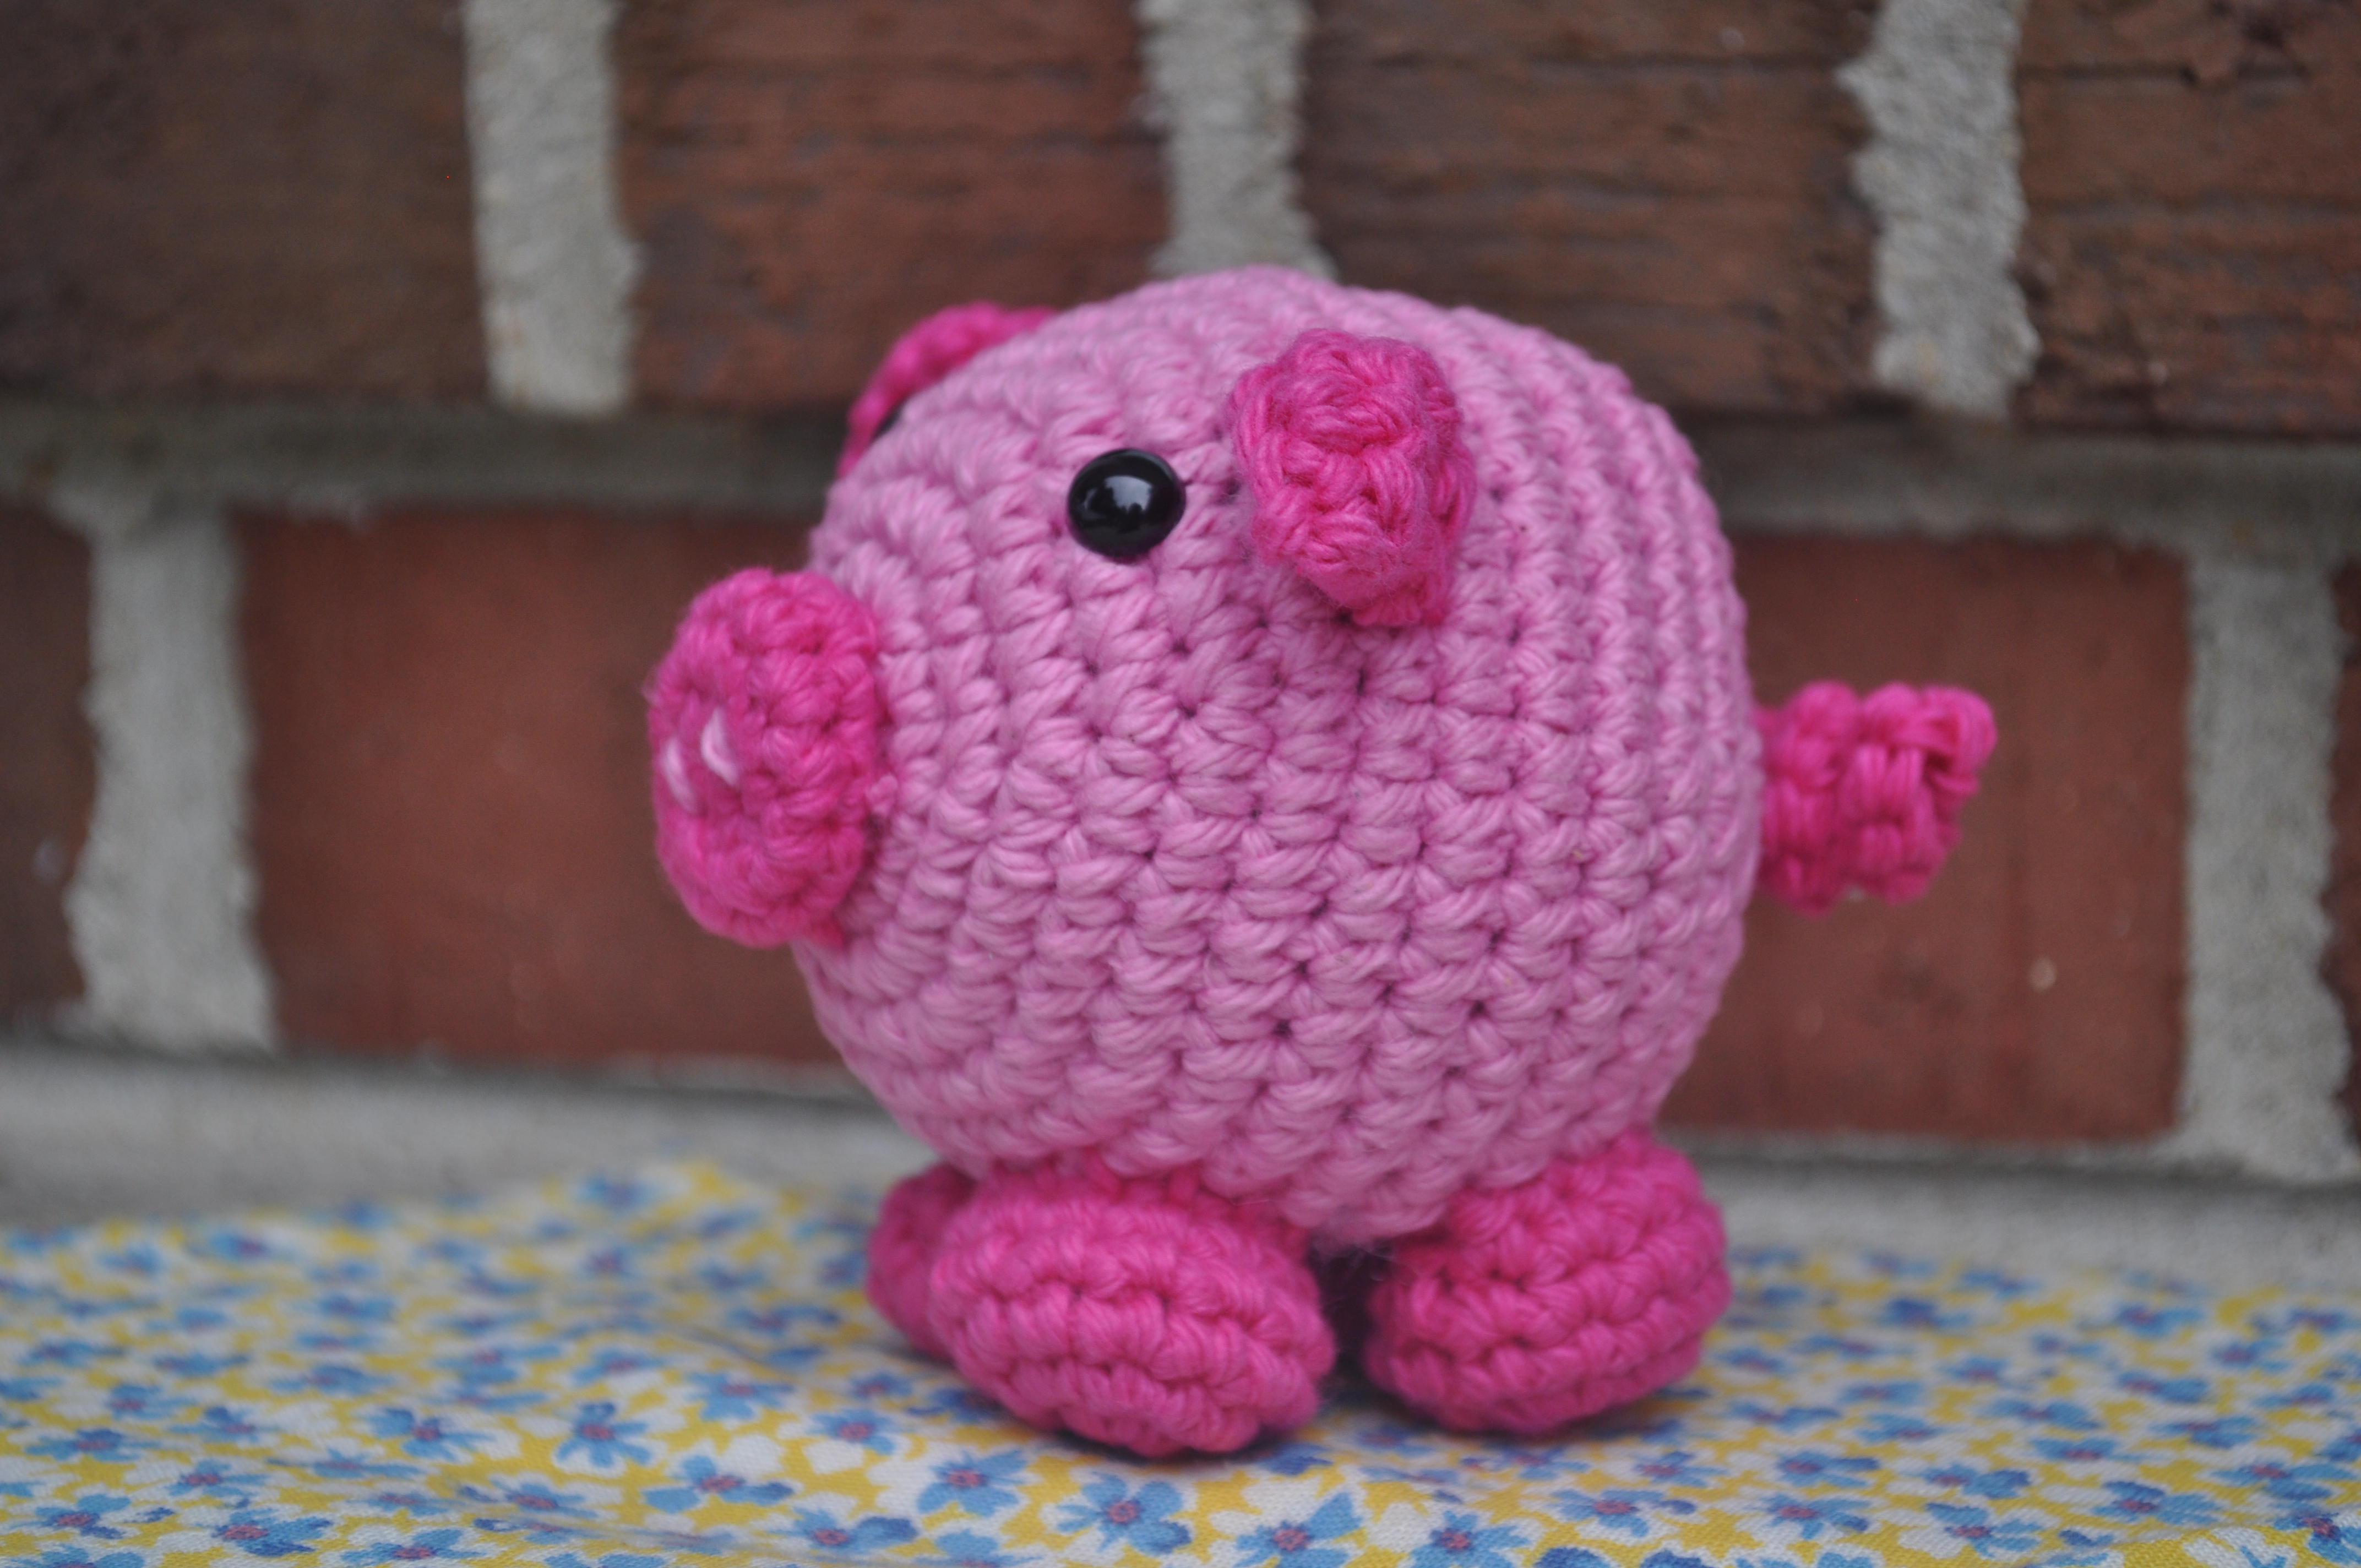
This pig is very simple and the only part that actually has stuffing is the body. I did not stuff the snout or legs. Also, the worst part about amigurumi for me is sewing legs onto bodies so that they stand up…I hate it. But on this one, the body is so compact that you really just need to squish all the legs together and the pig will stand just fine.

Here’s what you’ll need to make this cute pig:
Light pink yarn
Dark pink yarn
G hook
Blunt needle
9 mm Safety eyes
Stuffing
A tiny bit of patience for attaching all the small parts…
Note: Pattern is worked in continuous rounds; do not join.
Head/body:
With lighter yarn, make an adjustable loop
Rnd 1: 6 sc in loop, pull loop closed (6sc)
Rnd 2: 2 sc in each of next 6 sts (12sts)
Rnd 3: (1 sc in next st, 2 sc in next st) 6 times (18 sts)
Rnd 4: (1 sc in next two sts, 2 sc in next st) 6 times (24 sts)
Rnd 5: (1 sc in next three sts, 2 sc in next st) 6 times (30 sts)
Rnd 6: (1 sc in next four sts, 2 sc in next st) 6 times (36 sts)
Rnd 7: (1 sc in next five sts, 2 sc in next st) 6 times (42 sts)
Rnds 8-12: 1 sc in ea st around (42 sts)
Fasten safety eyes using the beginning loop as the reference for the snout.
Rnd 13: (1 sc in next five sts, sc2tog) 6 times (36 sts)
Rnd 14: (1 sc in next four sts, sc2tog) 6 times (30 sts)
Rnd 15: (1 sc in next three sts, sc2tog) 6 times (24 sts)
Rnd 16: (1 sc in next two sts, sc2tog) 6 times (18 sts)
Rnd 17: (1 sc in next st, sc2tog) 6 times (12 sts)
Finish stuffing
Rnd 18: sc2tog 6 times (6 sts)
Fasten off, leaving a tail for gathering the remaining six stitches closed and weave in end.
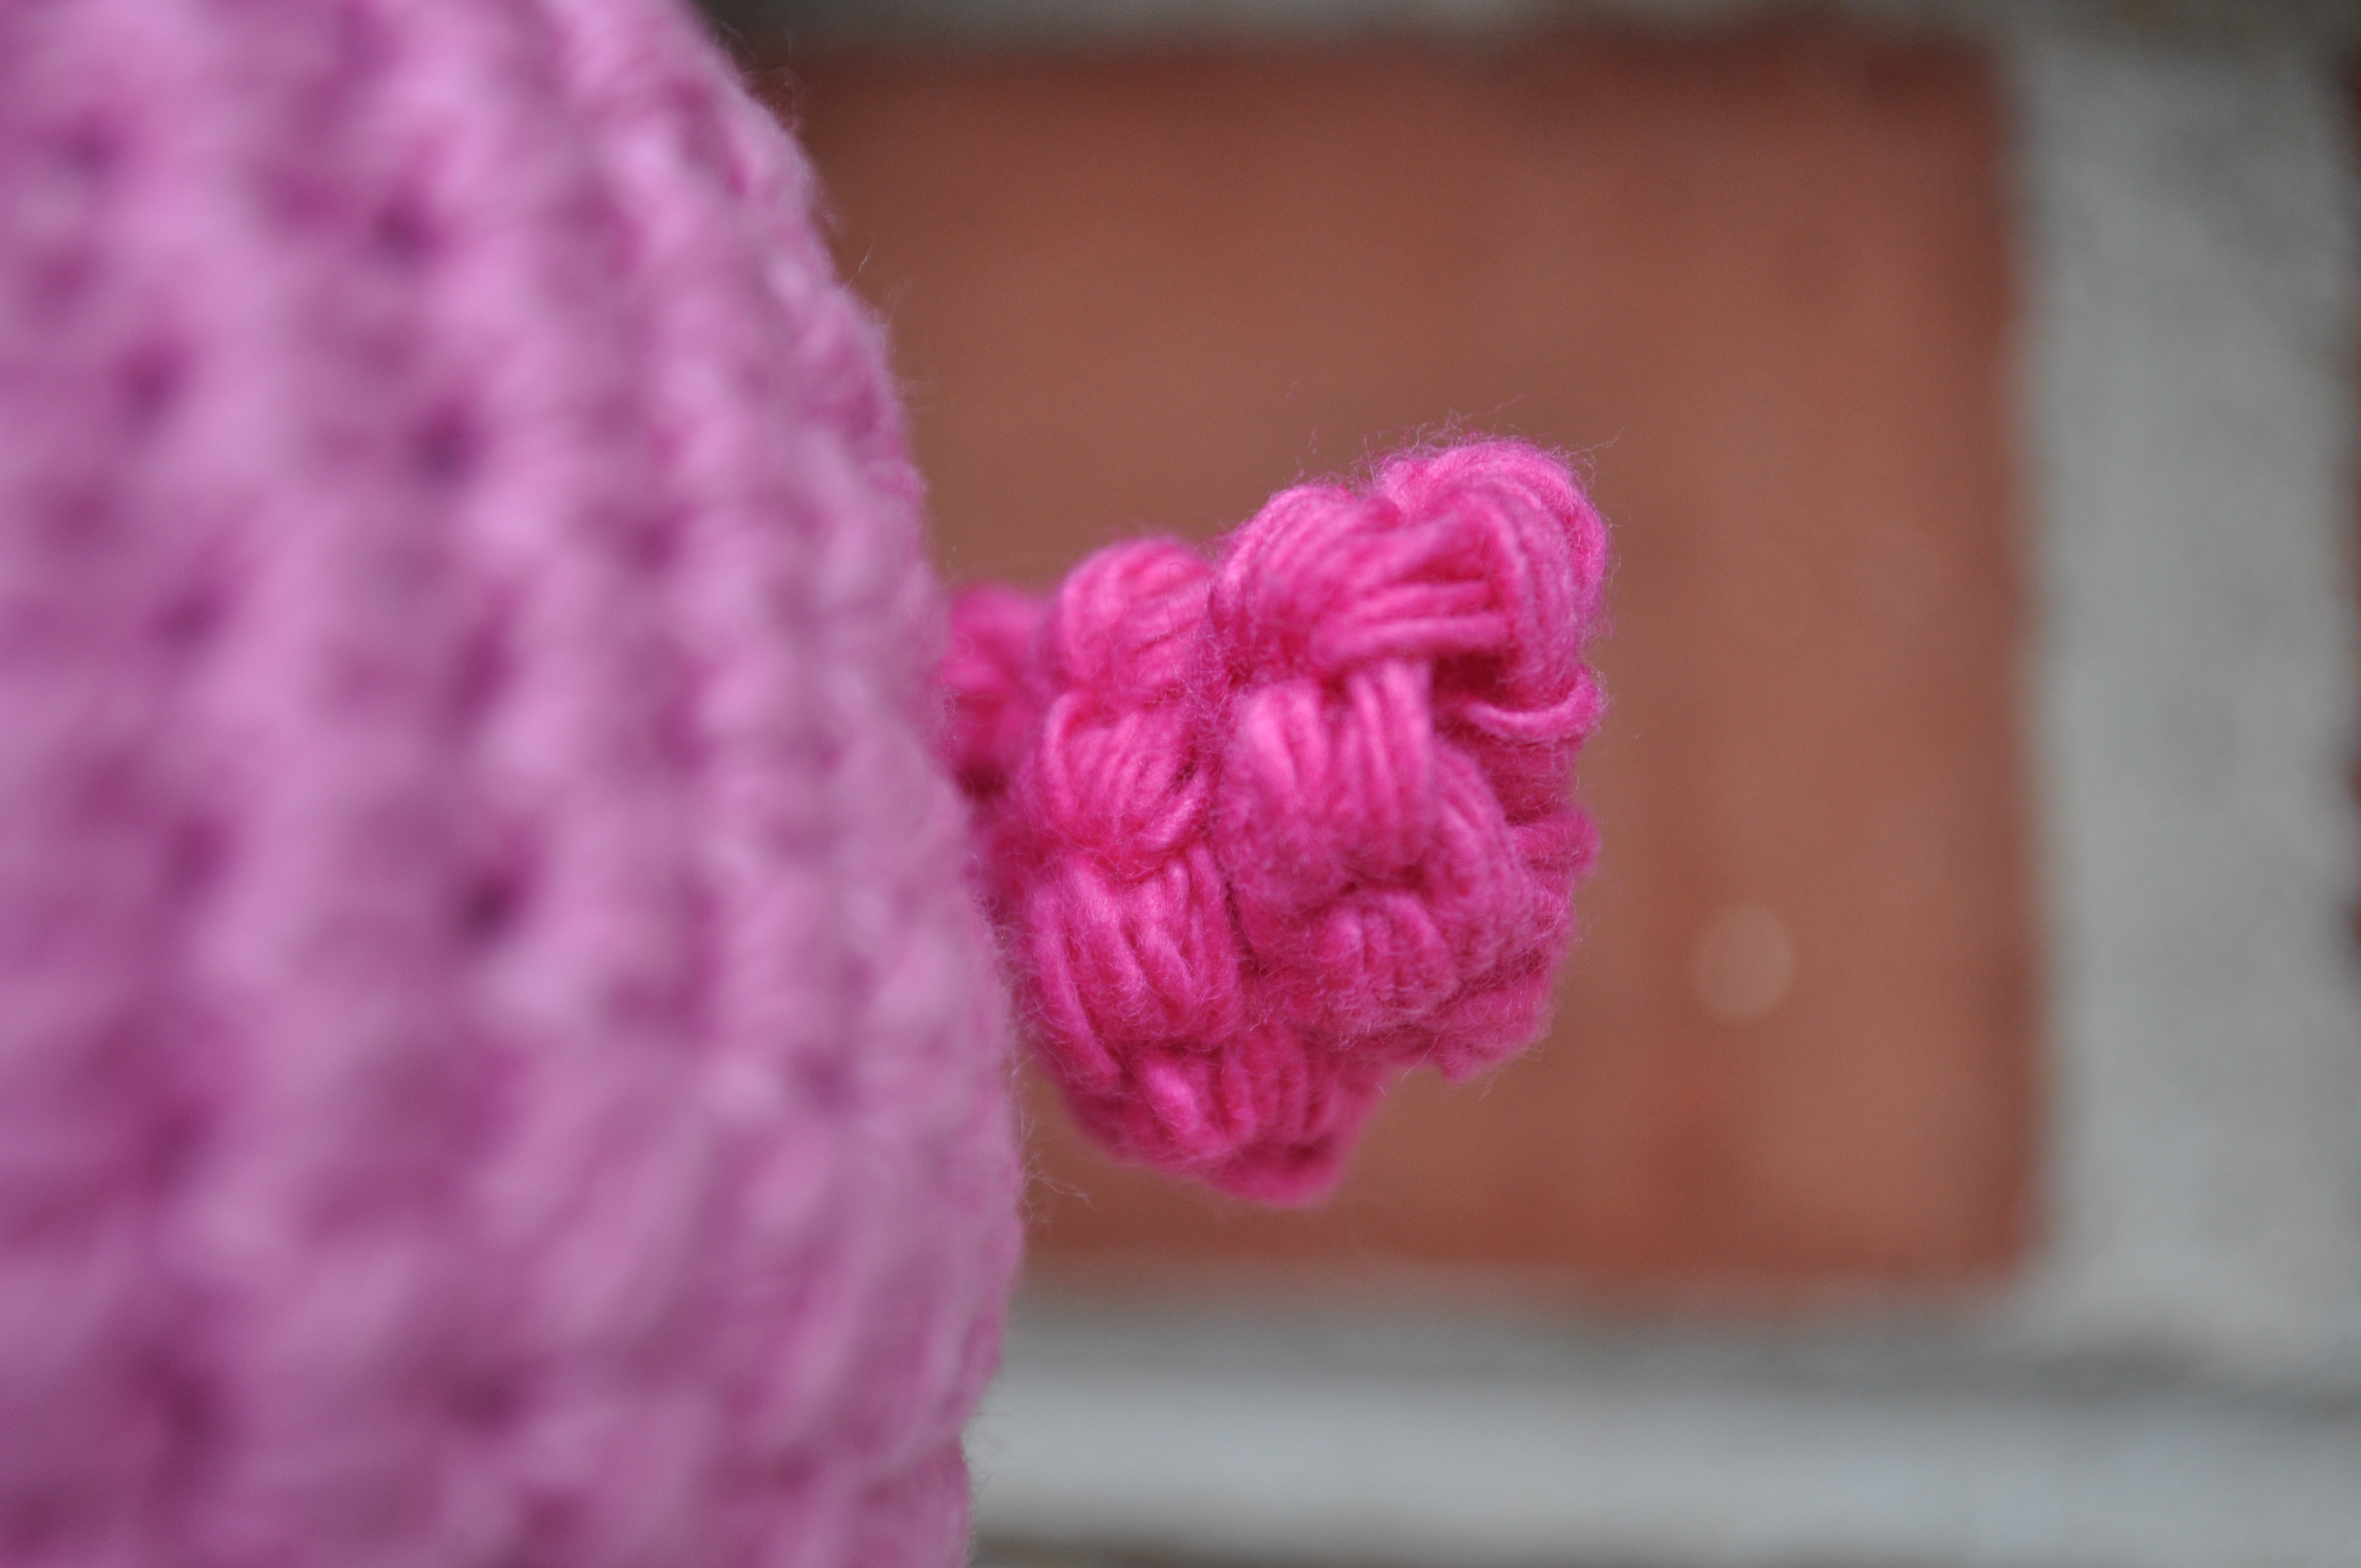
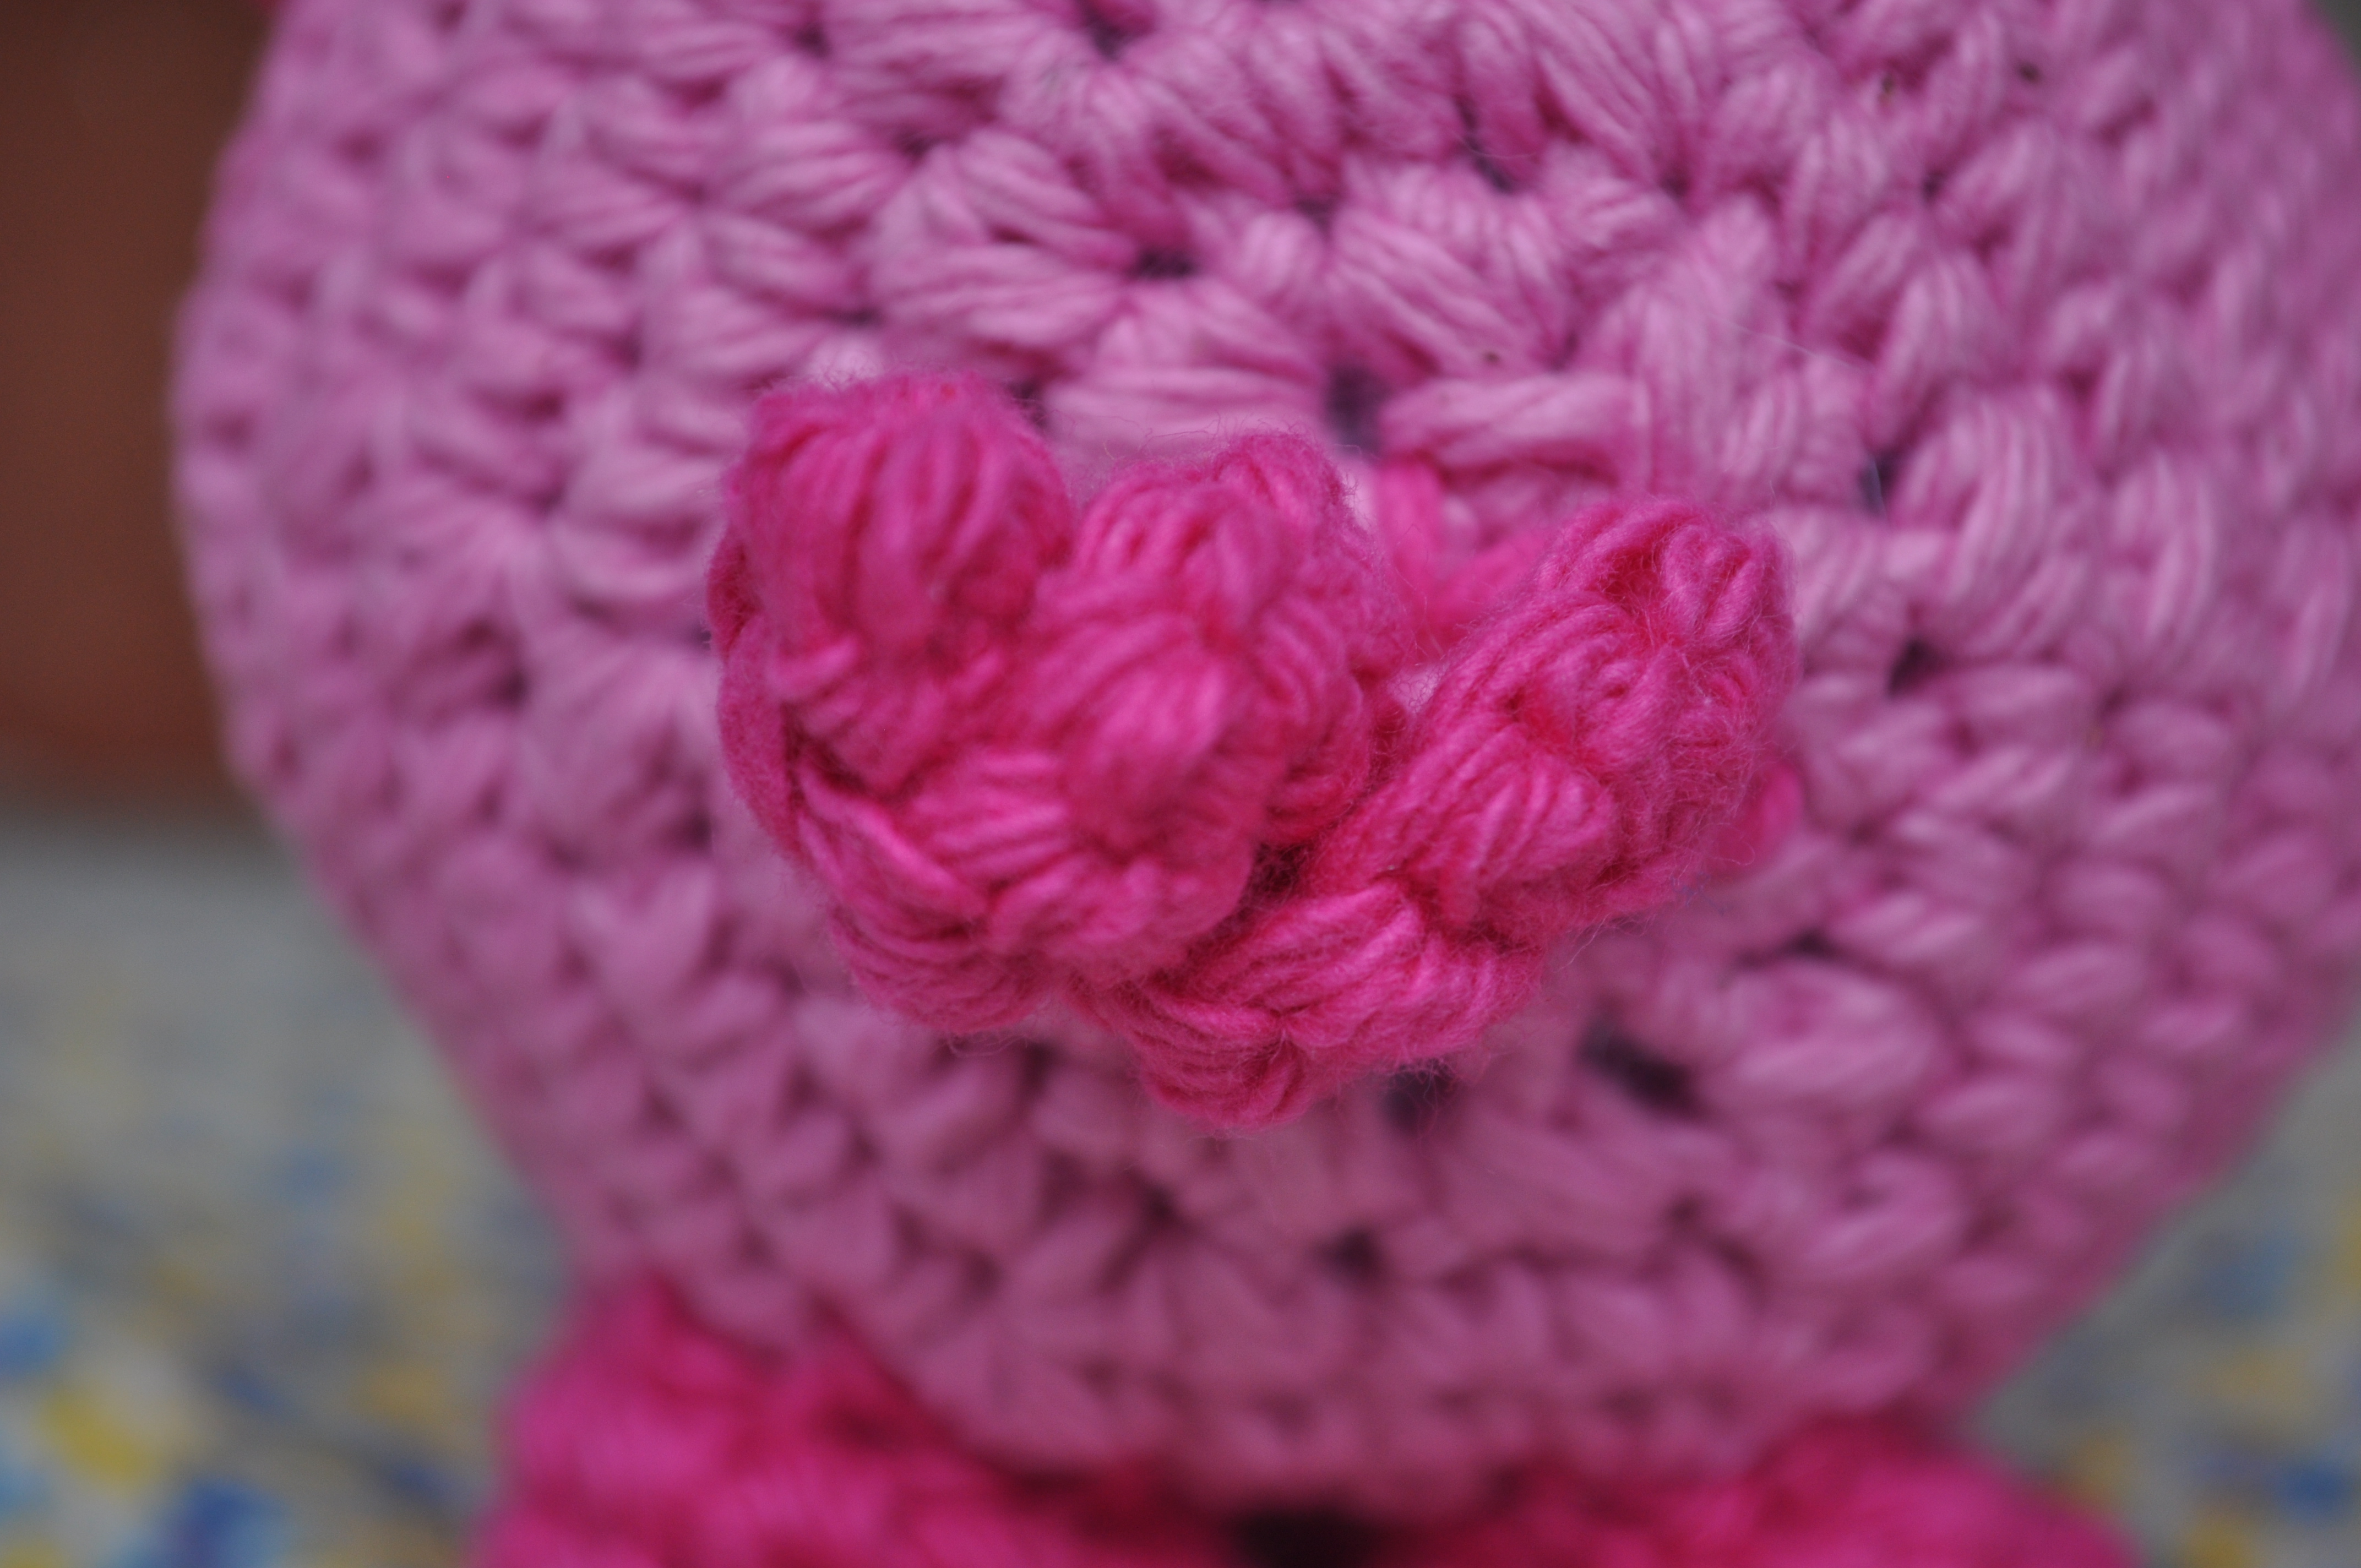
Snout:
With darker pink yarn, make an adjustable loop
Rnd 1: 6 sc in loop, pull loop closed (6 sts)
Rnd 2: 2 sc in next 6 sts (12 sts)
Rnds 3 & 4: 1 sc in next 12 sts (12 sts)
Fasten off leaving a tail to sew snout to face. Make two stitches on the front of the snout with the lighter pink yarn and the blunt needle. Do not stuff snout. Sew the snout over the beginning adjustable loop of the head/body, centering it between the eyes.

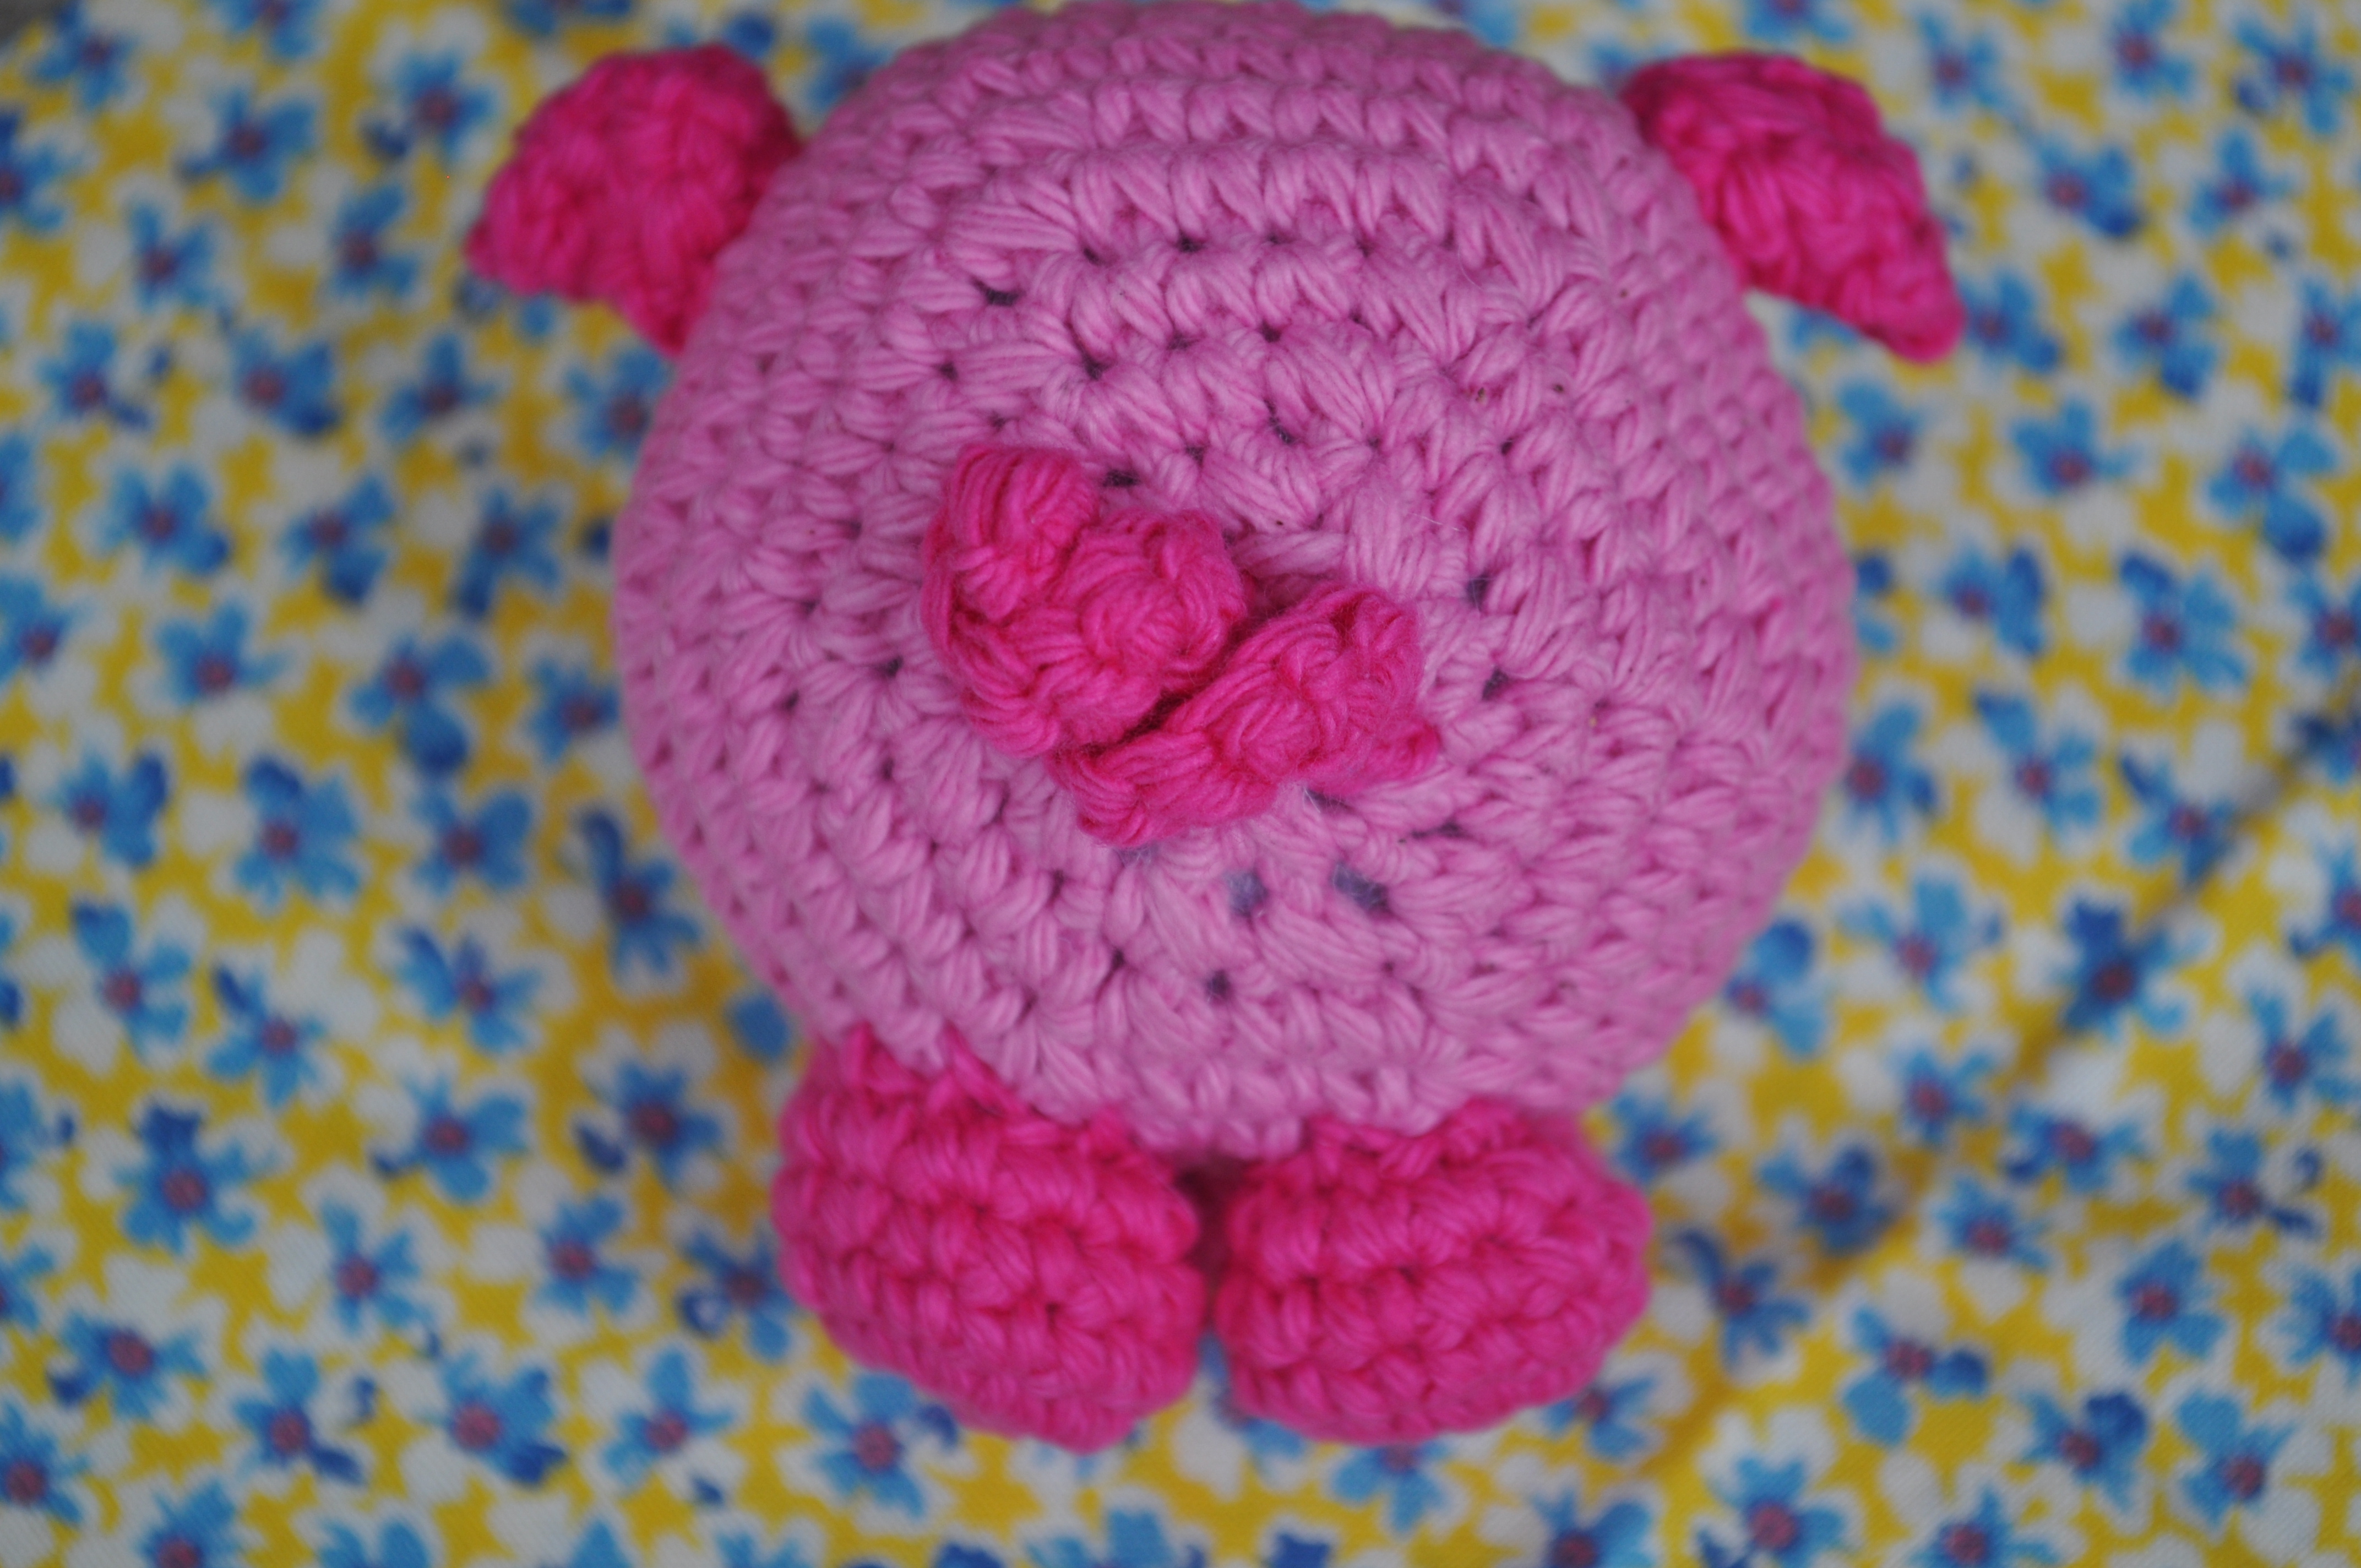
Feet (make 4):
With darker pink yarn, make an adjustable loop
Rnd 1: 6 sc in loop, pull loop closed (6 sts)
Rnd 2: 2 sc in next 6 sts (12 sts)
Rnds 3-5: 1 sc in next 12 sts (12 sts)
Fasten off leaving a tail for sewing to body. Do not stuff feet. Sew them to under side of body so the feet are all touching like there’s one foot in each quadrant of a square.

Ears (make 2):
With darker pink yarn, ch 7
Row 1: sc in 2nd ch from hook, sc in remaining 5 sts (6 sts)
Row 2: sc2tog 3 times (3 sts)
Row 3: sc2tog, sc (2 sts)
Row 4: sc2tog (1 st)
Fasten off leaving a tail for sewing to body. Fold the ear by folding the bottom edge (Row 1) in half so that the beginning and ending tails come together. Tie the tails in a small knot. The folded part becomes the base of the ear that you sew to the head just behind the eye. (Tip: To make the ears appear even, fold one right side out and one wrong side out.)
Tail:
With darker pink yarn, ch 10
Row 1: 2 sc in 2nd ch from hook, 2 sc in ea ch to end (18 sts)
Fasten off leaving a tail for sewing tail to body. Sew to body.
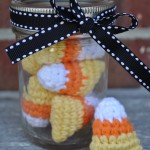 Bite-Size Candy Corn
 Chocolate Valentine Truffle and Wrapper
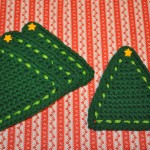 Christmas Tree Coasters
 Crochet Tissue Cozy
 Cute Cotton Coasters
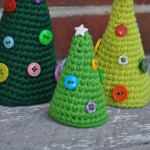 Cute Little Christmas Trees
 July 4th Pennant Bunting
 Mini Frankenstein
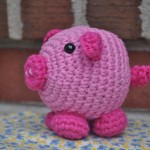 Petunia the Palm-Size Pig
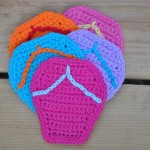 Summertime Flip Flop Coasters
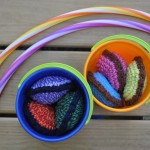 Super Fun Bean Bags
 Sweet Strawberry Coaster
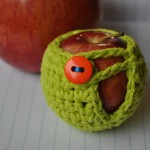 Teeny Tiny Apple Sweater
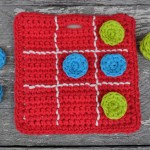 Tic-Tac-Toe Travel Game