")
This is my third kid cape. I made these two for the girls for this last Christmas. Kid capes are super easy and fast to make. Here goes…
First, you’ll need a half yard of fabric, about two yards of ric rac, a scrap of felt, thread, and Velcro.
")
Take your fabric
")
Fold it in half so the fold is on the short side
")
Cut it in half along the fold
")
Place the two pieces right sides together
")
Fold both pieces in half so the fold is on the long side
")
Cut a piece out of all layers, like this
")
Unfold the fabric so that you have two pieces, right sides together again. The curved notch you cut is for the neck of the kid.
")
Cut out the kid’s first initial from a piece of felt (I cut two because I didn’t know what case to do – I decided on the big one)
")
Then, pin the letter to the right side of one of the fabric pieces. It should be fairly centered.
")
Sew the letter onto the fabric
")
Now’s the time to adhere the fastener to the cape, according to the package directions (I got the iron-on kind).
")
be sure to place a hook fastener piece on the corner of the top fabric piece,
")
and a loop fastener piece on the opposite corner of the bottom fabric piece
")
Place both of the fabric pieces together, with right sides facing and begin to pin the ric rac around three sides of the cape (not the notch side) by slipping the ric rac between the two pieces of fabric, along the edge
")
")
Begin and end the ric rac on each upper corner of the cape like this, so the ric rac sticks out of the cape a little
")
Sew the two fabric pieces together around all sides to form the cape, but leave a gap a few inches long at the center of the neck part of the notched area (this is where you’ll turn the whole thing right side out after sewing – the photo shows it already turned right side out)
")
And there it is – a kid cape
")
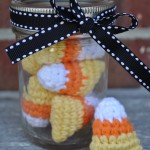 Bite-Size Candy Corn
 Chocolate Valentine Truffle and Wrapper
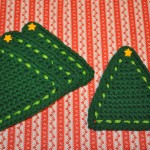 Christmas Tree Coasters
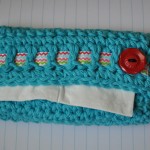 Crochet Tissue Cozy
 Cute Cotton Coasters
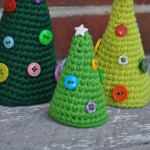 Cute Little Christmas Trees
 July 4th Pennant Bunting
 Mini Frankenstein
 Petunia the Palm-Size Pig
 Summertime Flip Flop Coasters
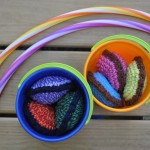 Super Fun Bean Bags
 Sweet Strawberry Coaster
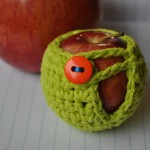 Teeny Tiny Apple Sweater
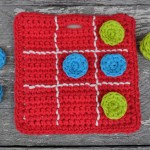 Tic-Tac-Toe Travel Game
2 Responses to Kid Cape How-To