
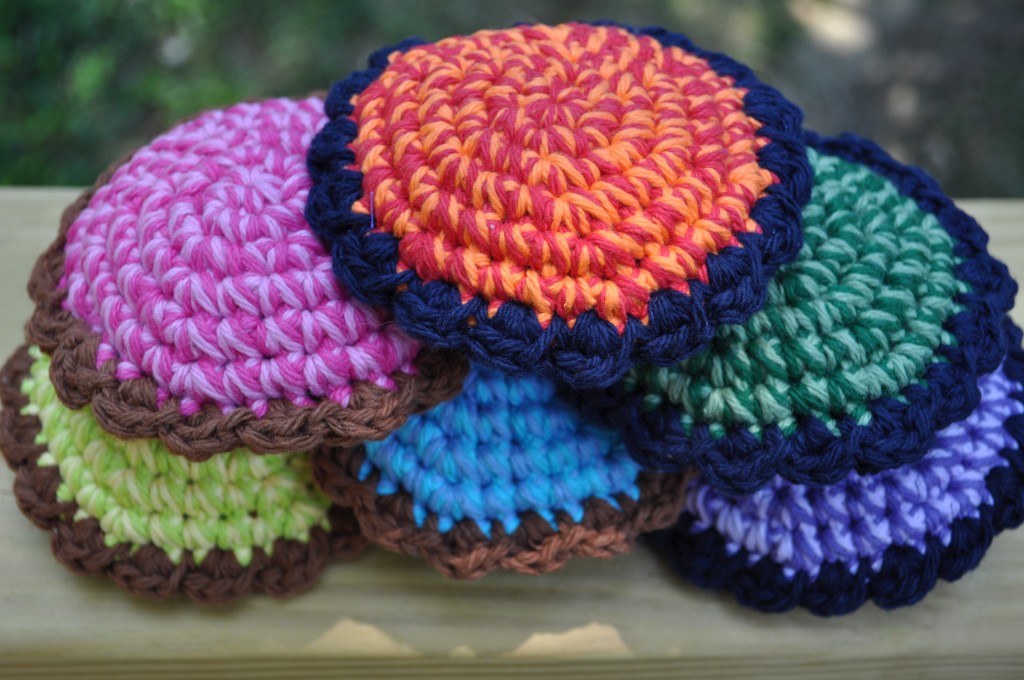
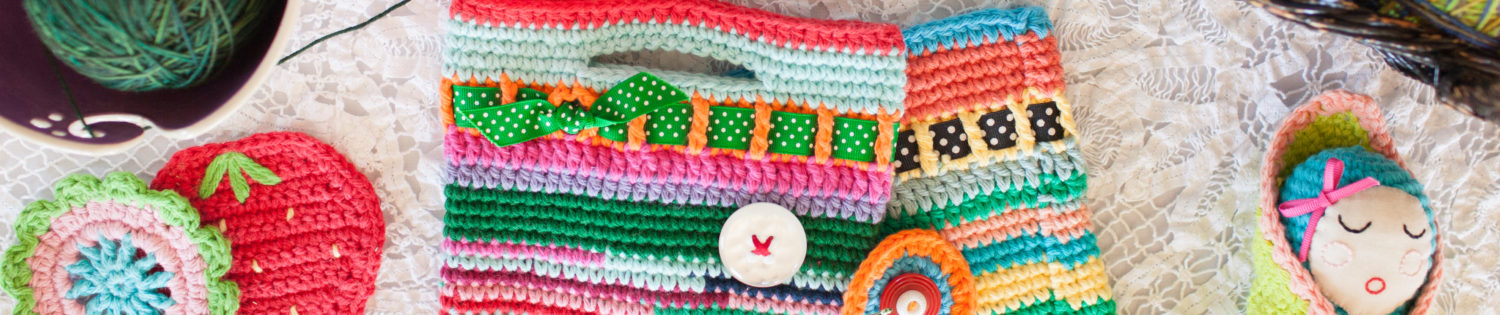
Cute right?
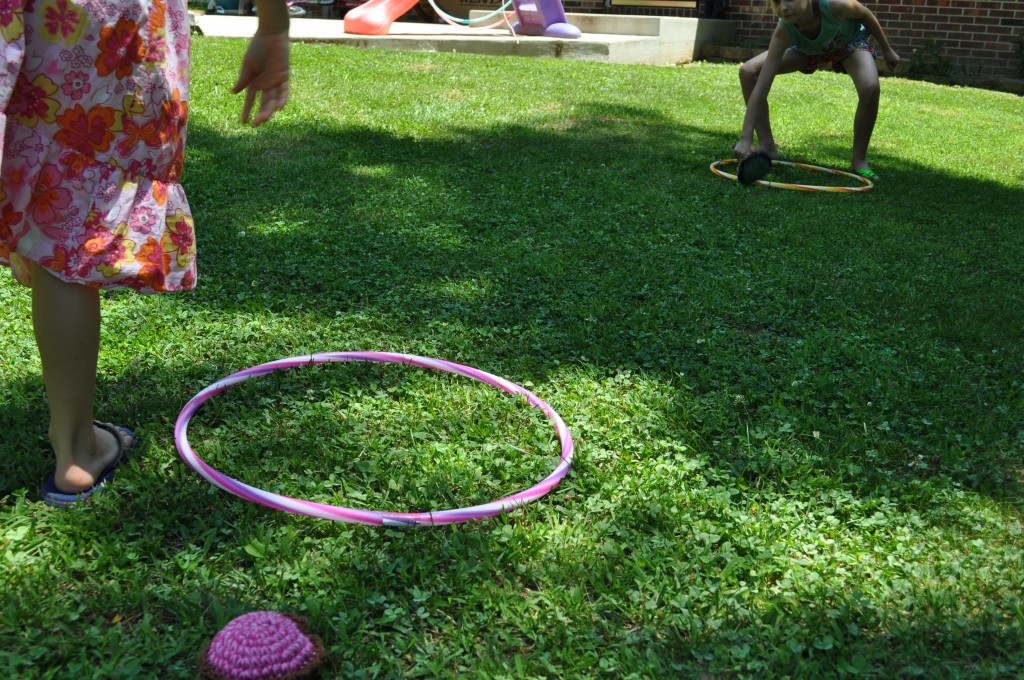
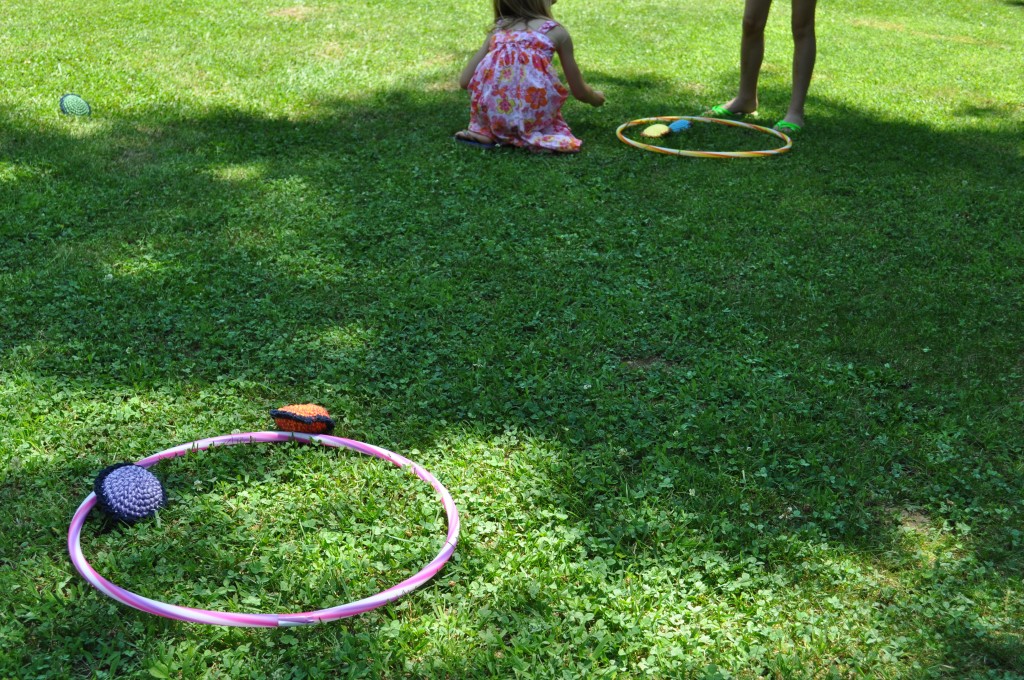
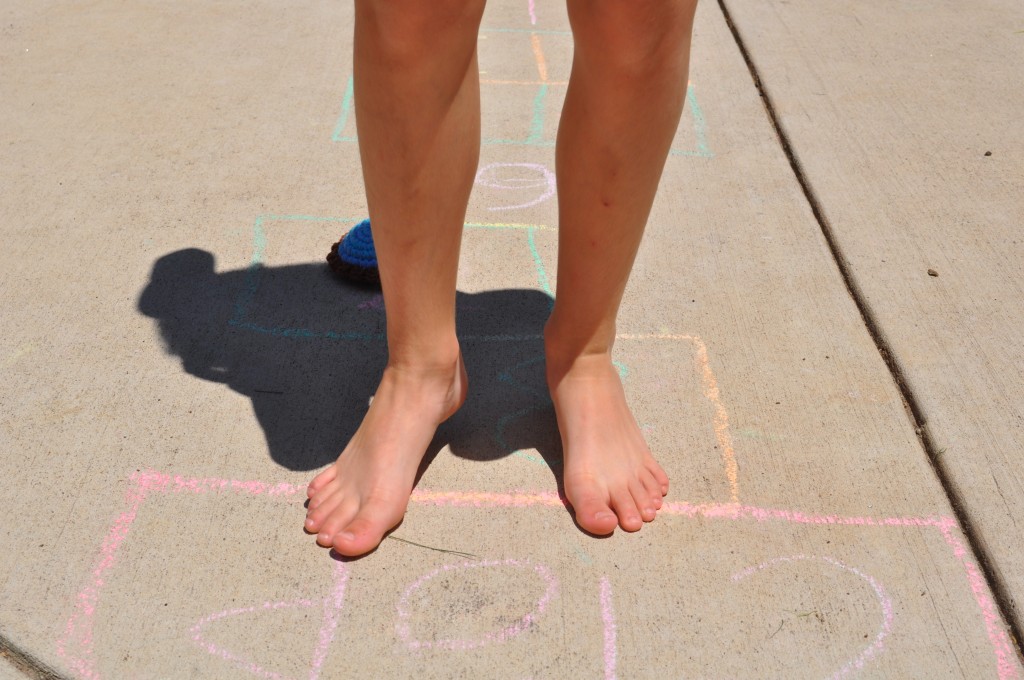
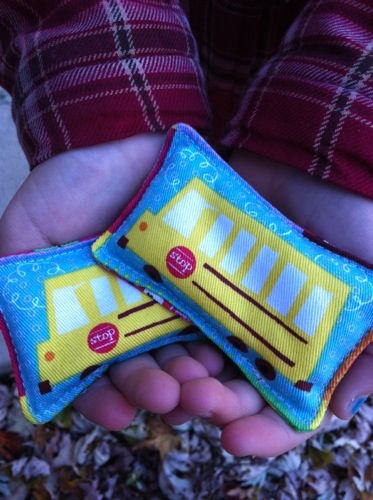
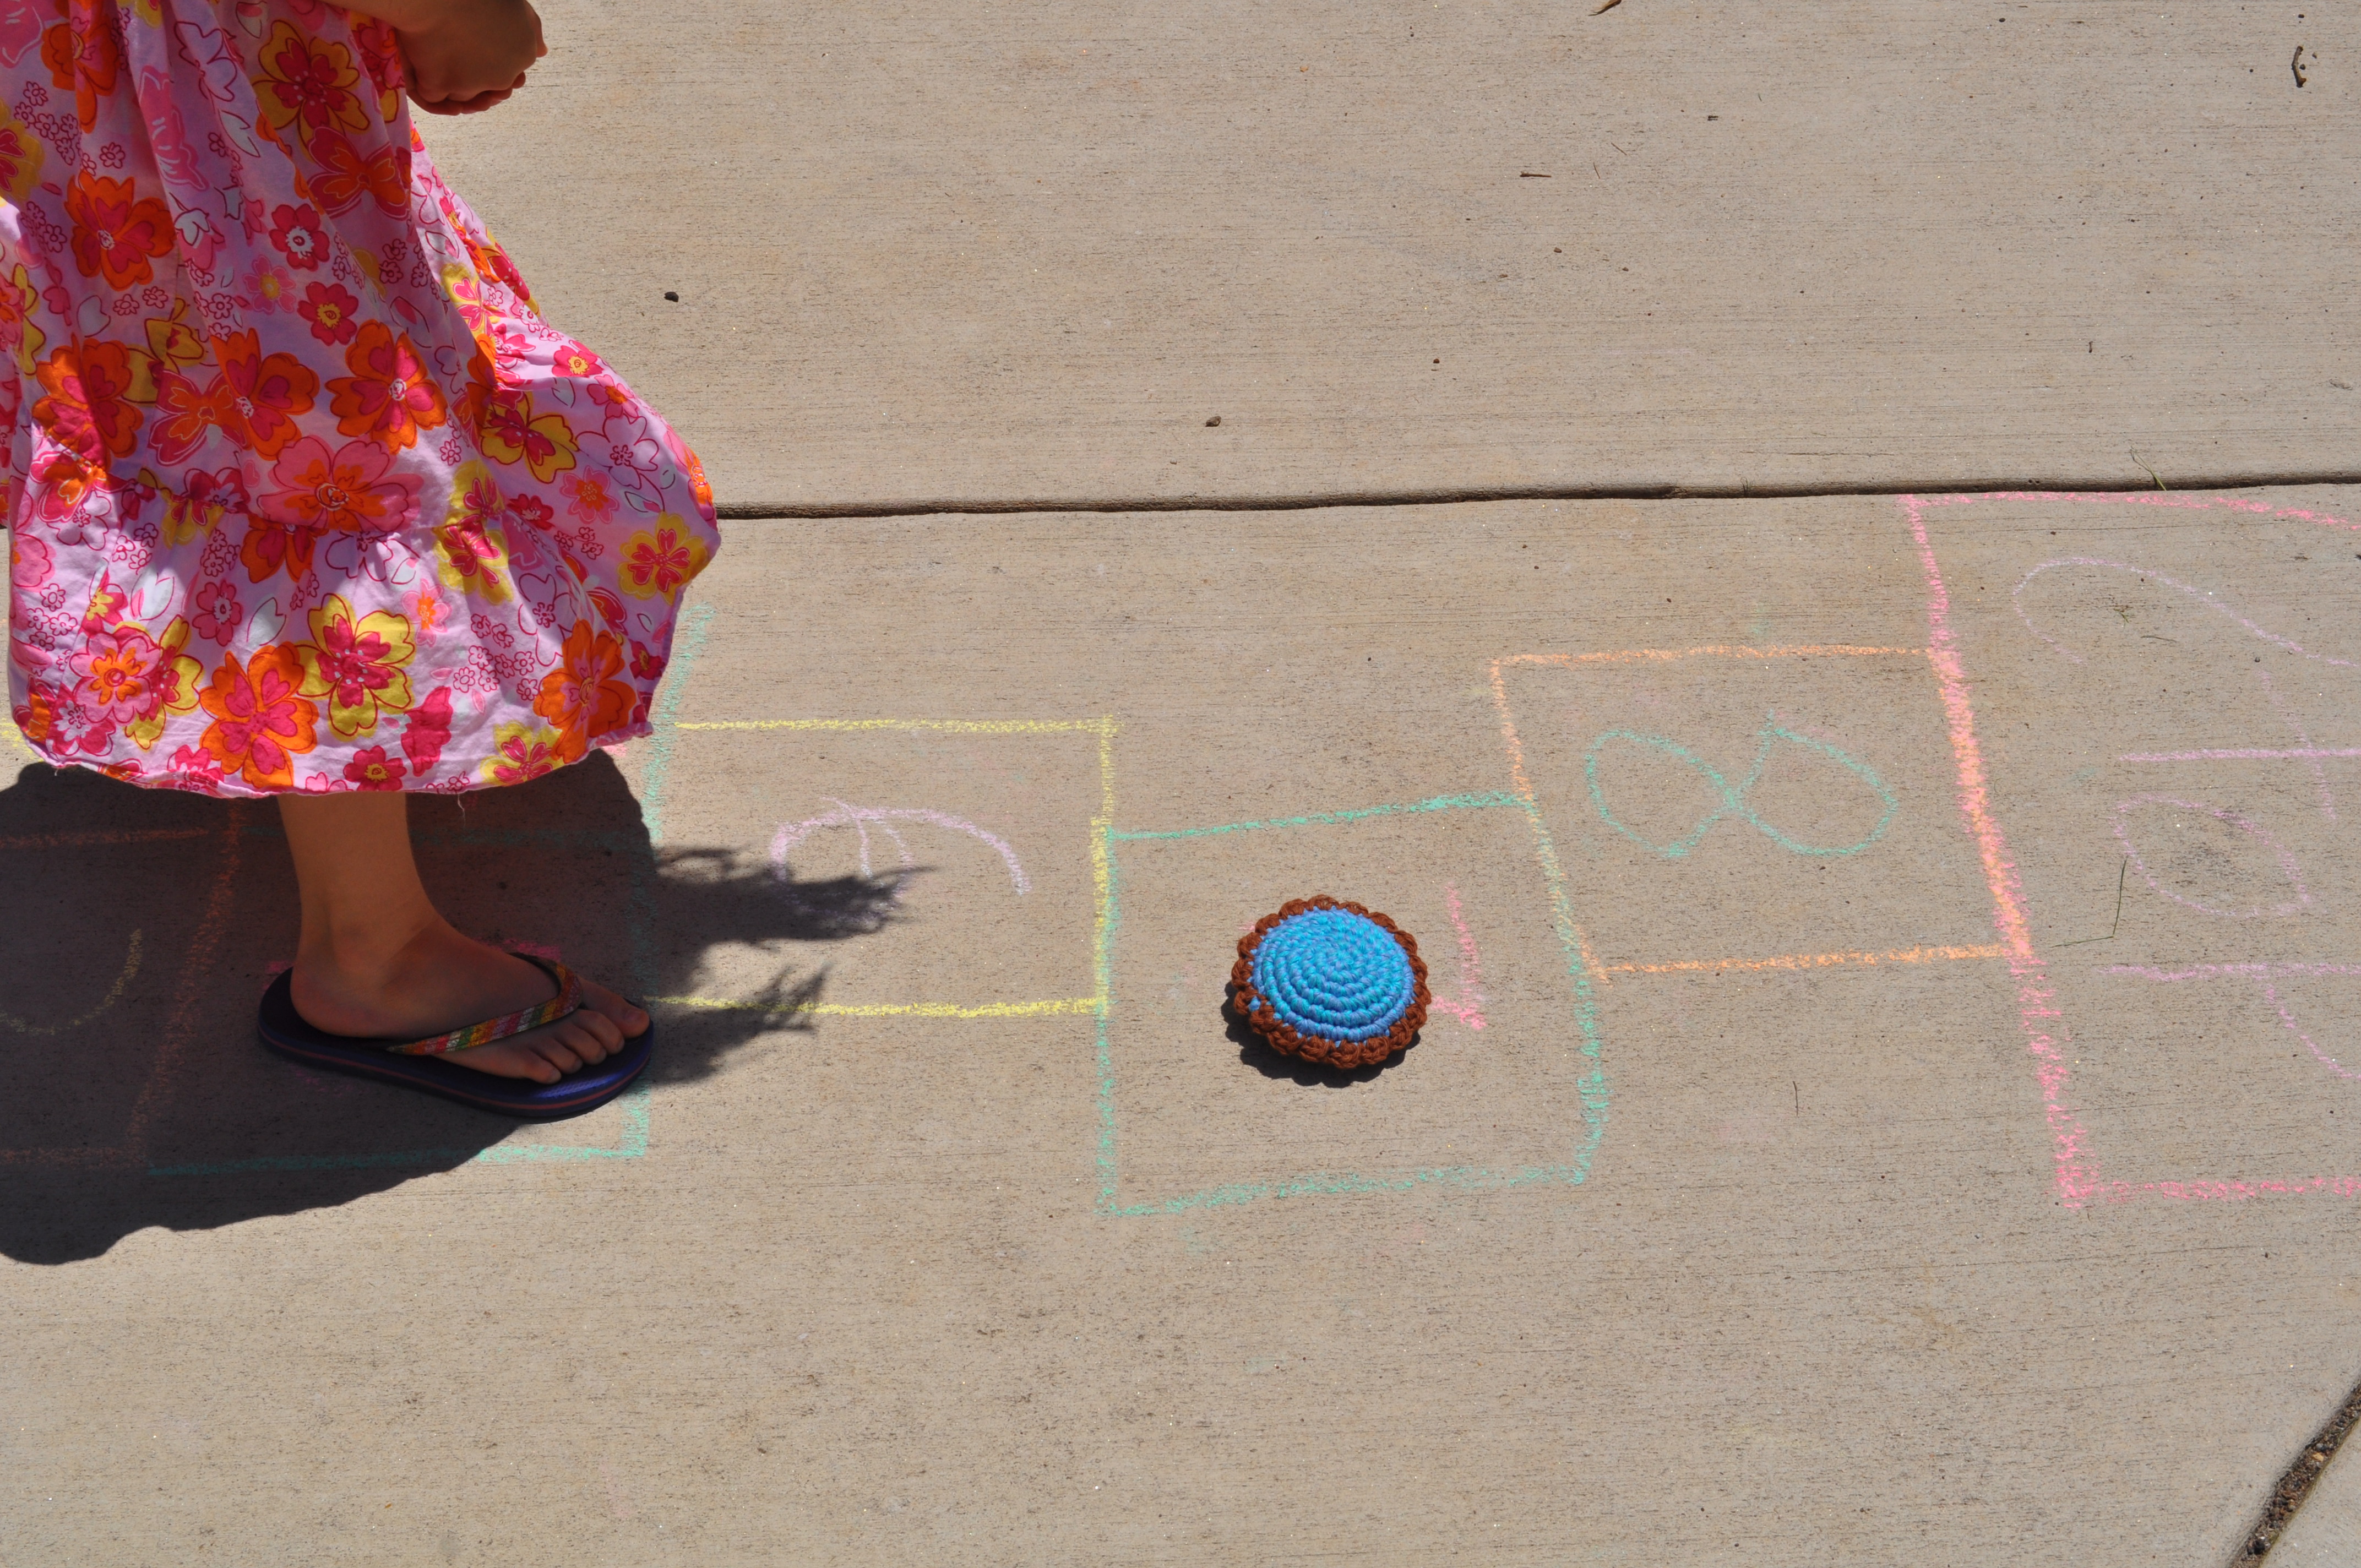
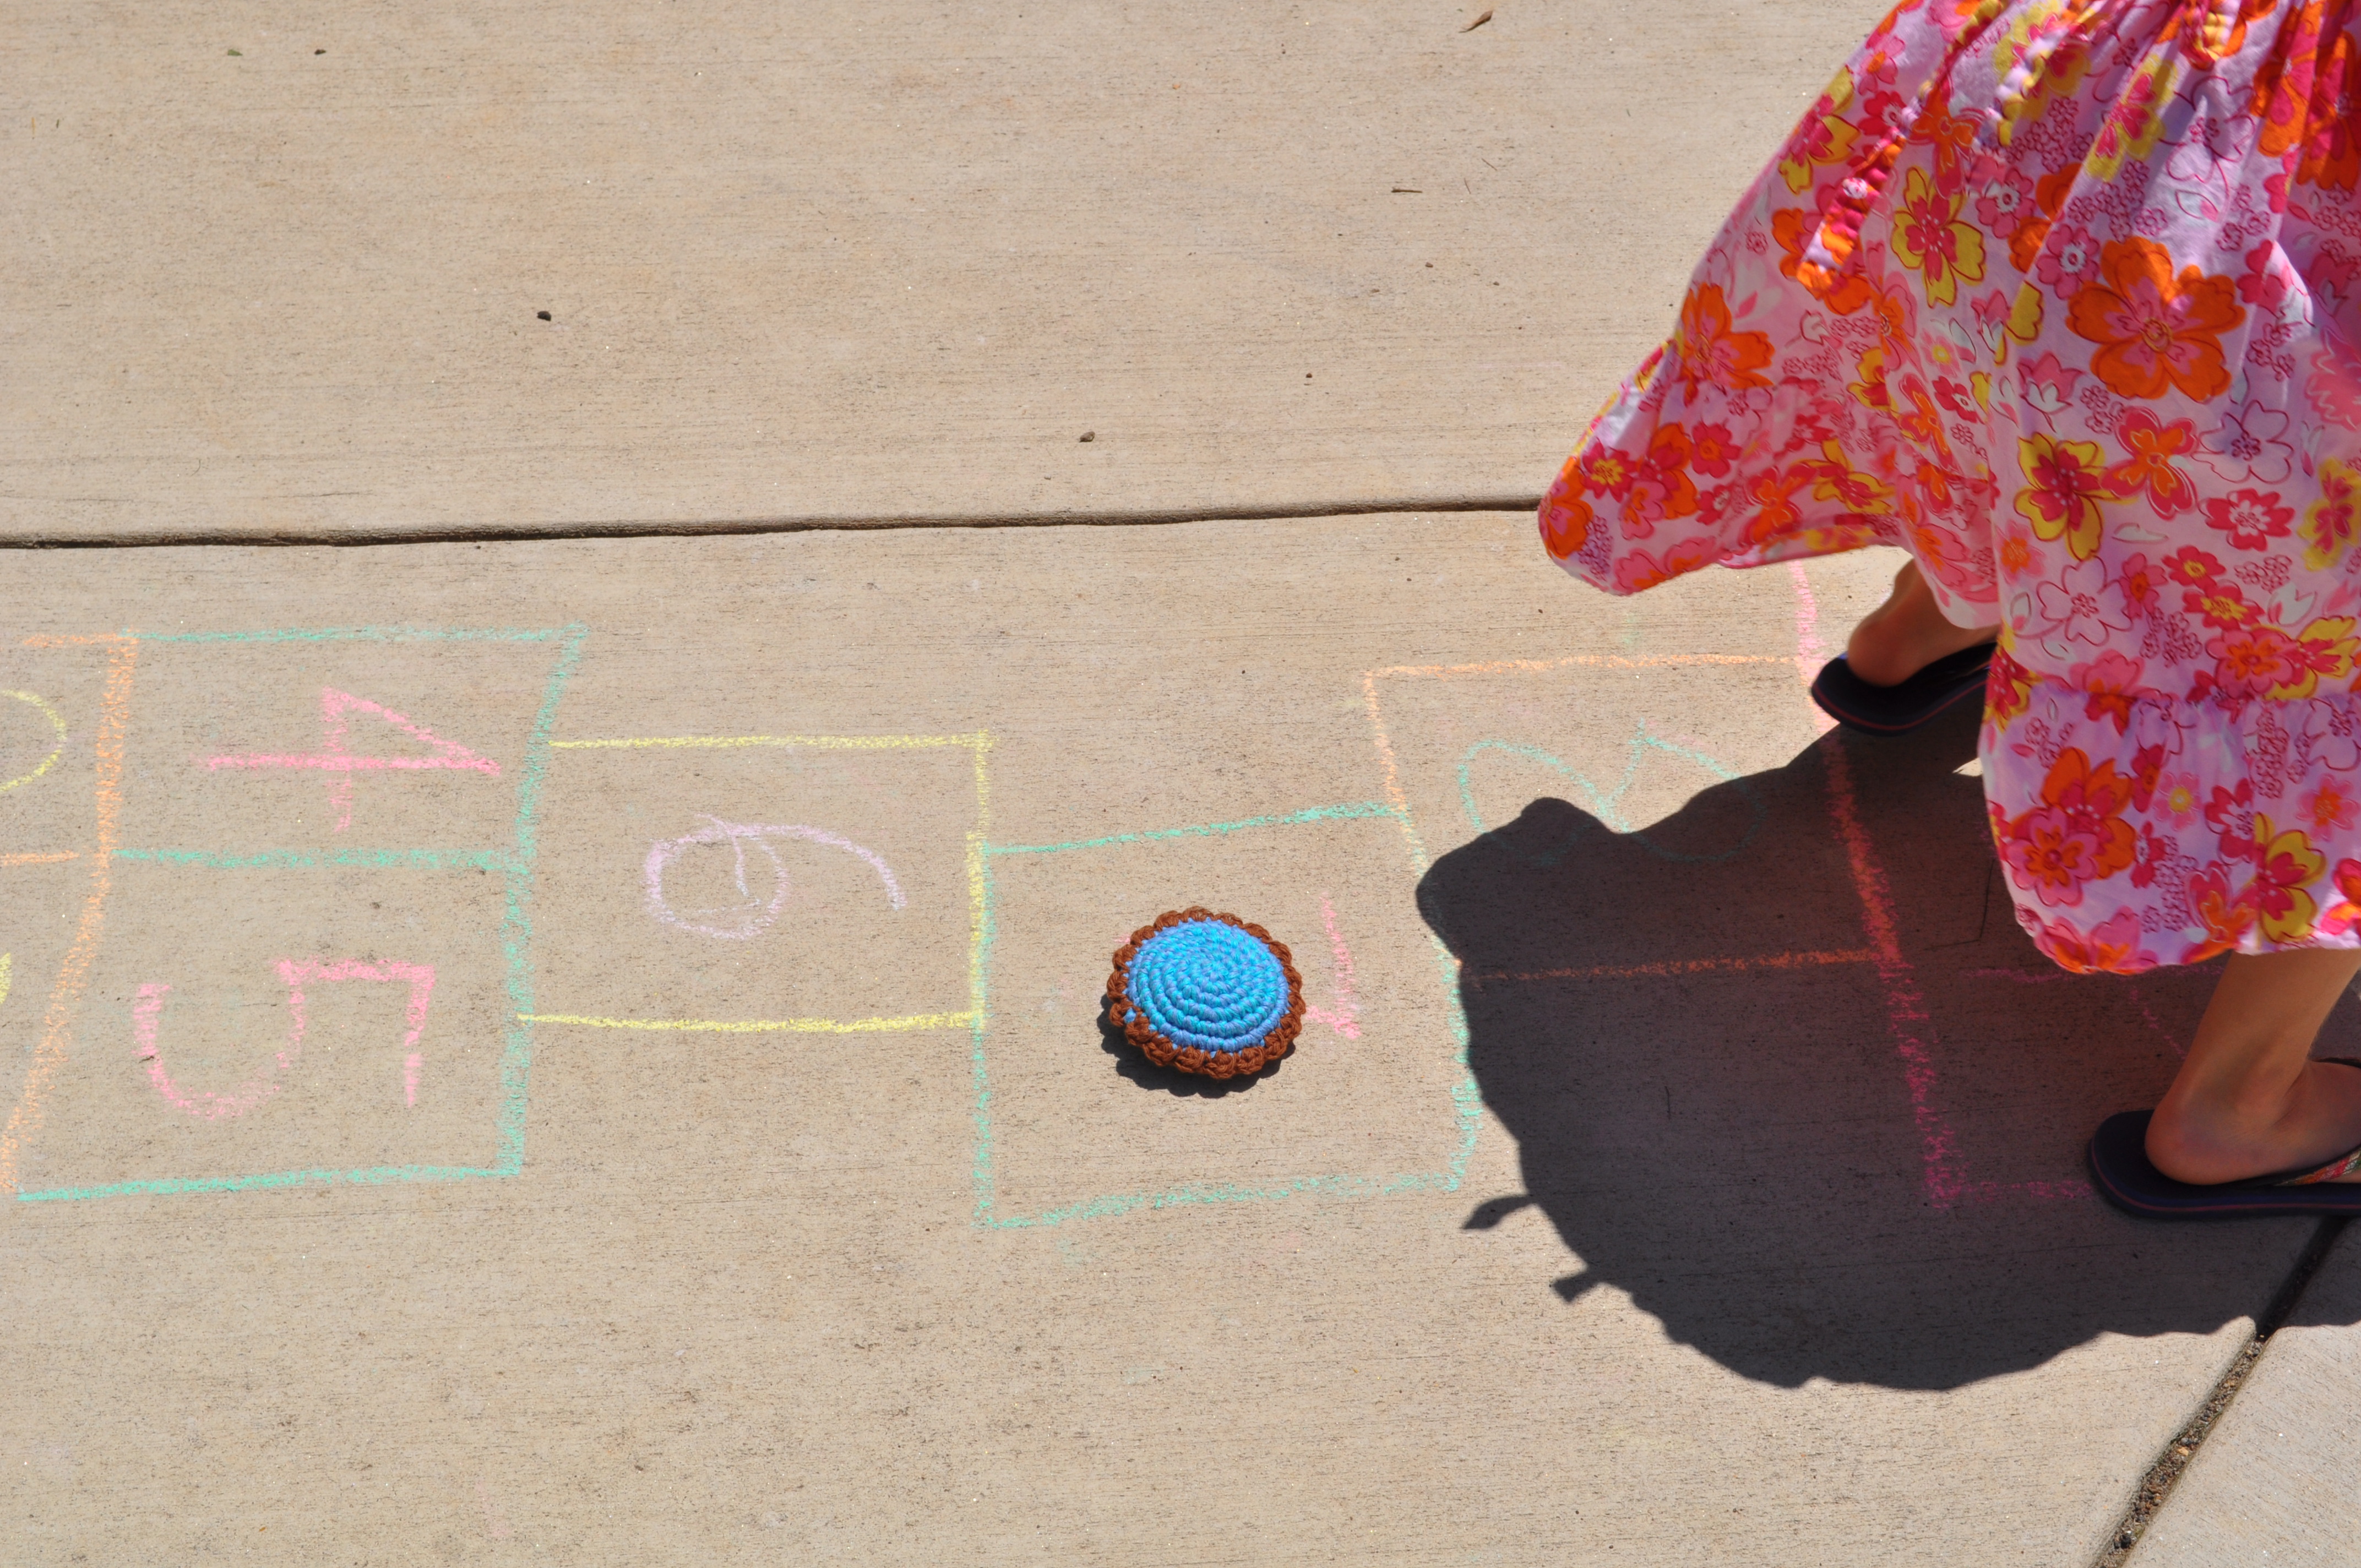
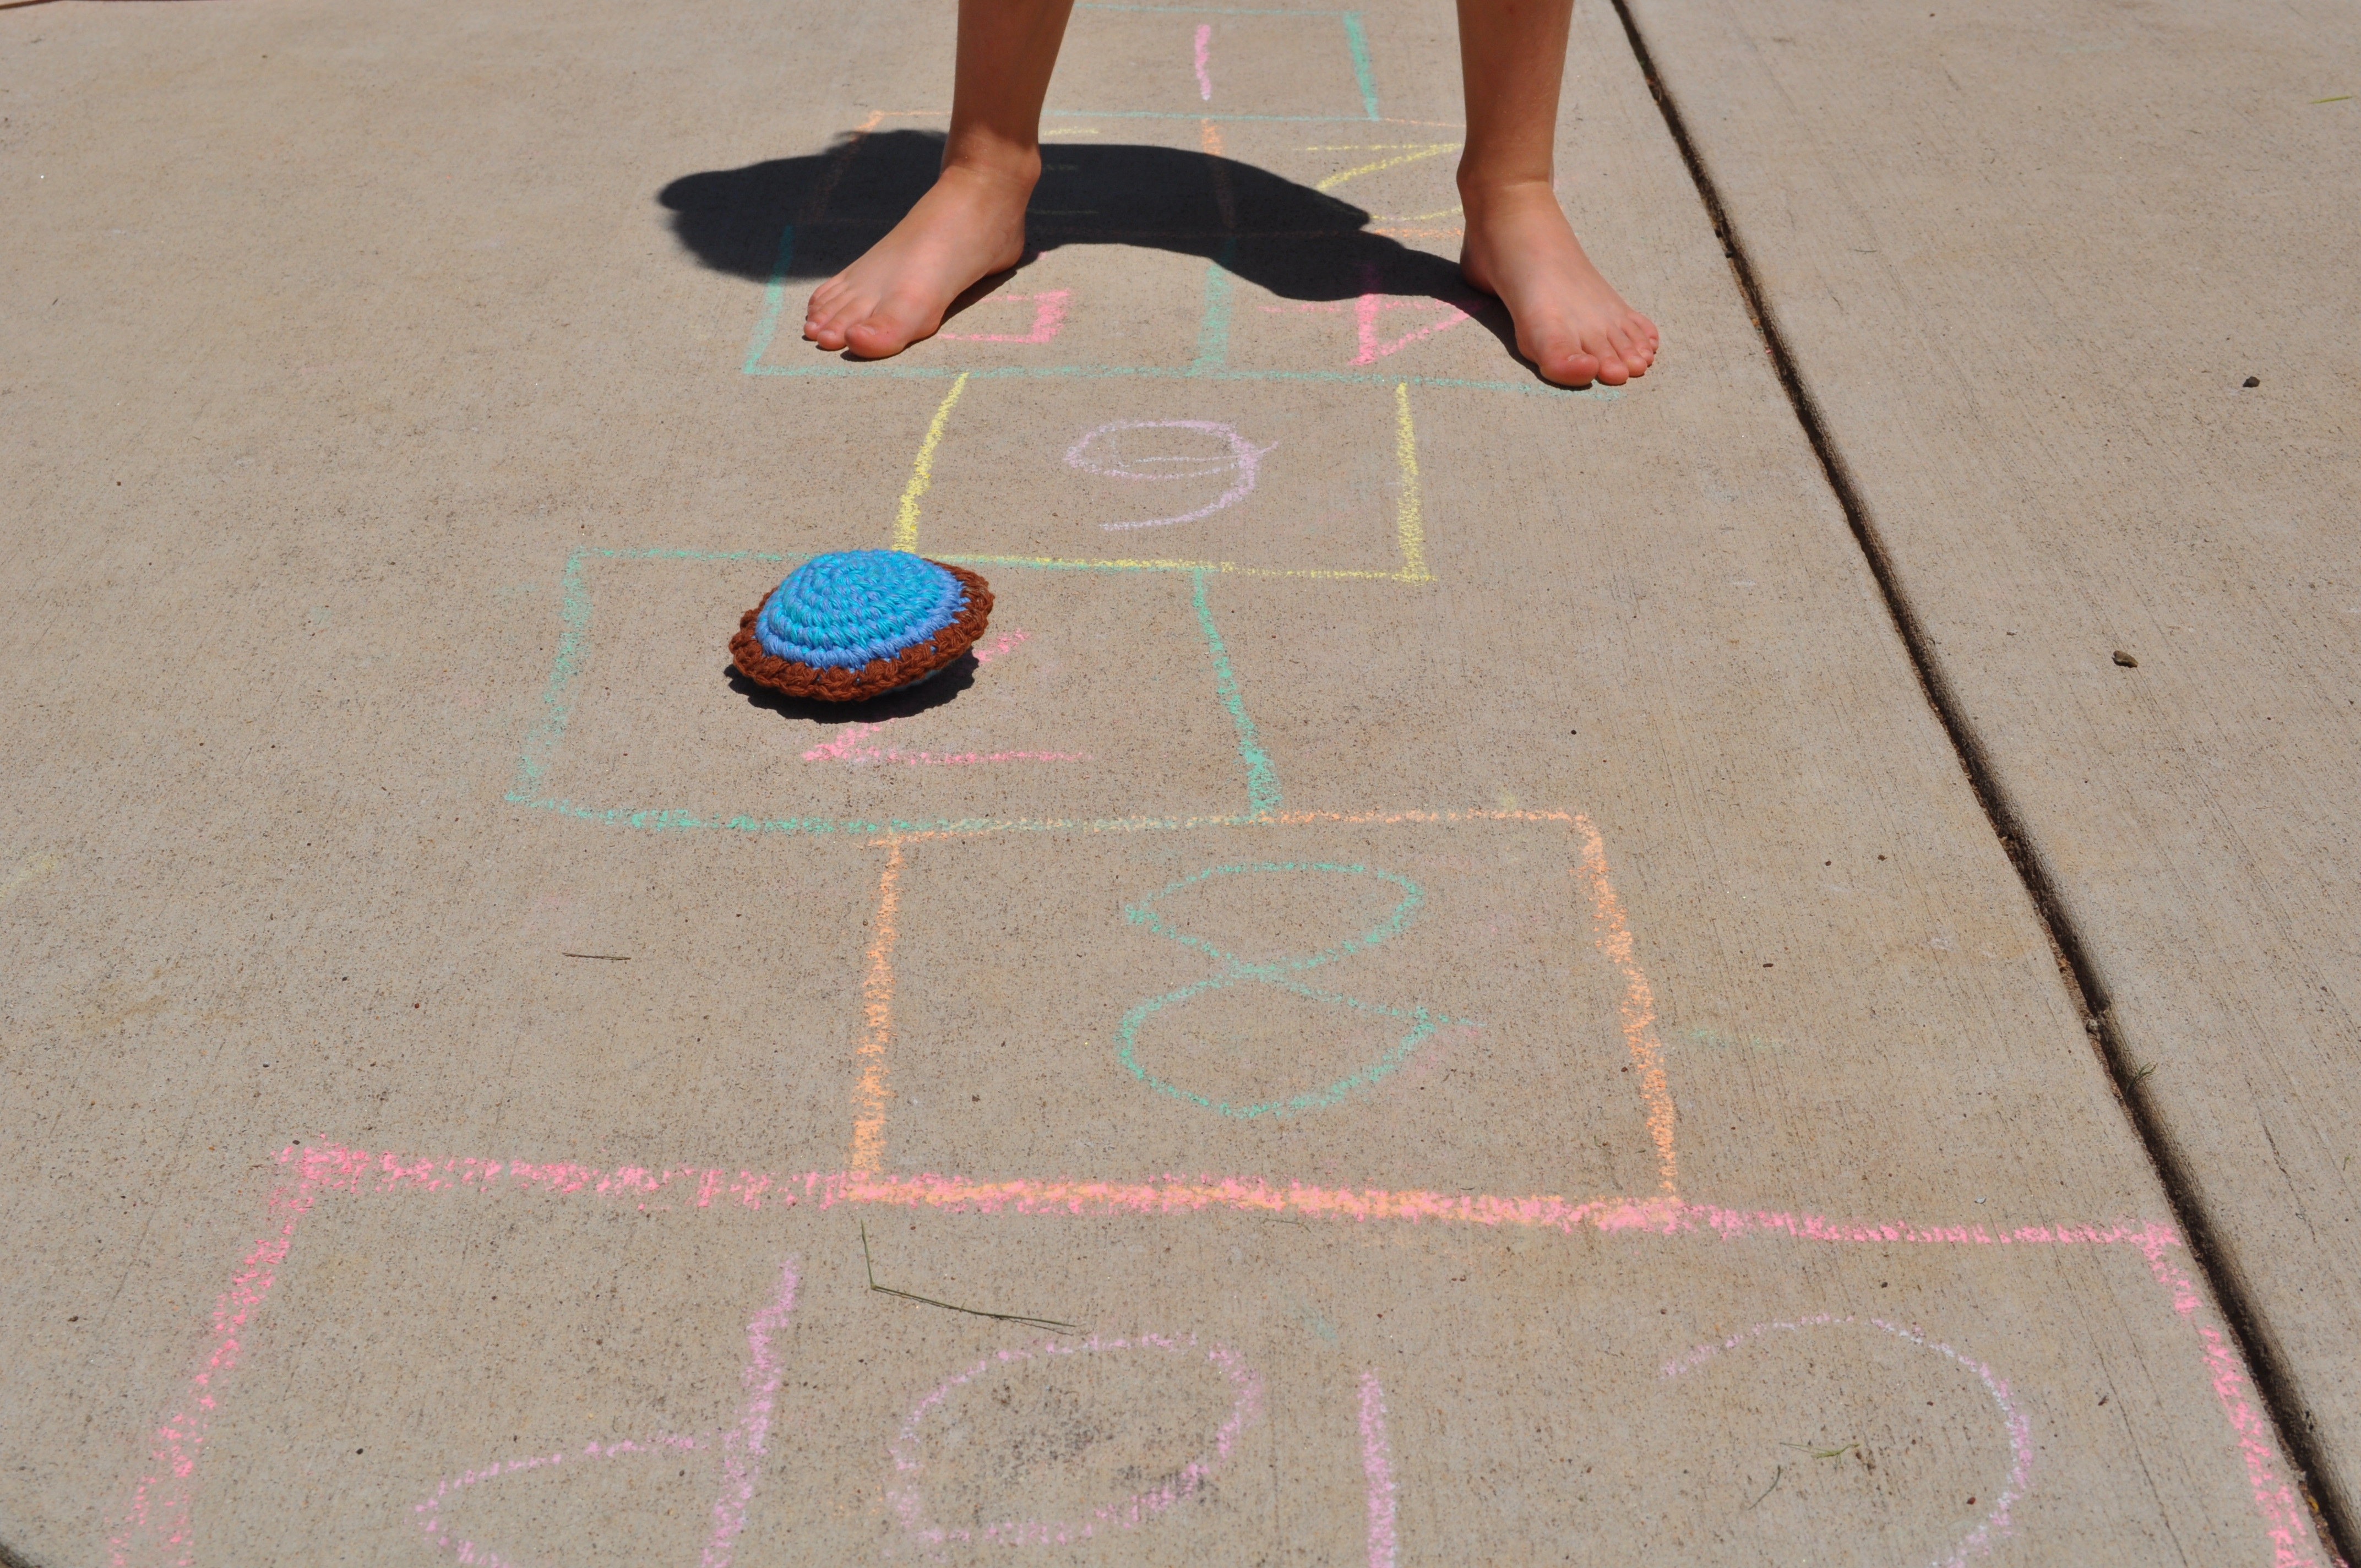
This is a super easy pattern for fun bean bags that the kids can use for hop scotch and a kid friendly version of the corn hole game.


Here’s the whole pattern and then there are more detailed pictures below…
Materials:
Worsted Weight Yarn
‘H’ and ‘I’ crochet hooks
Large eye, blunt needle
Scissors
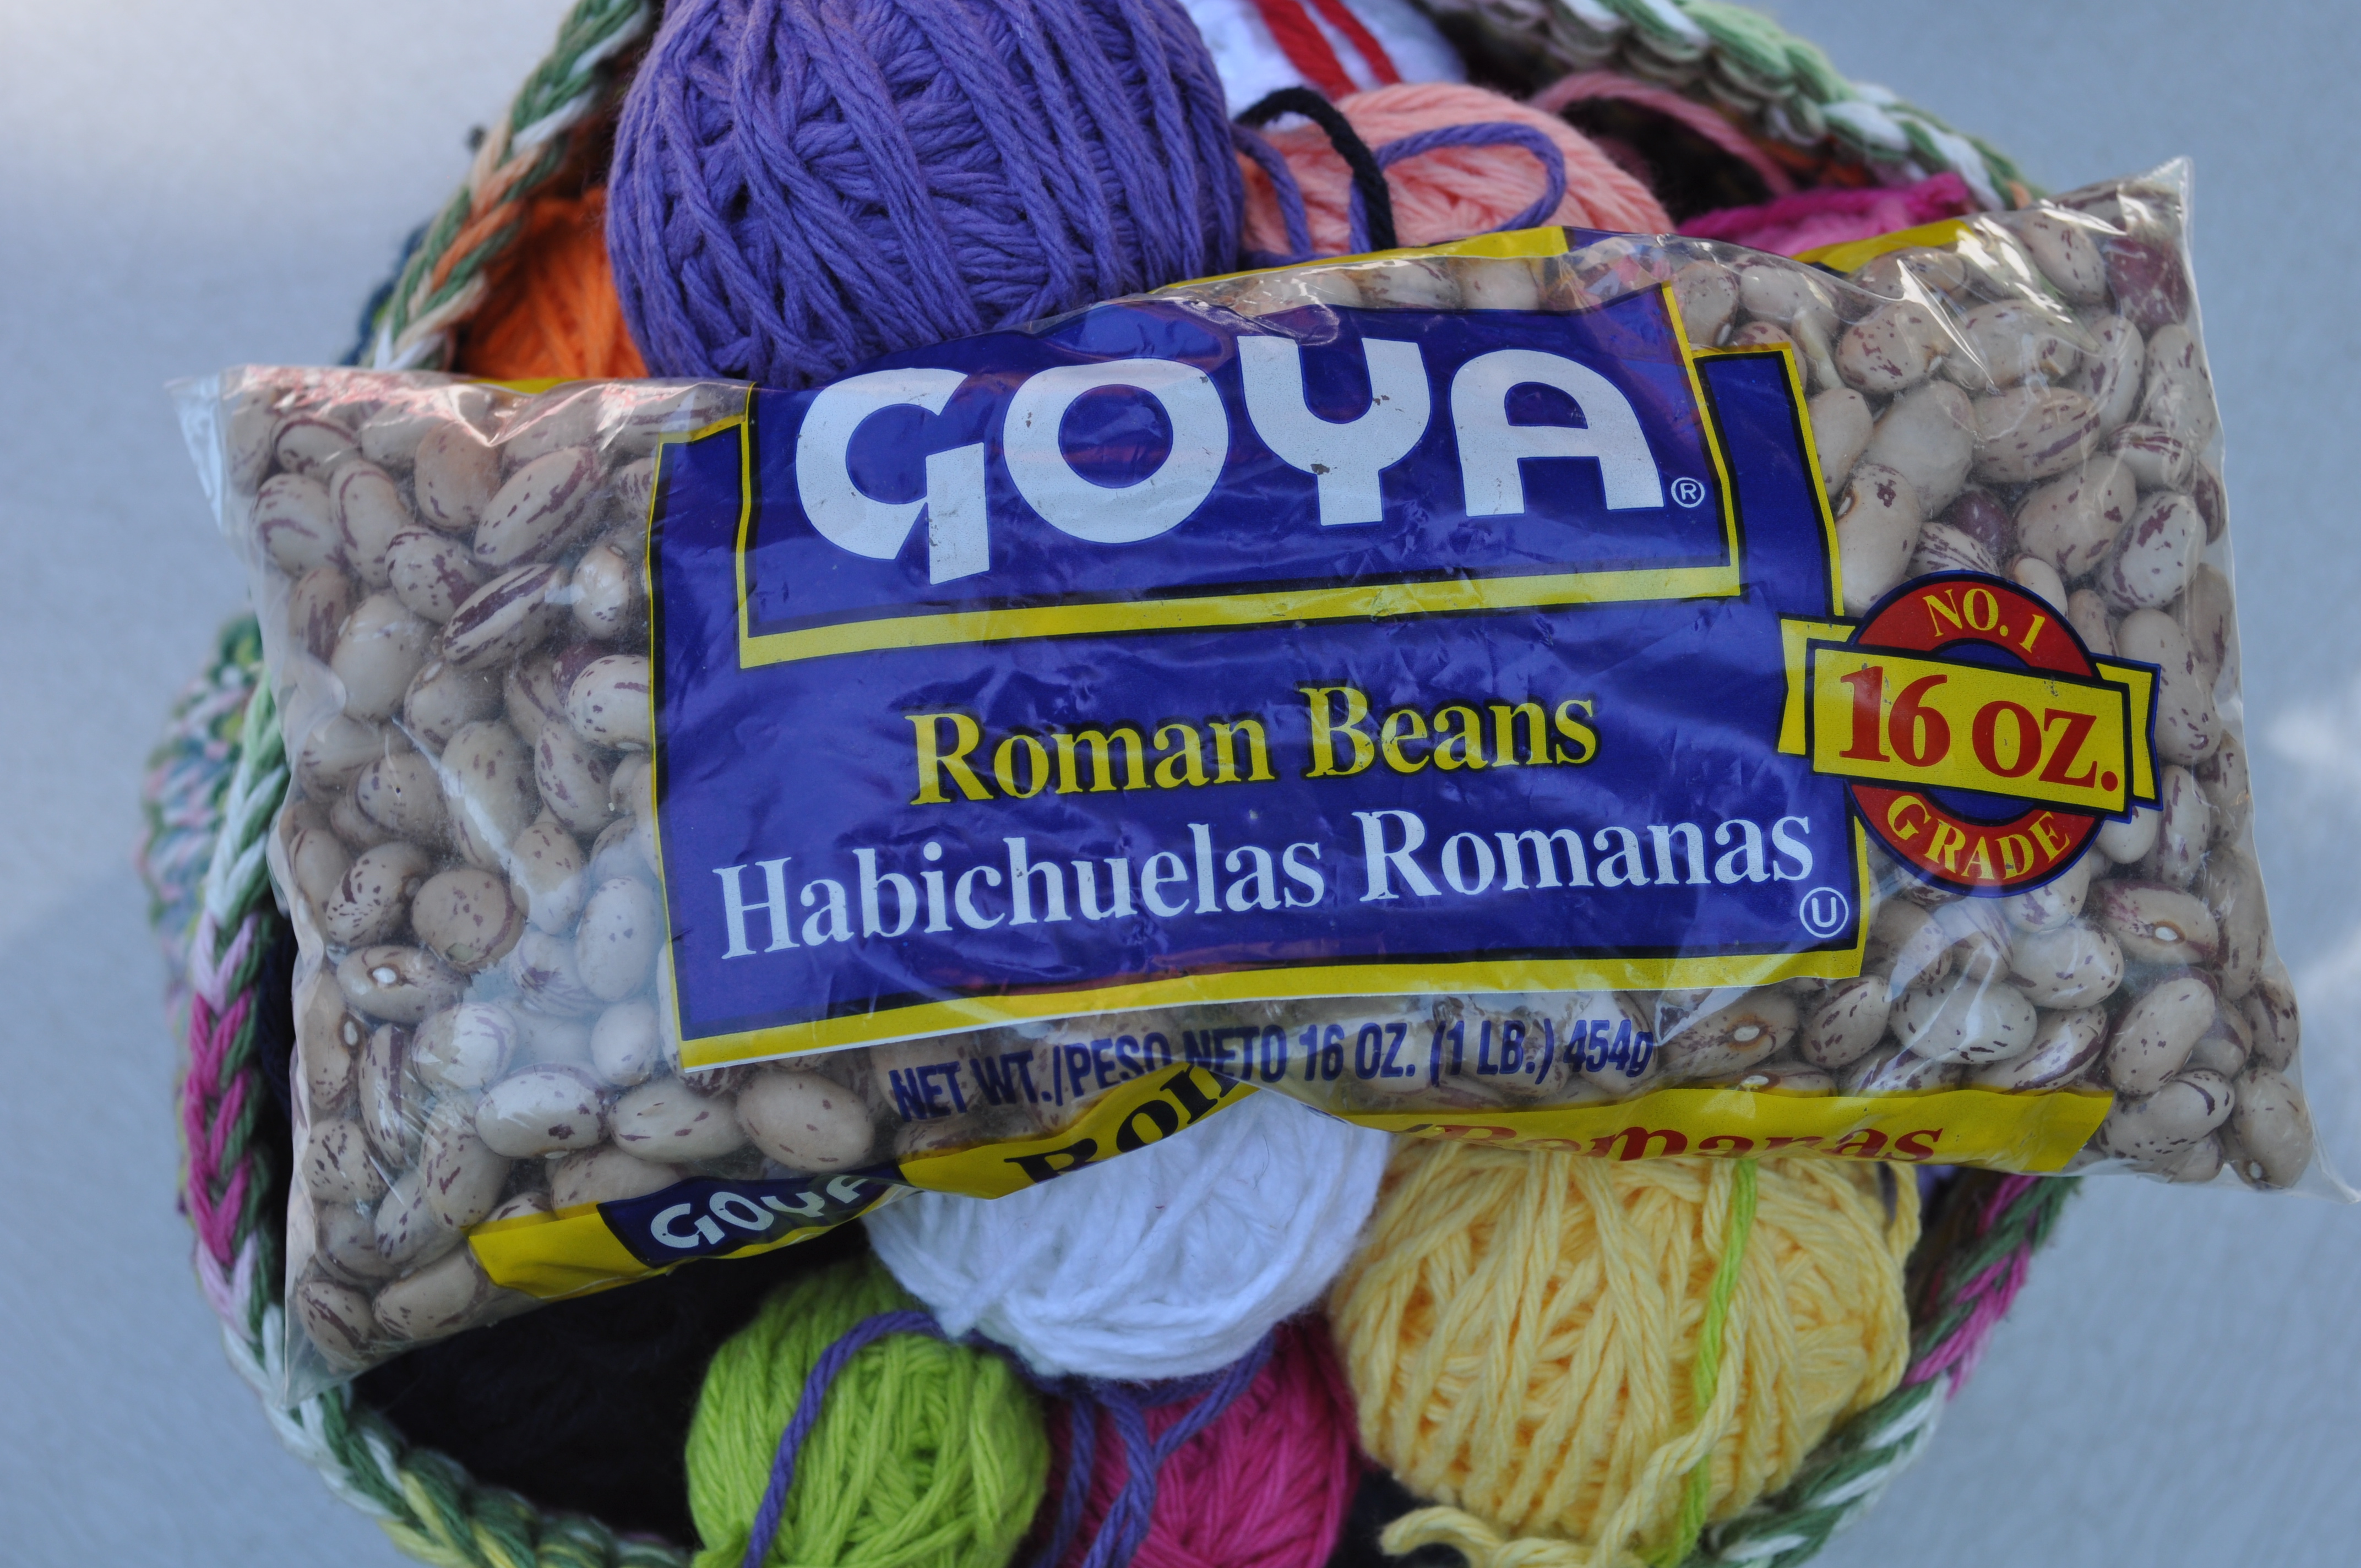
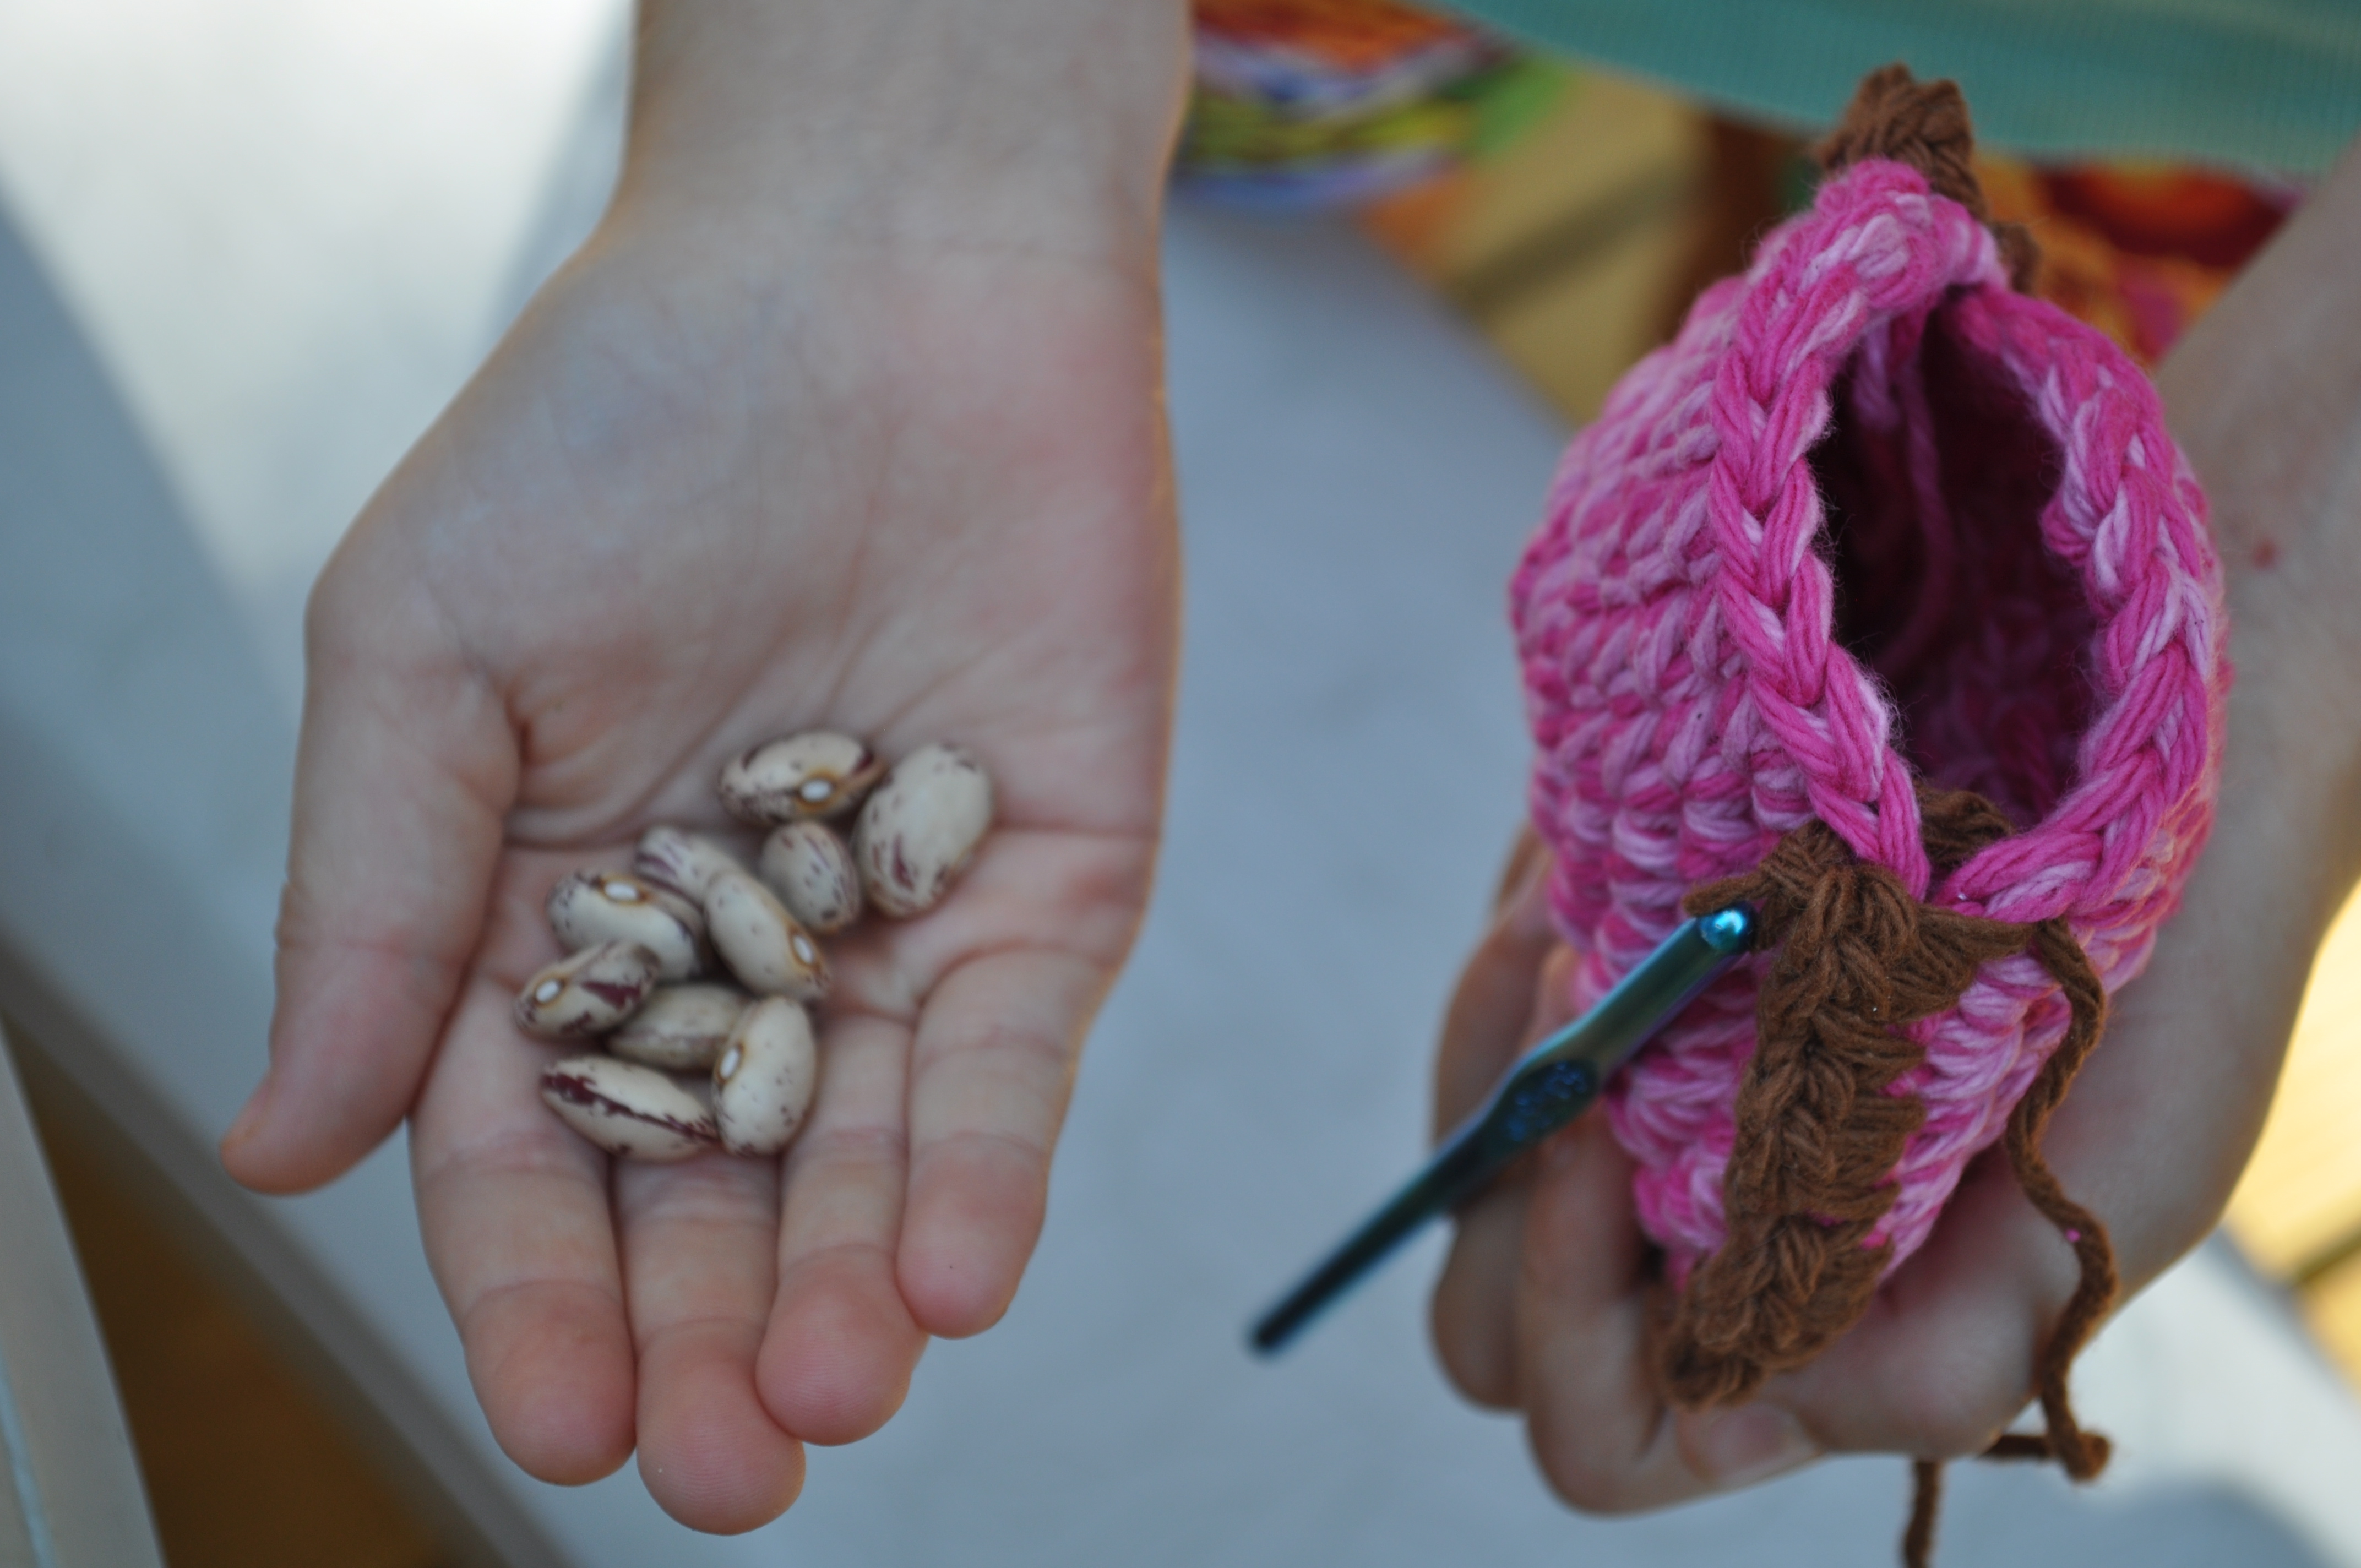
1 Small bag of medium size beans (I used Roman)
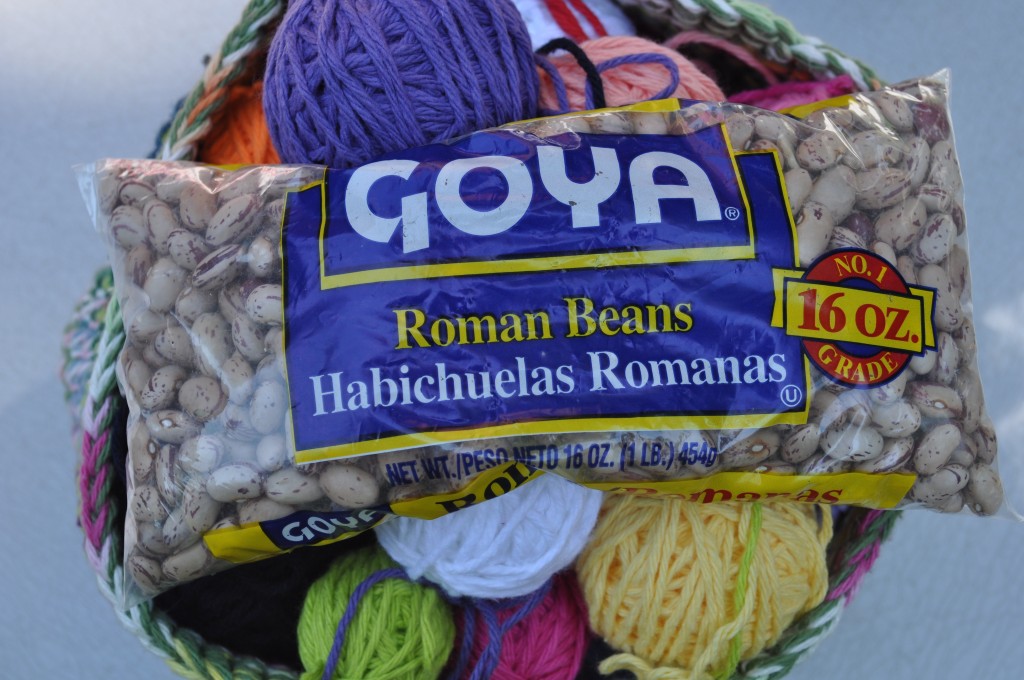
Note: I used Lily Sugar n’ Cream 100% cotton worsted weight yarn.
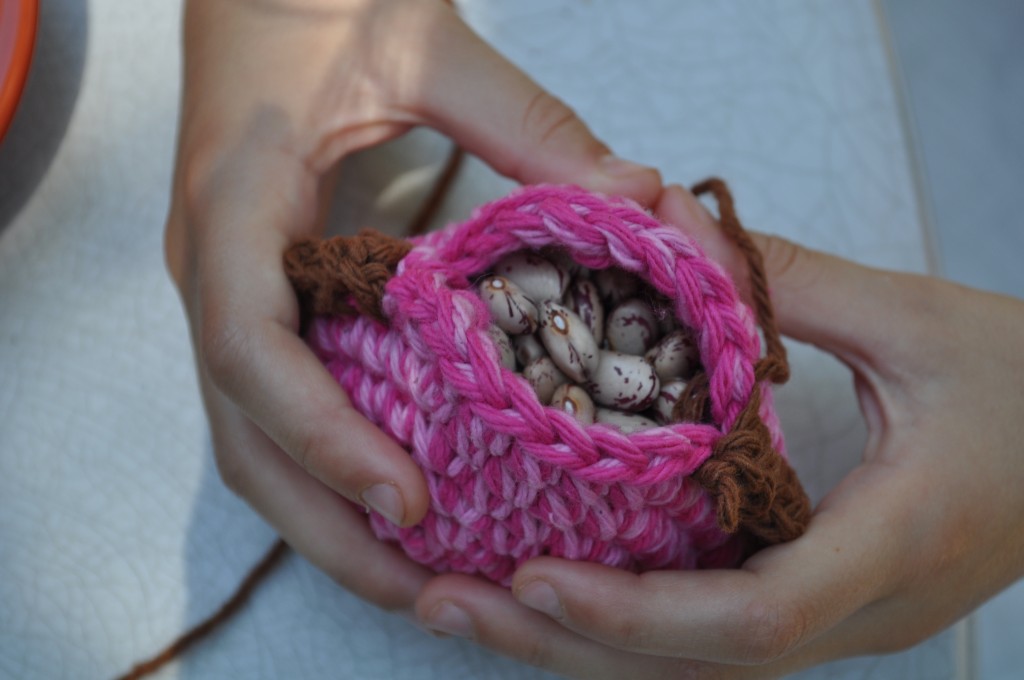
For the body of each bean bag, I used an ‘I’ hook and two strands of yarn. I used an ‘H’ hook and one strand of yarn for the edging. I also used roman beans to fill the bags because they are a good size for staying in the bag and not coming out of the stitch spaces.
This pattern is worked in continuous rounds, so do not join.
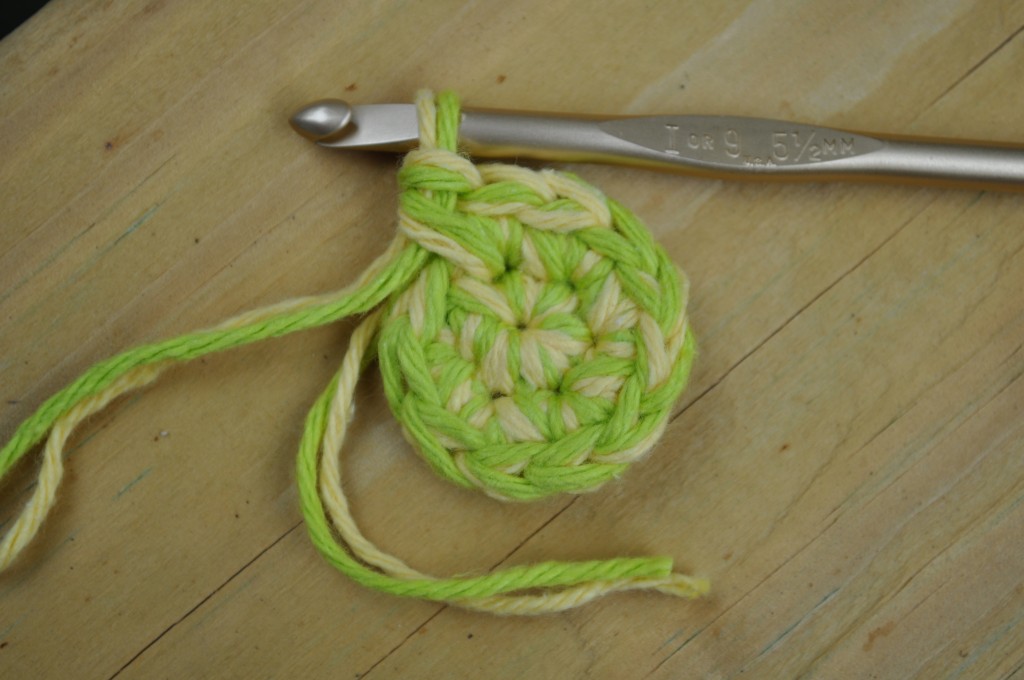
Using ‘I’ hook and two strands of yarn, make a magic loop
Rnd 1: 6 sc inside loop (6 sts)
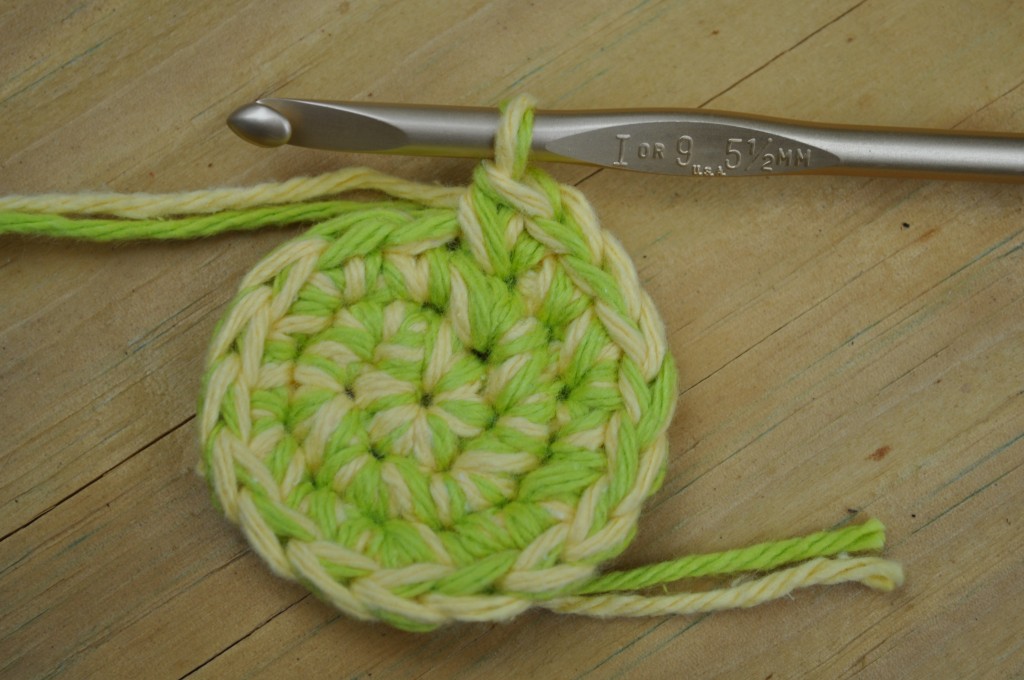
Rnd 2: 2 sc in ea st around (12 sts)
Rnd 3: (1 sc in next st, 2 sc in next st) 6 times (18 sts)
Rnd 4: (1 sc in next two sts, 2 sc in next st) 6 times (24 sts)
Rnd 5: (1 sc in next three sts, 2 sc in next st) 6 times (30 sts)
Rnd 6: (1 sc in next four sts, 2 sc in next st) 6 times (36 sts)
Slip stitch in next stitch to fasten off but don’t weave in end.
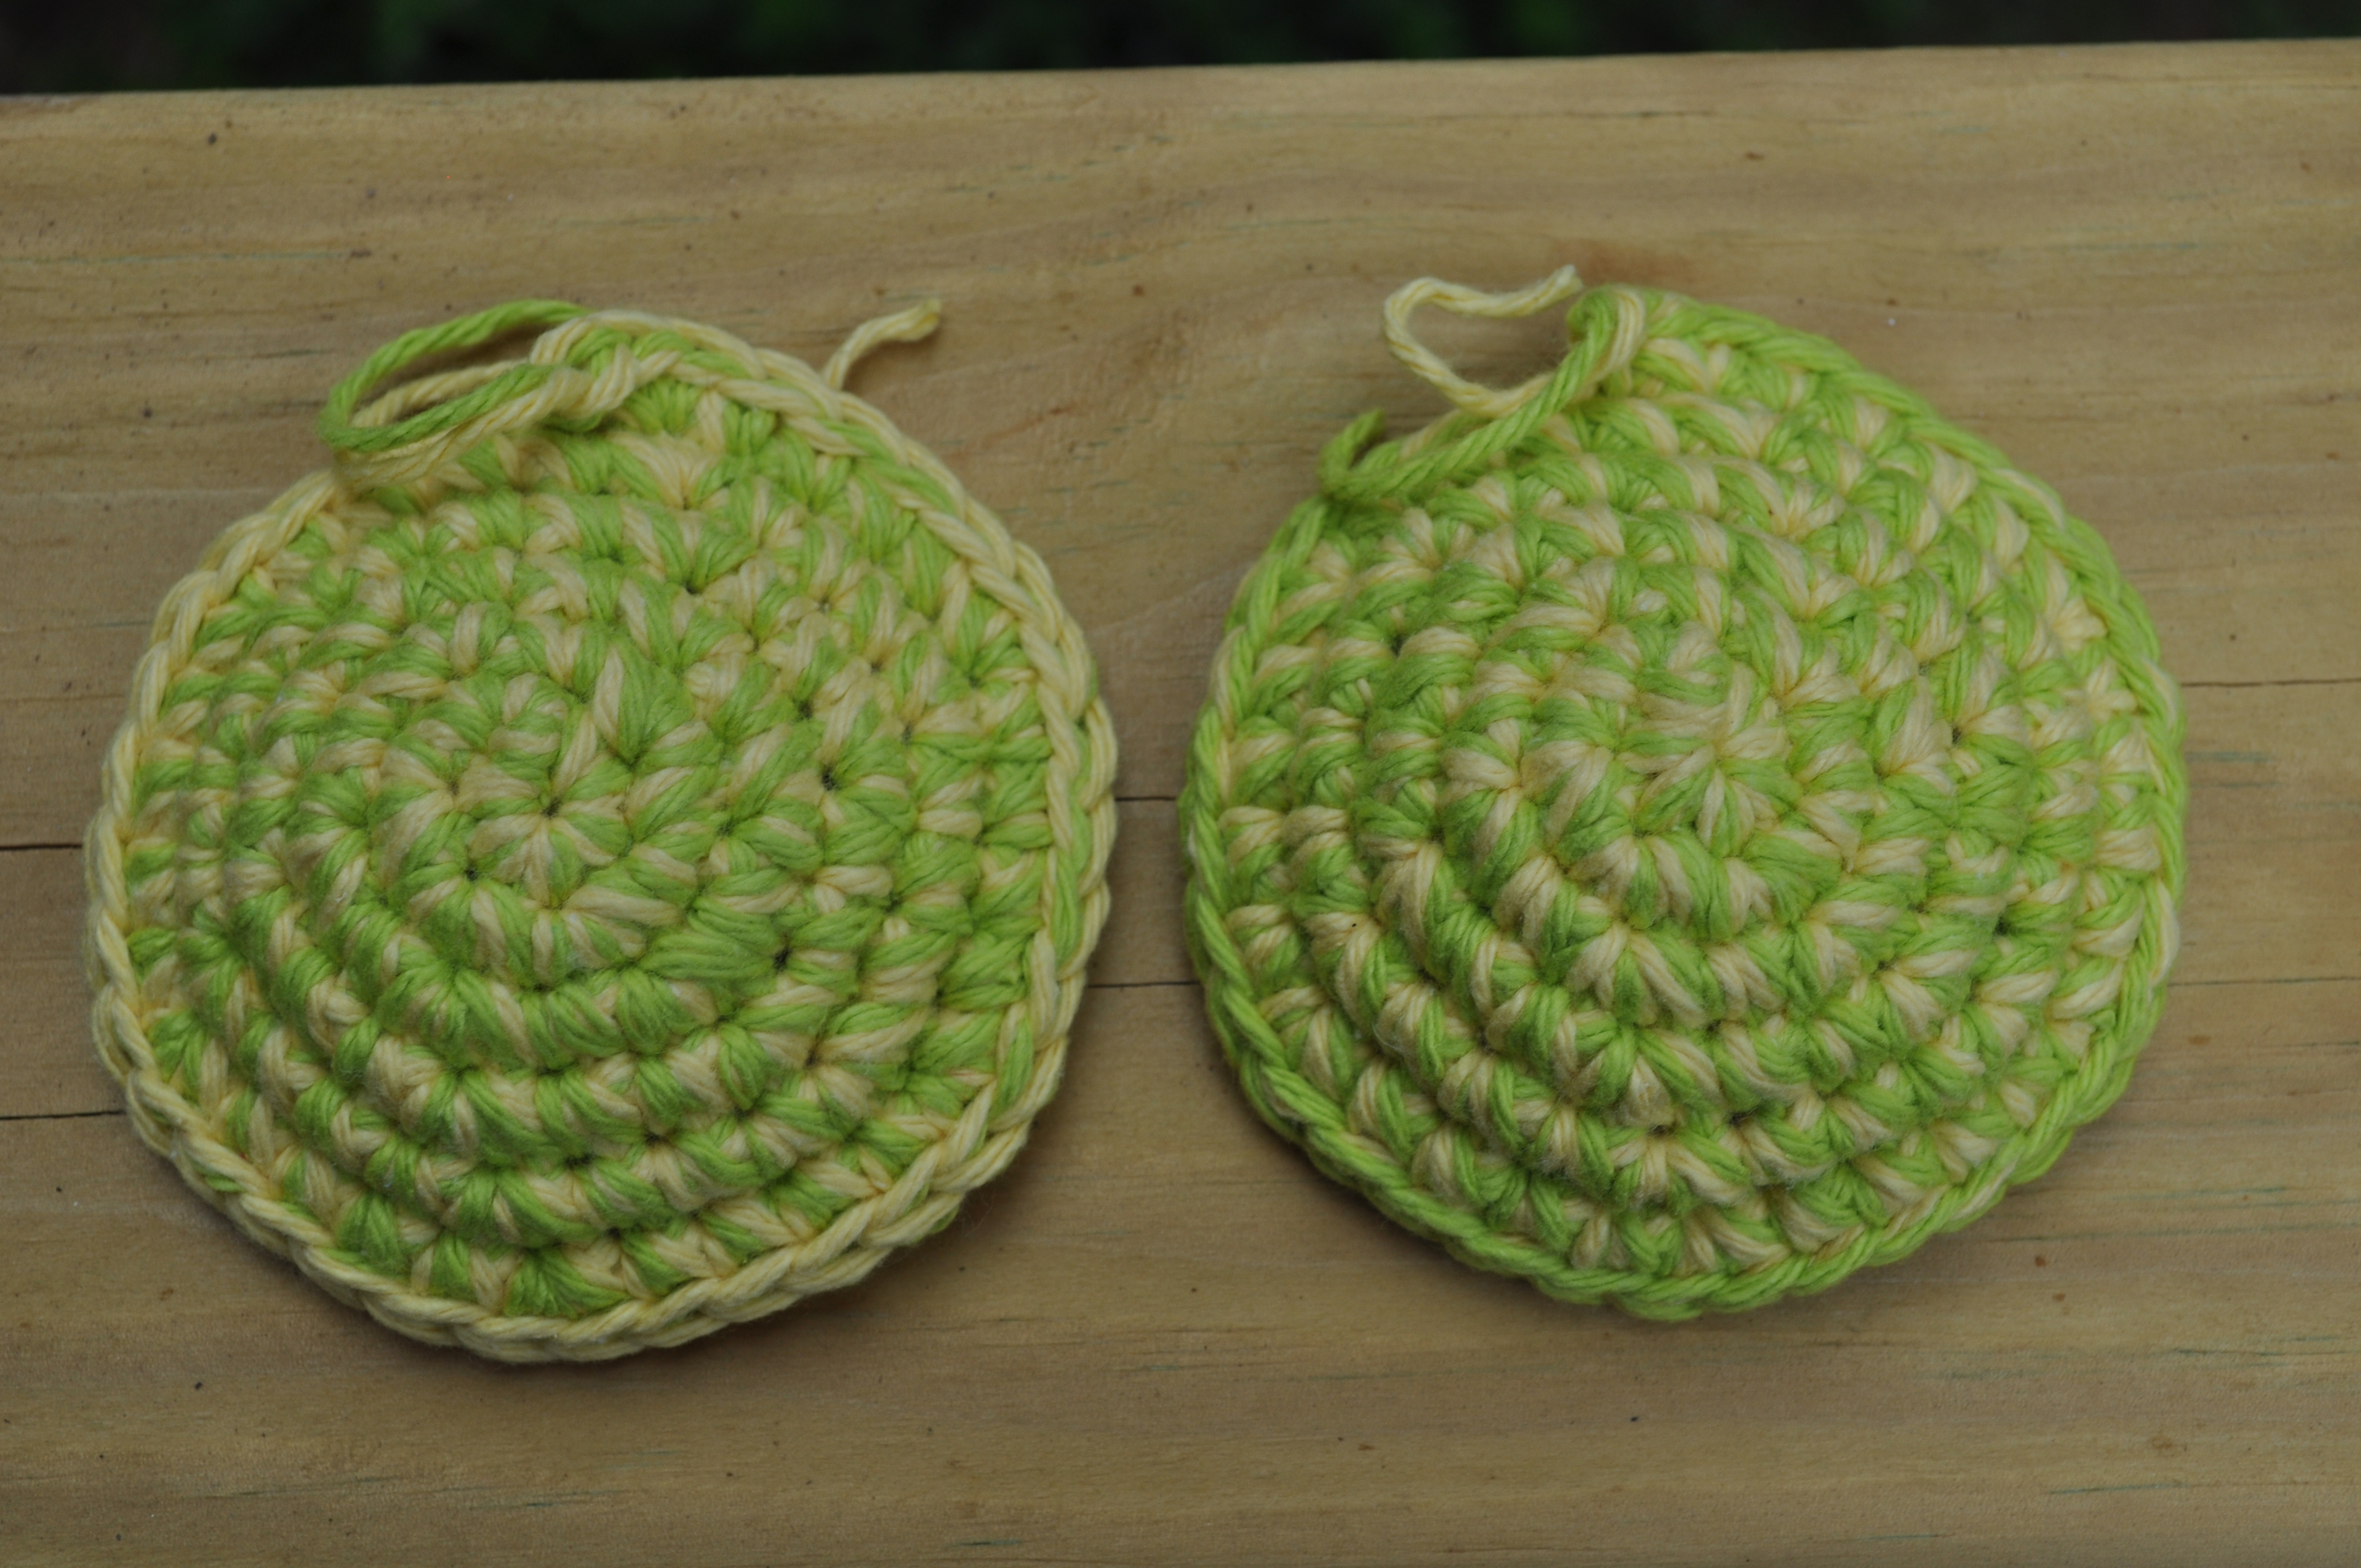
Make two of these for each bag (front and back).
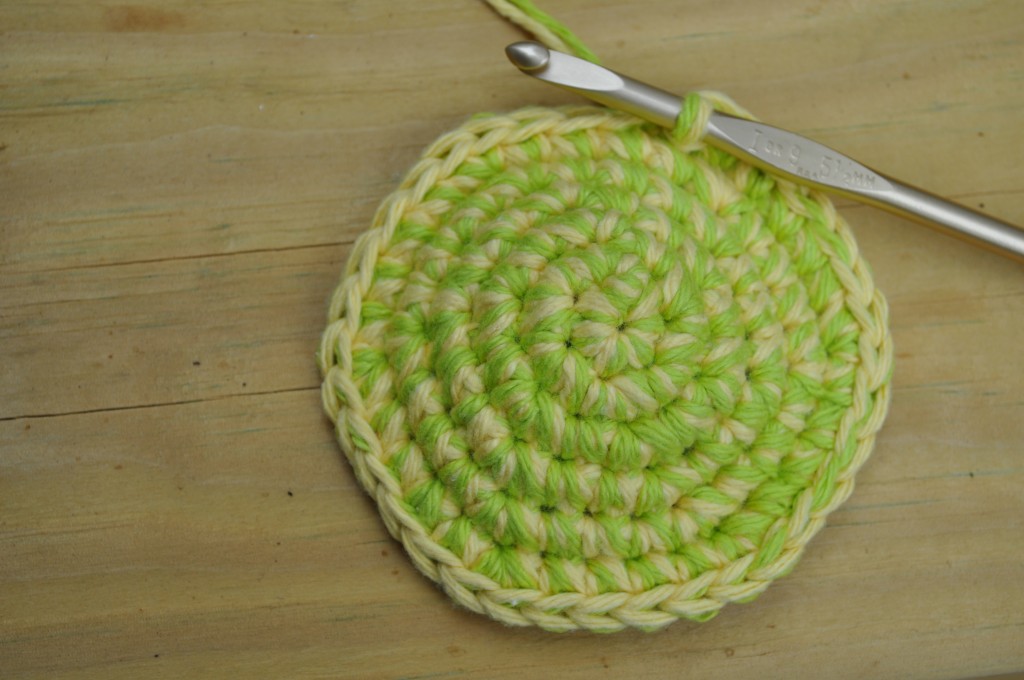
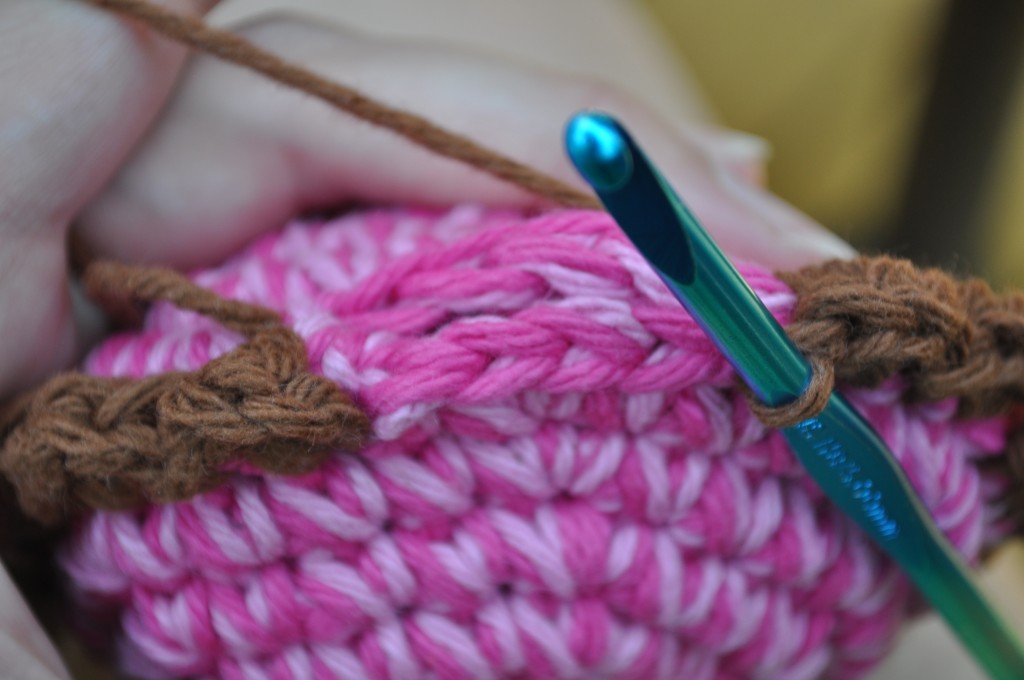
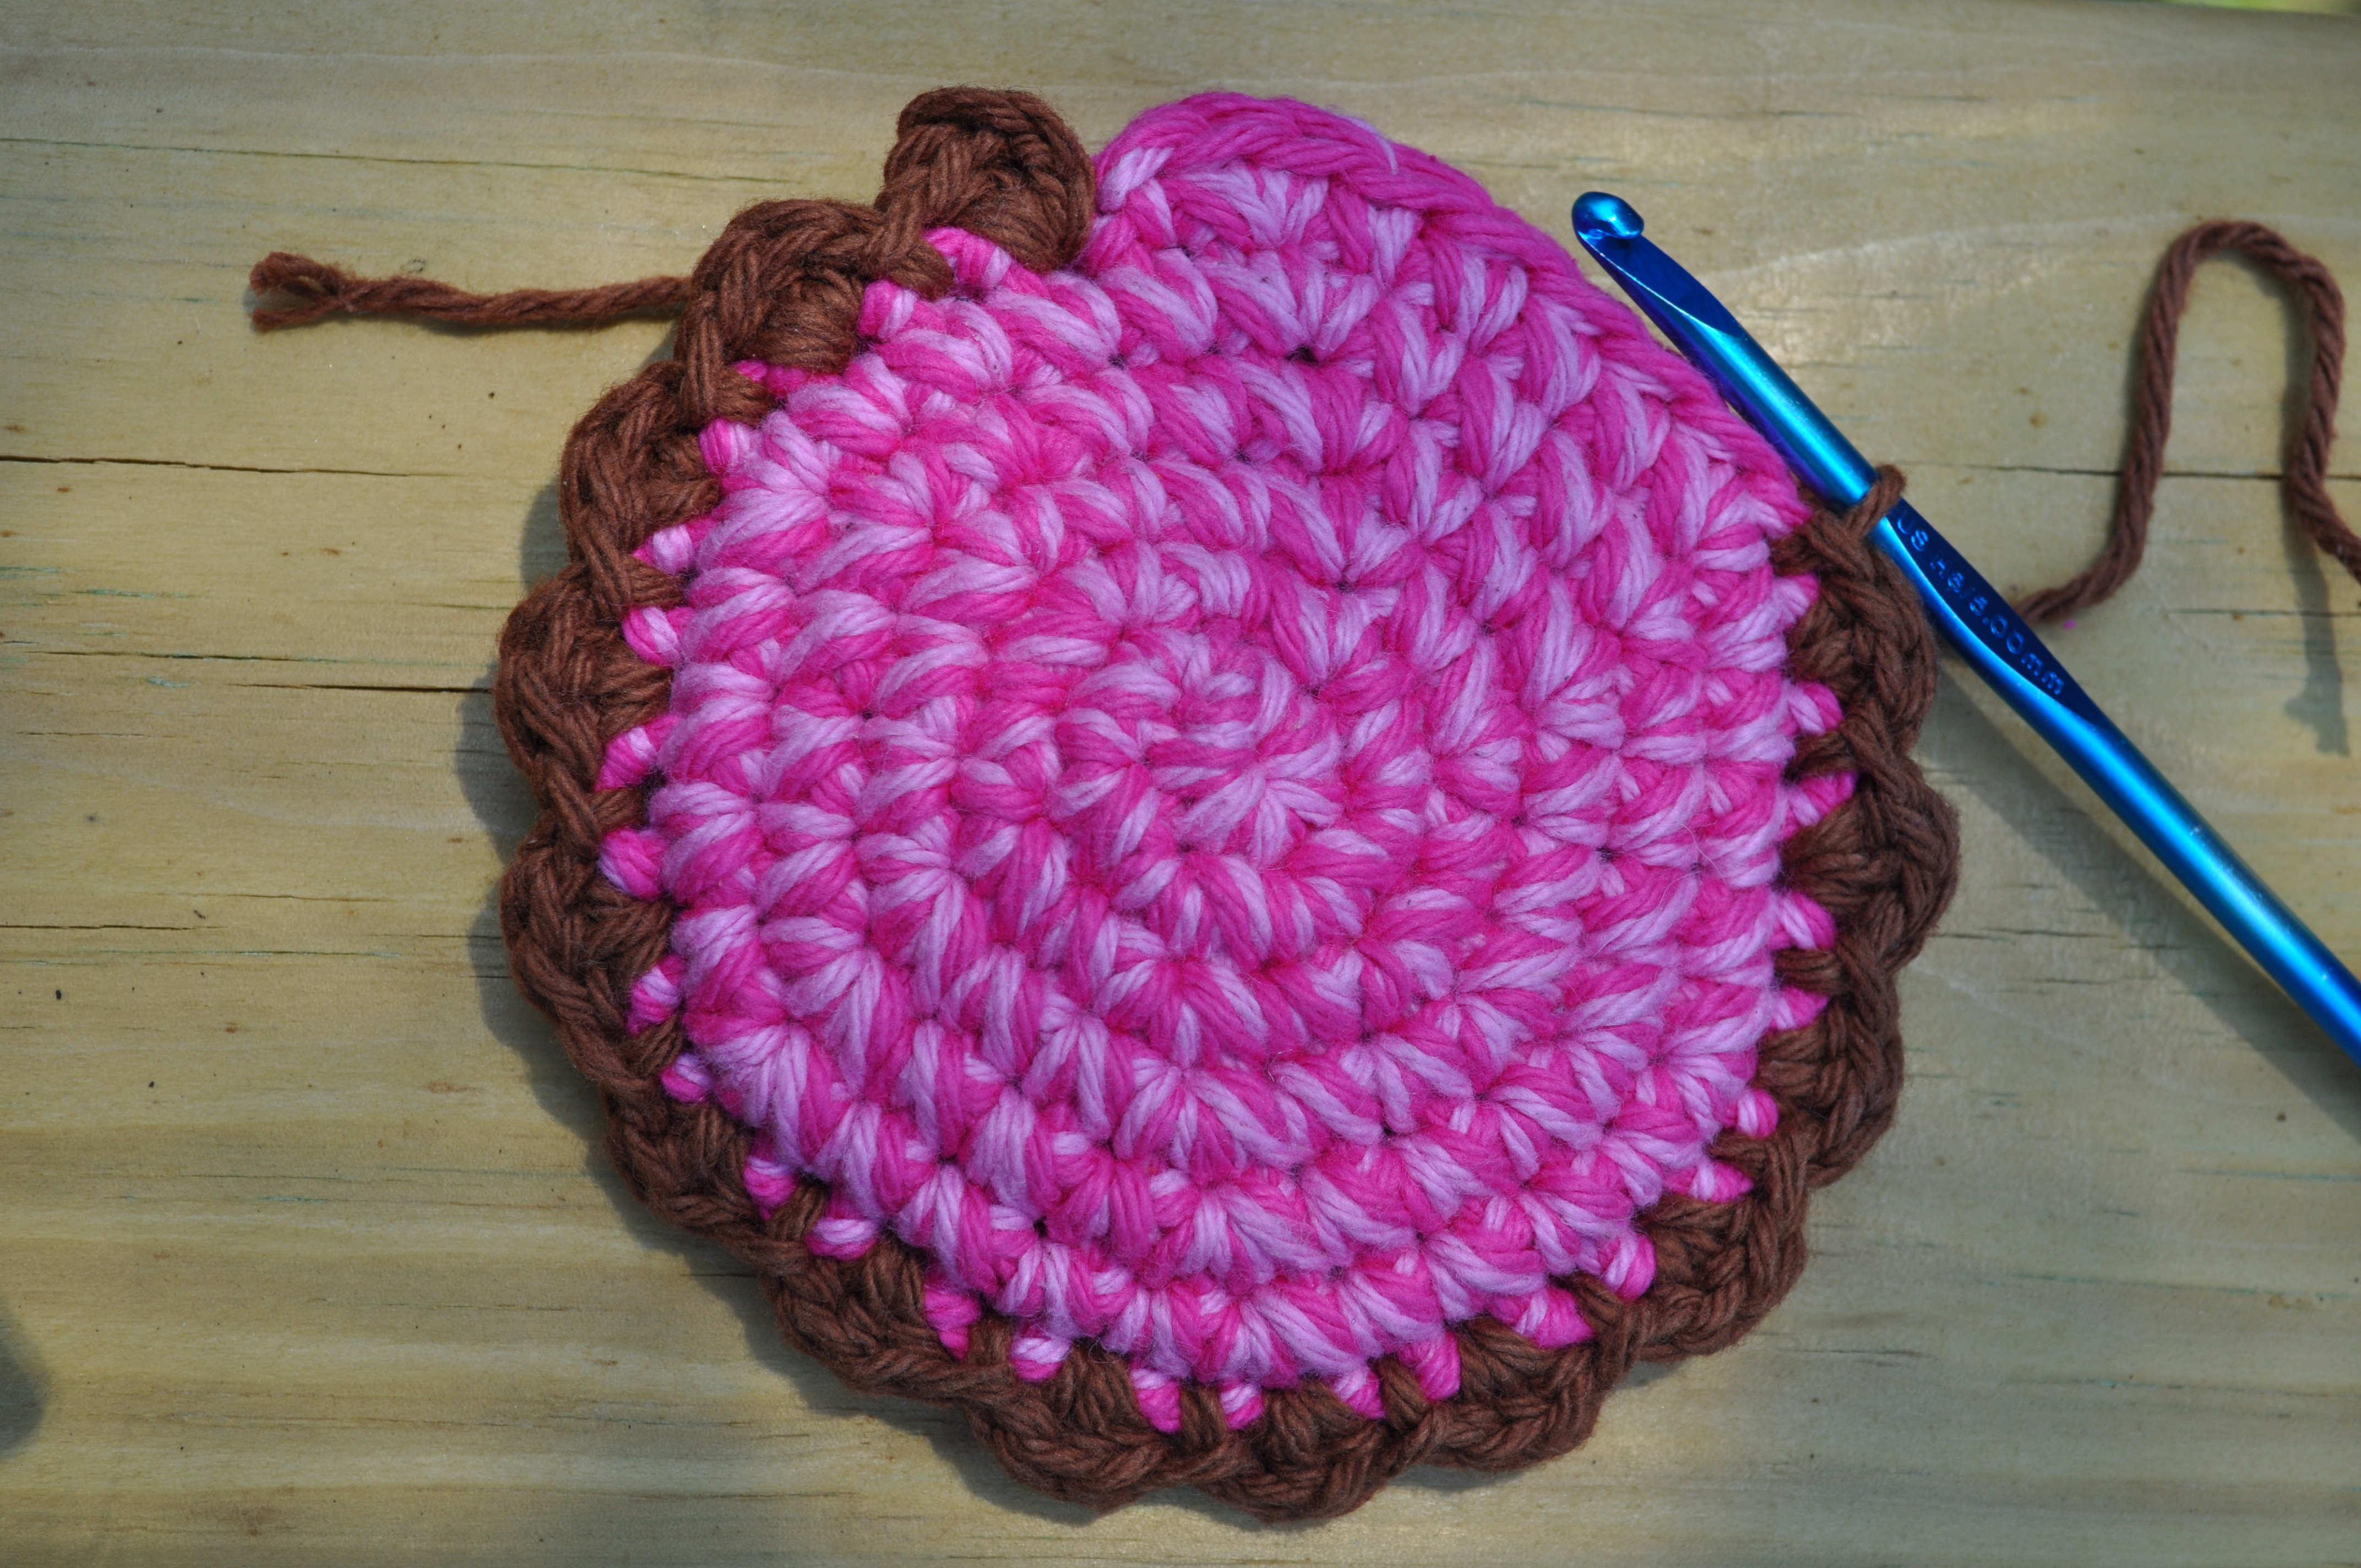
Join the two pieces together with single strand edging and ‘H’ hook:
Hold both pieces together with magic loop tails already pulled tight and facing toward the inside of the bag. Tie the end tails of each piece together for extra strength and then tuck them inside before you begin closing.
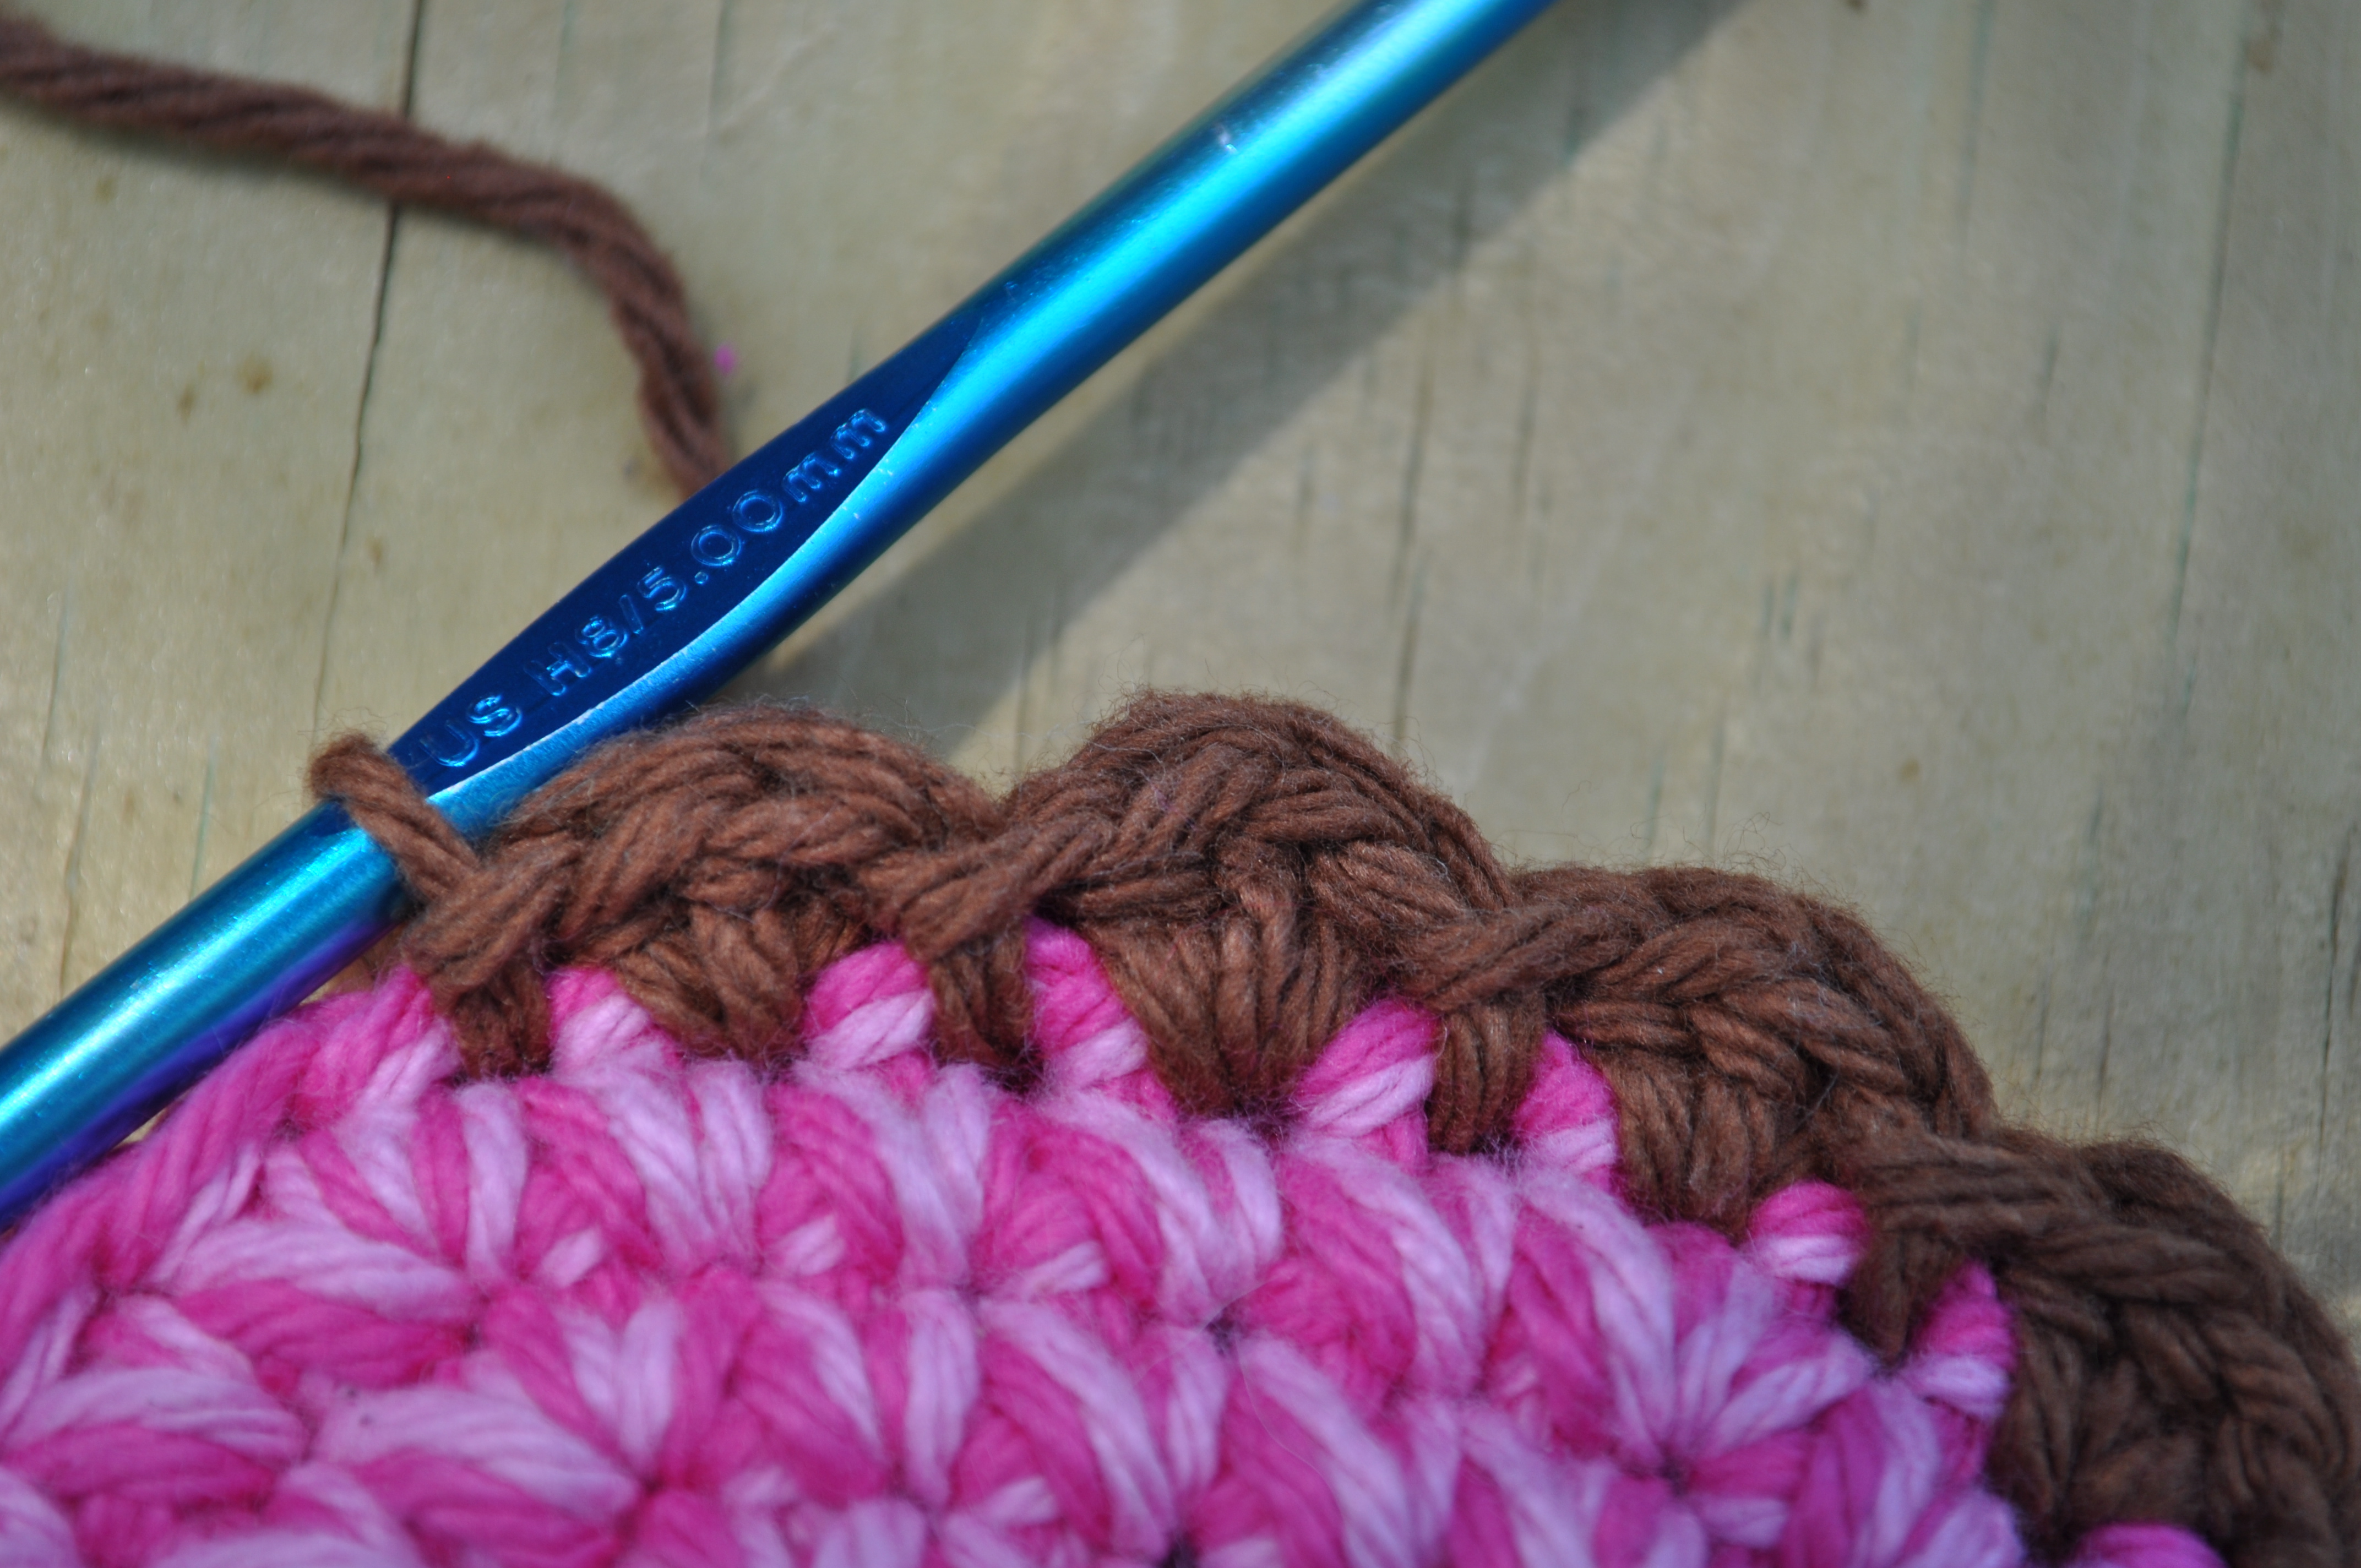
Beginning anywhere around the outside round, join edging yarn through both layers and ch 2 (counts as one hdc), 2 hdc in same st, (sl st in next st, 3 hdc in next st) all the way around (but don’t forget to stop about an inch or two from closing it all the way to add the beans!), sl st in first cluster of 3 hdc to end. Fasten off but don’t weave in ends. Tie beginning and end tails together for extra strength and then weave them in.

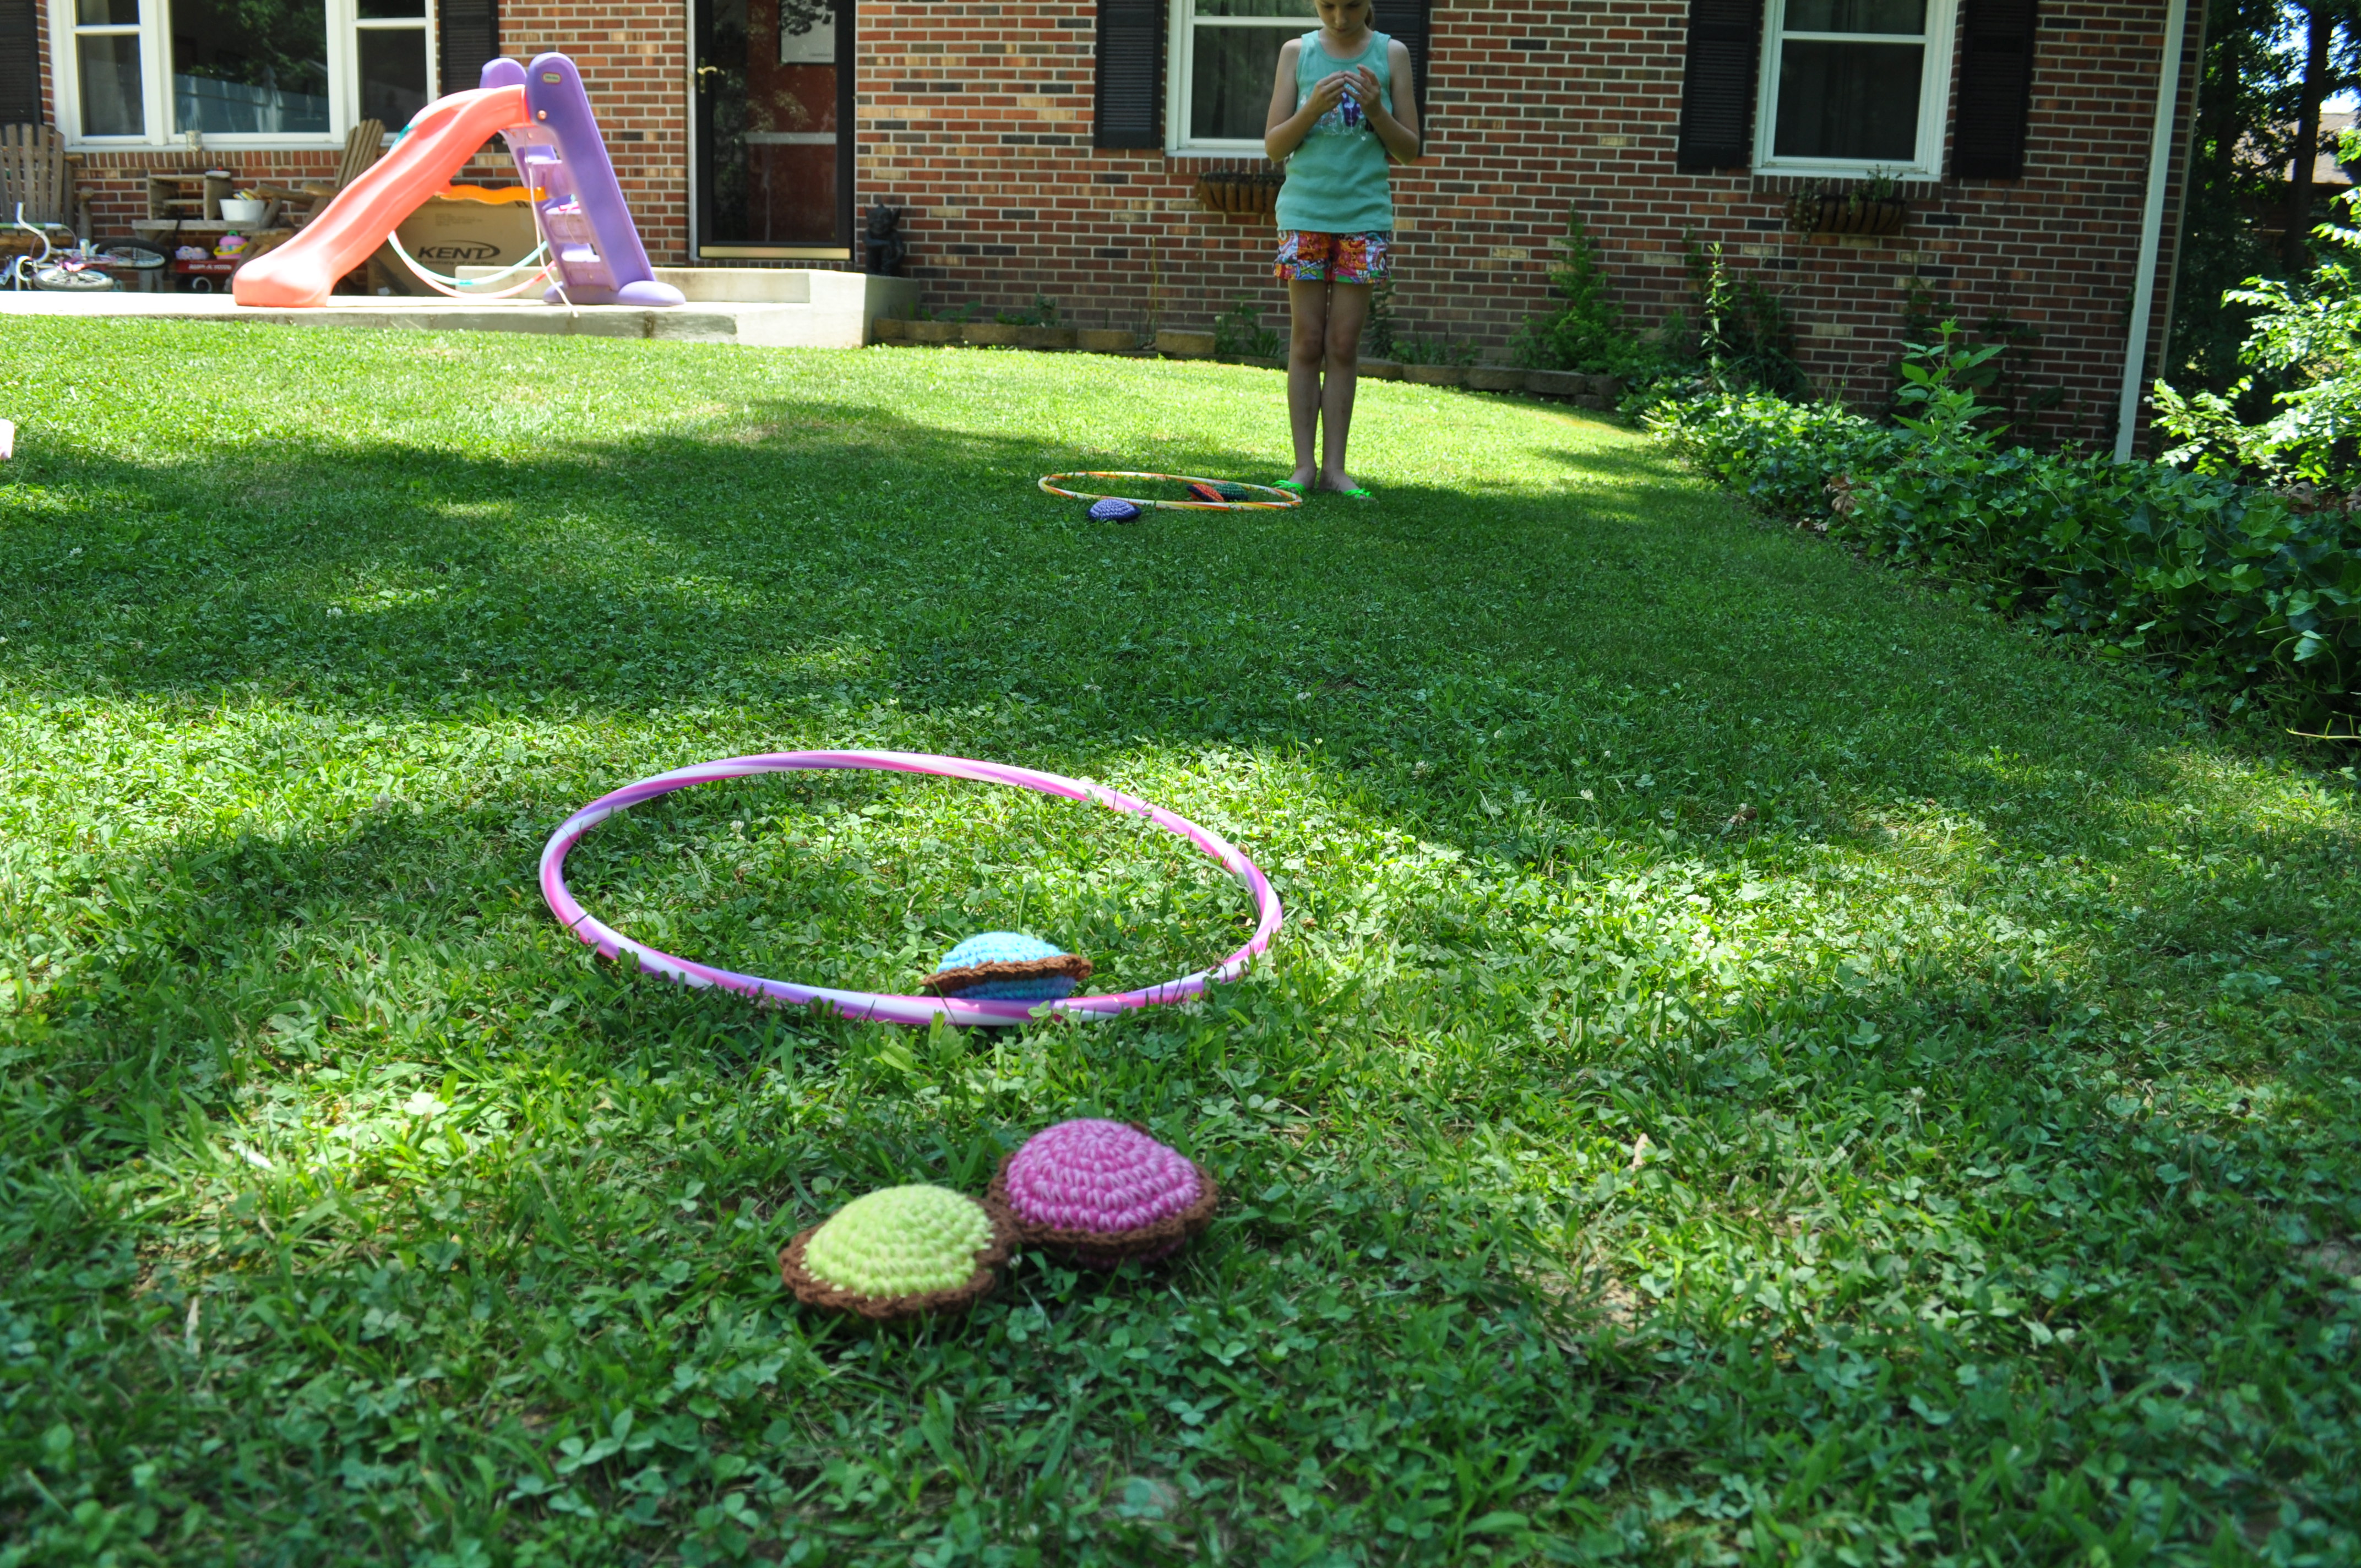
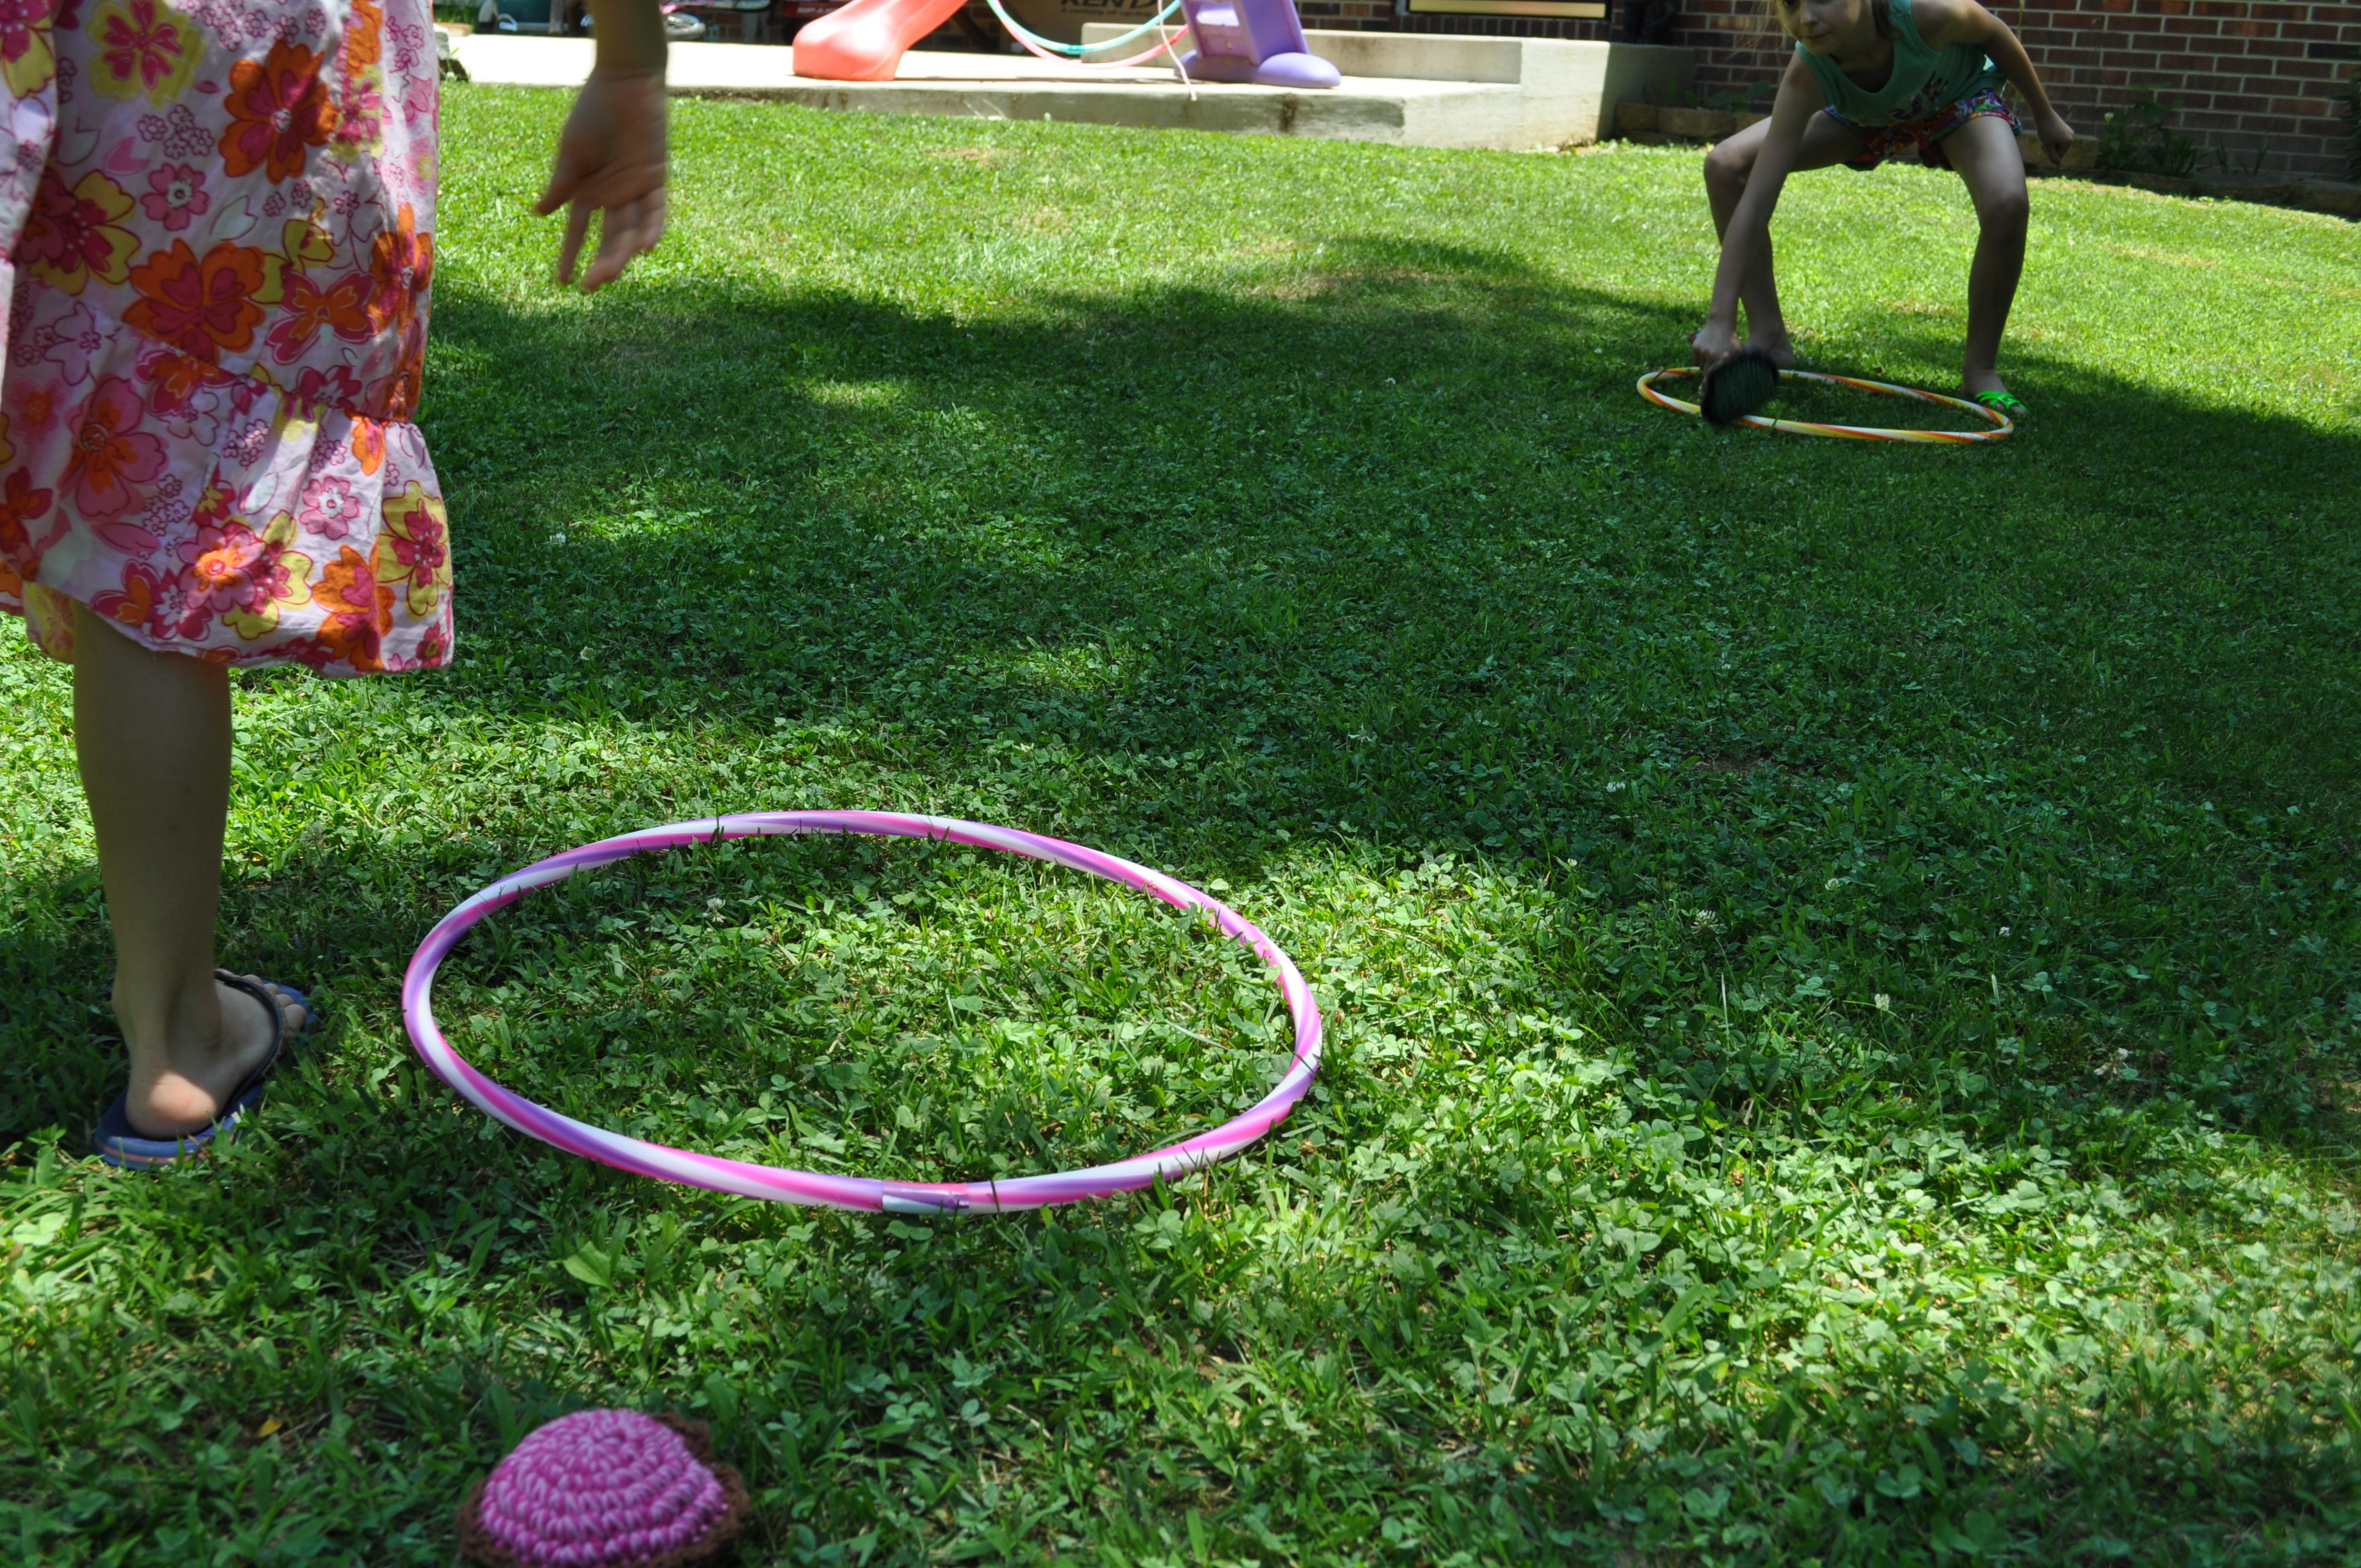
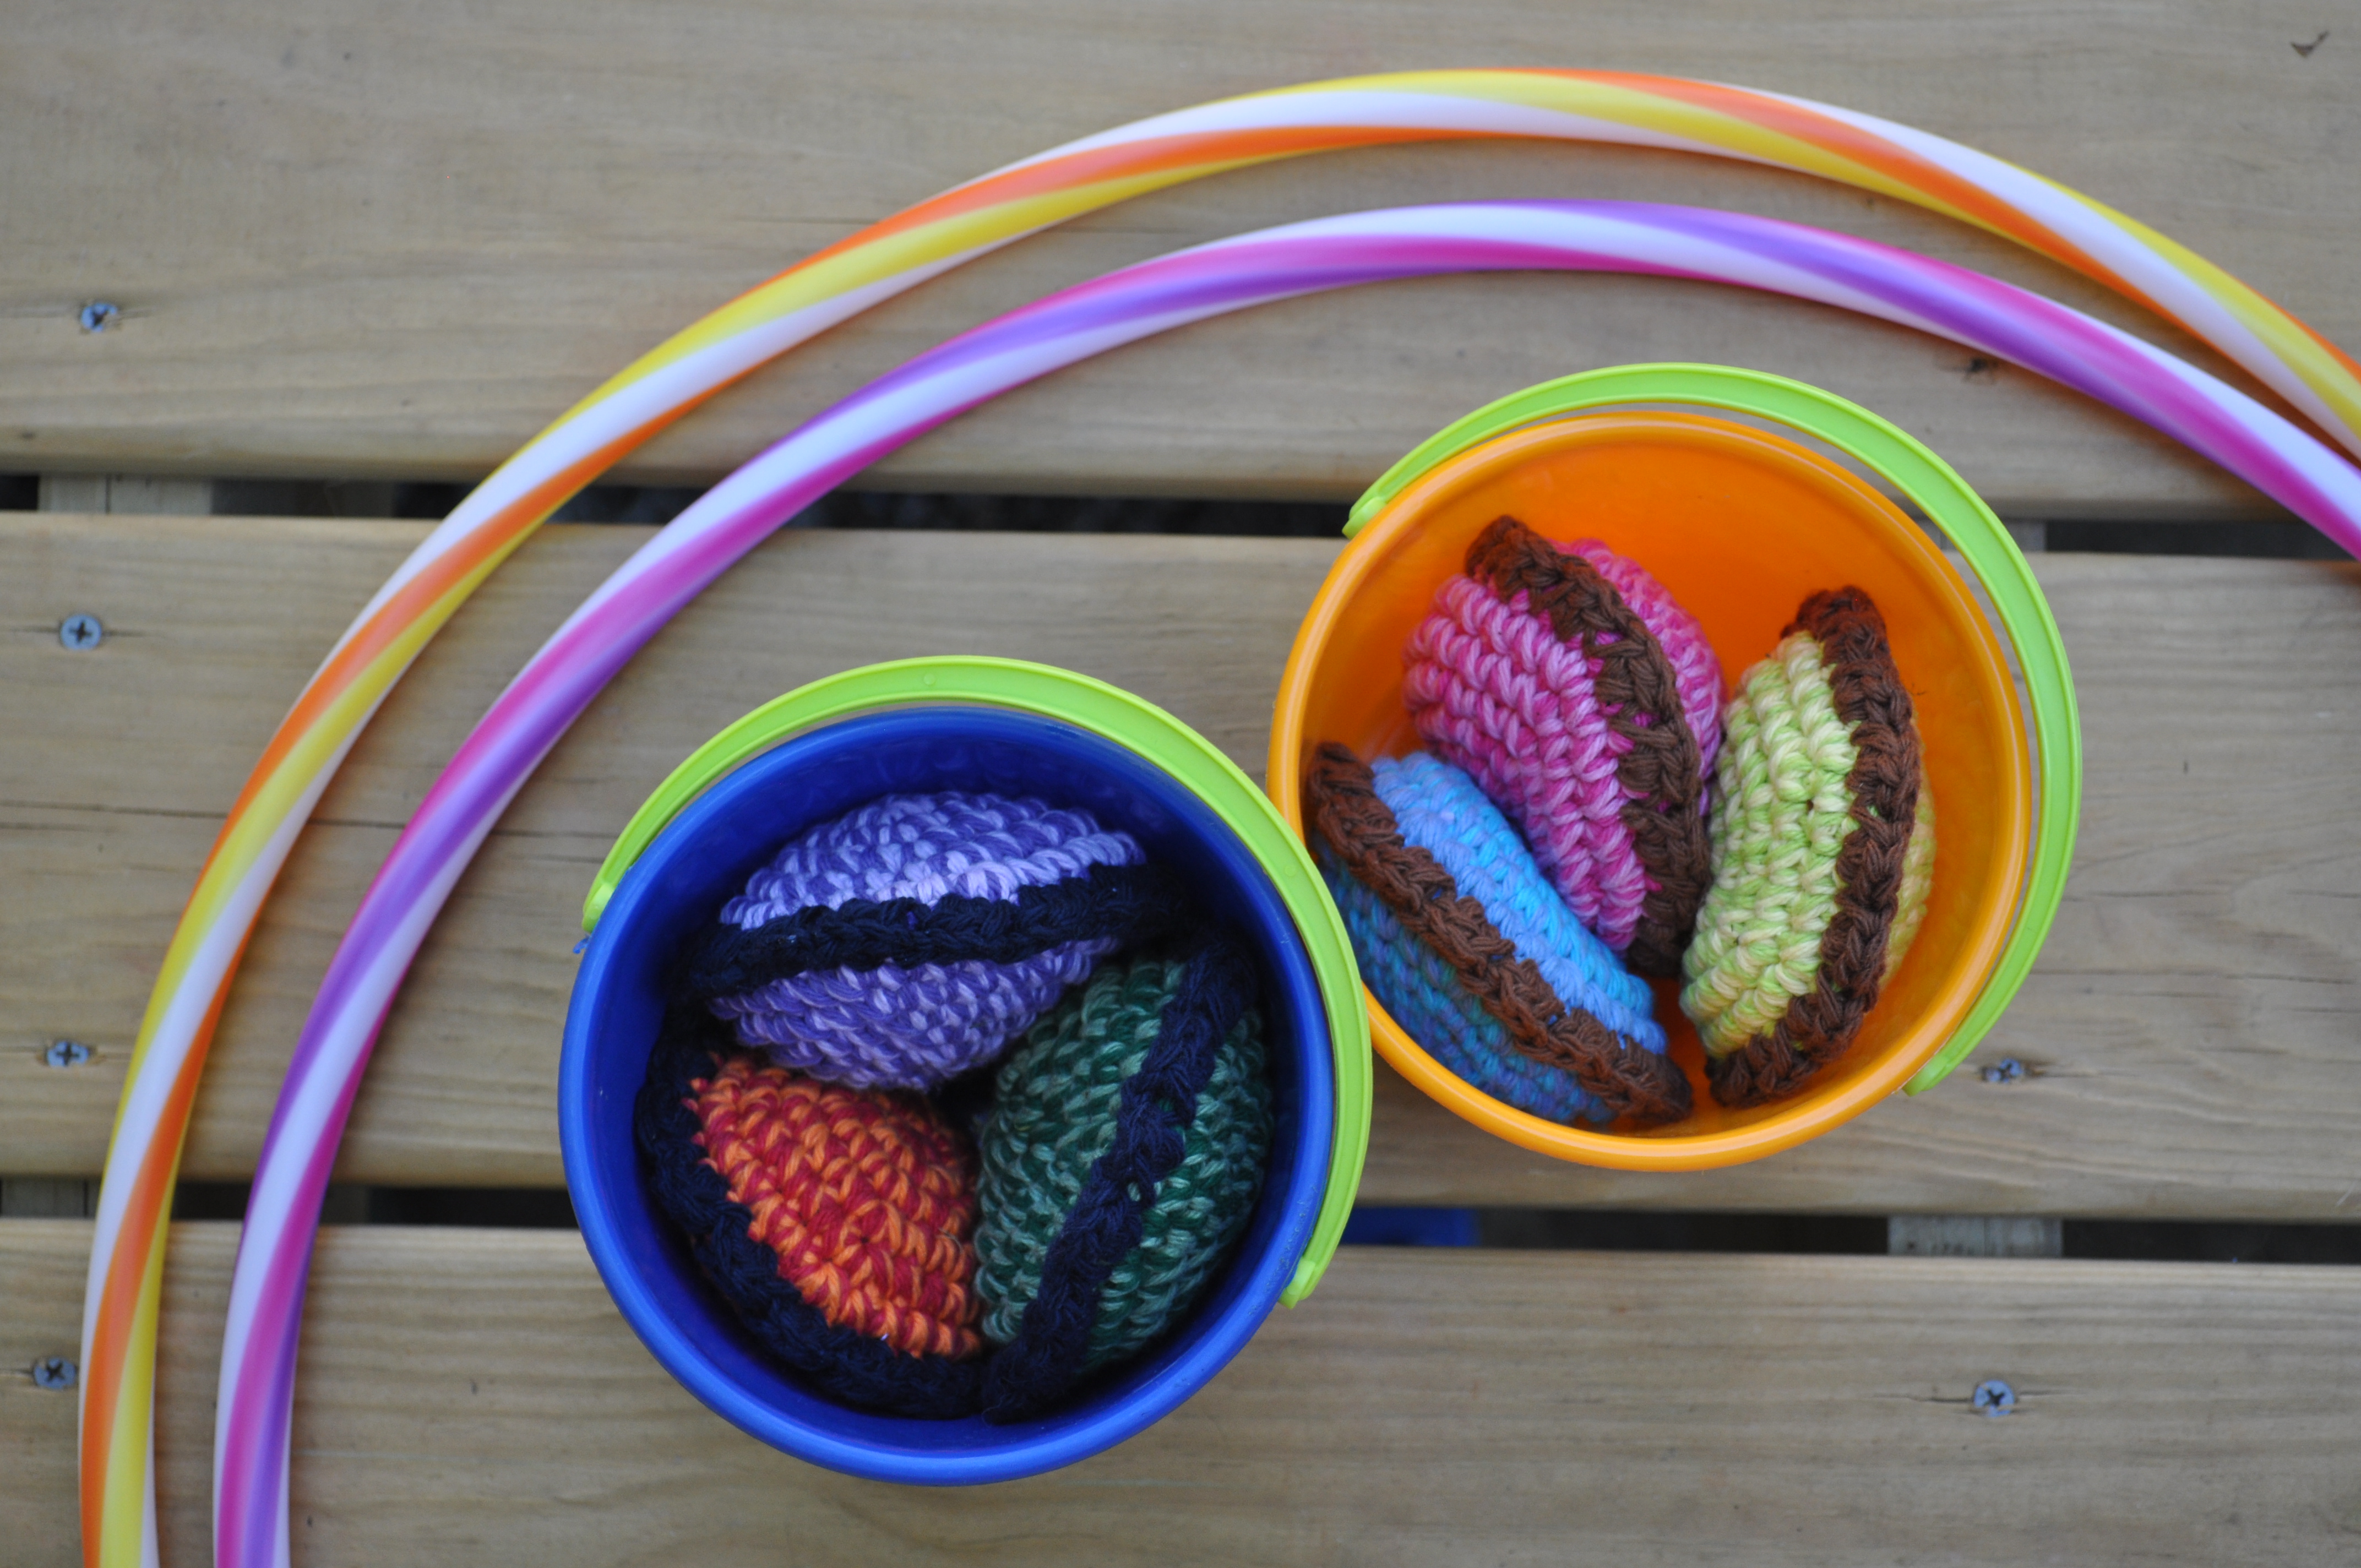
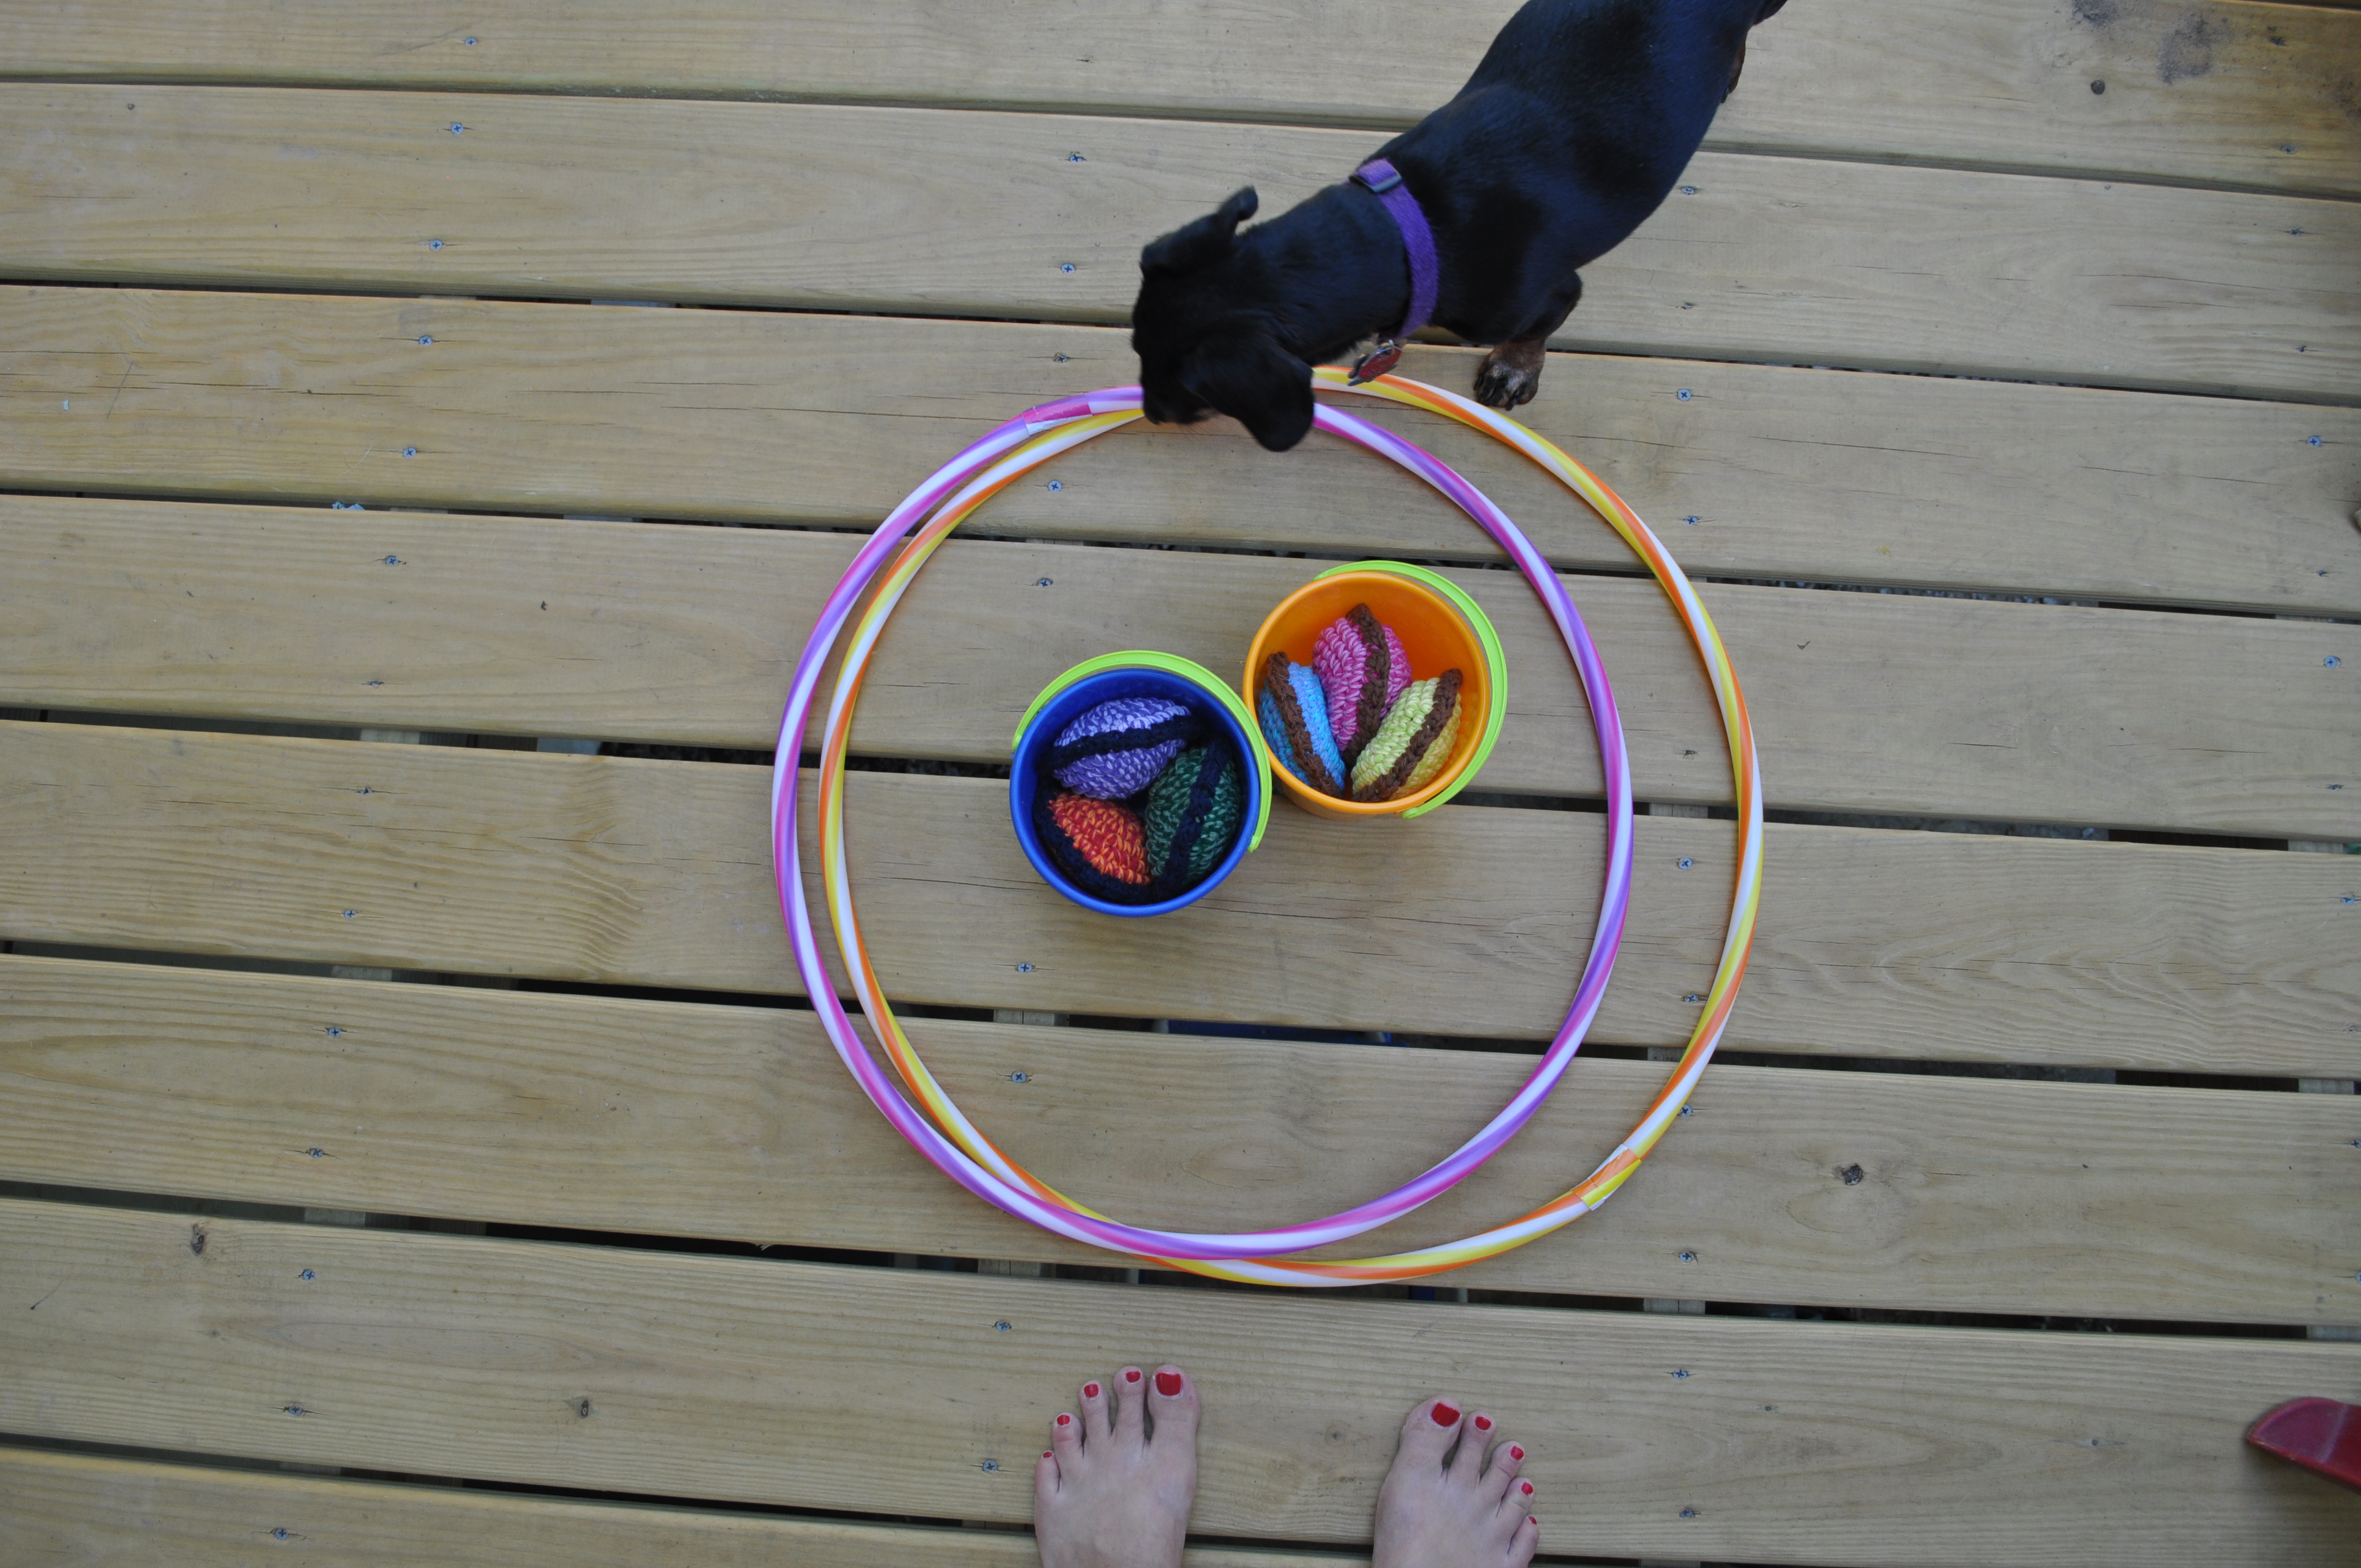
This was a super easy and cheap way to get a couple yard games together for the kids. We’ve actually had our set since last summer when I made the first ones. This new set is for a friend for a birthday party. The two hoola-hoops, I found at the dollar store and they are overall pretty crappy hoola-hoops for hoola-hooping, but I think they make pretty solid bean bag toss game hoops and they’re actually slightly smaller than full size hoola-hoops which makes them a little easier to store and makes the game a little more challenging. The little buckets were 99 cents each at Target (in the toy department oddly, not the dollar area or the seasonal area). The beans were $1 and I already had the yarn, so about five bucks altogether.
Here’s a little more detailed version…
Remember, do not join rounds.
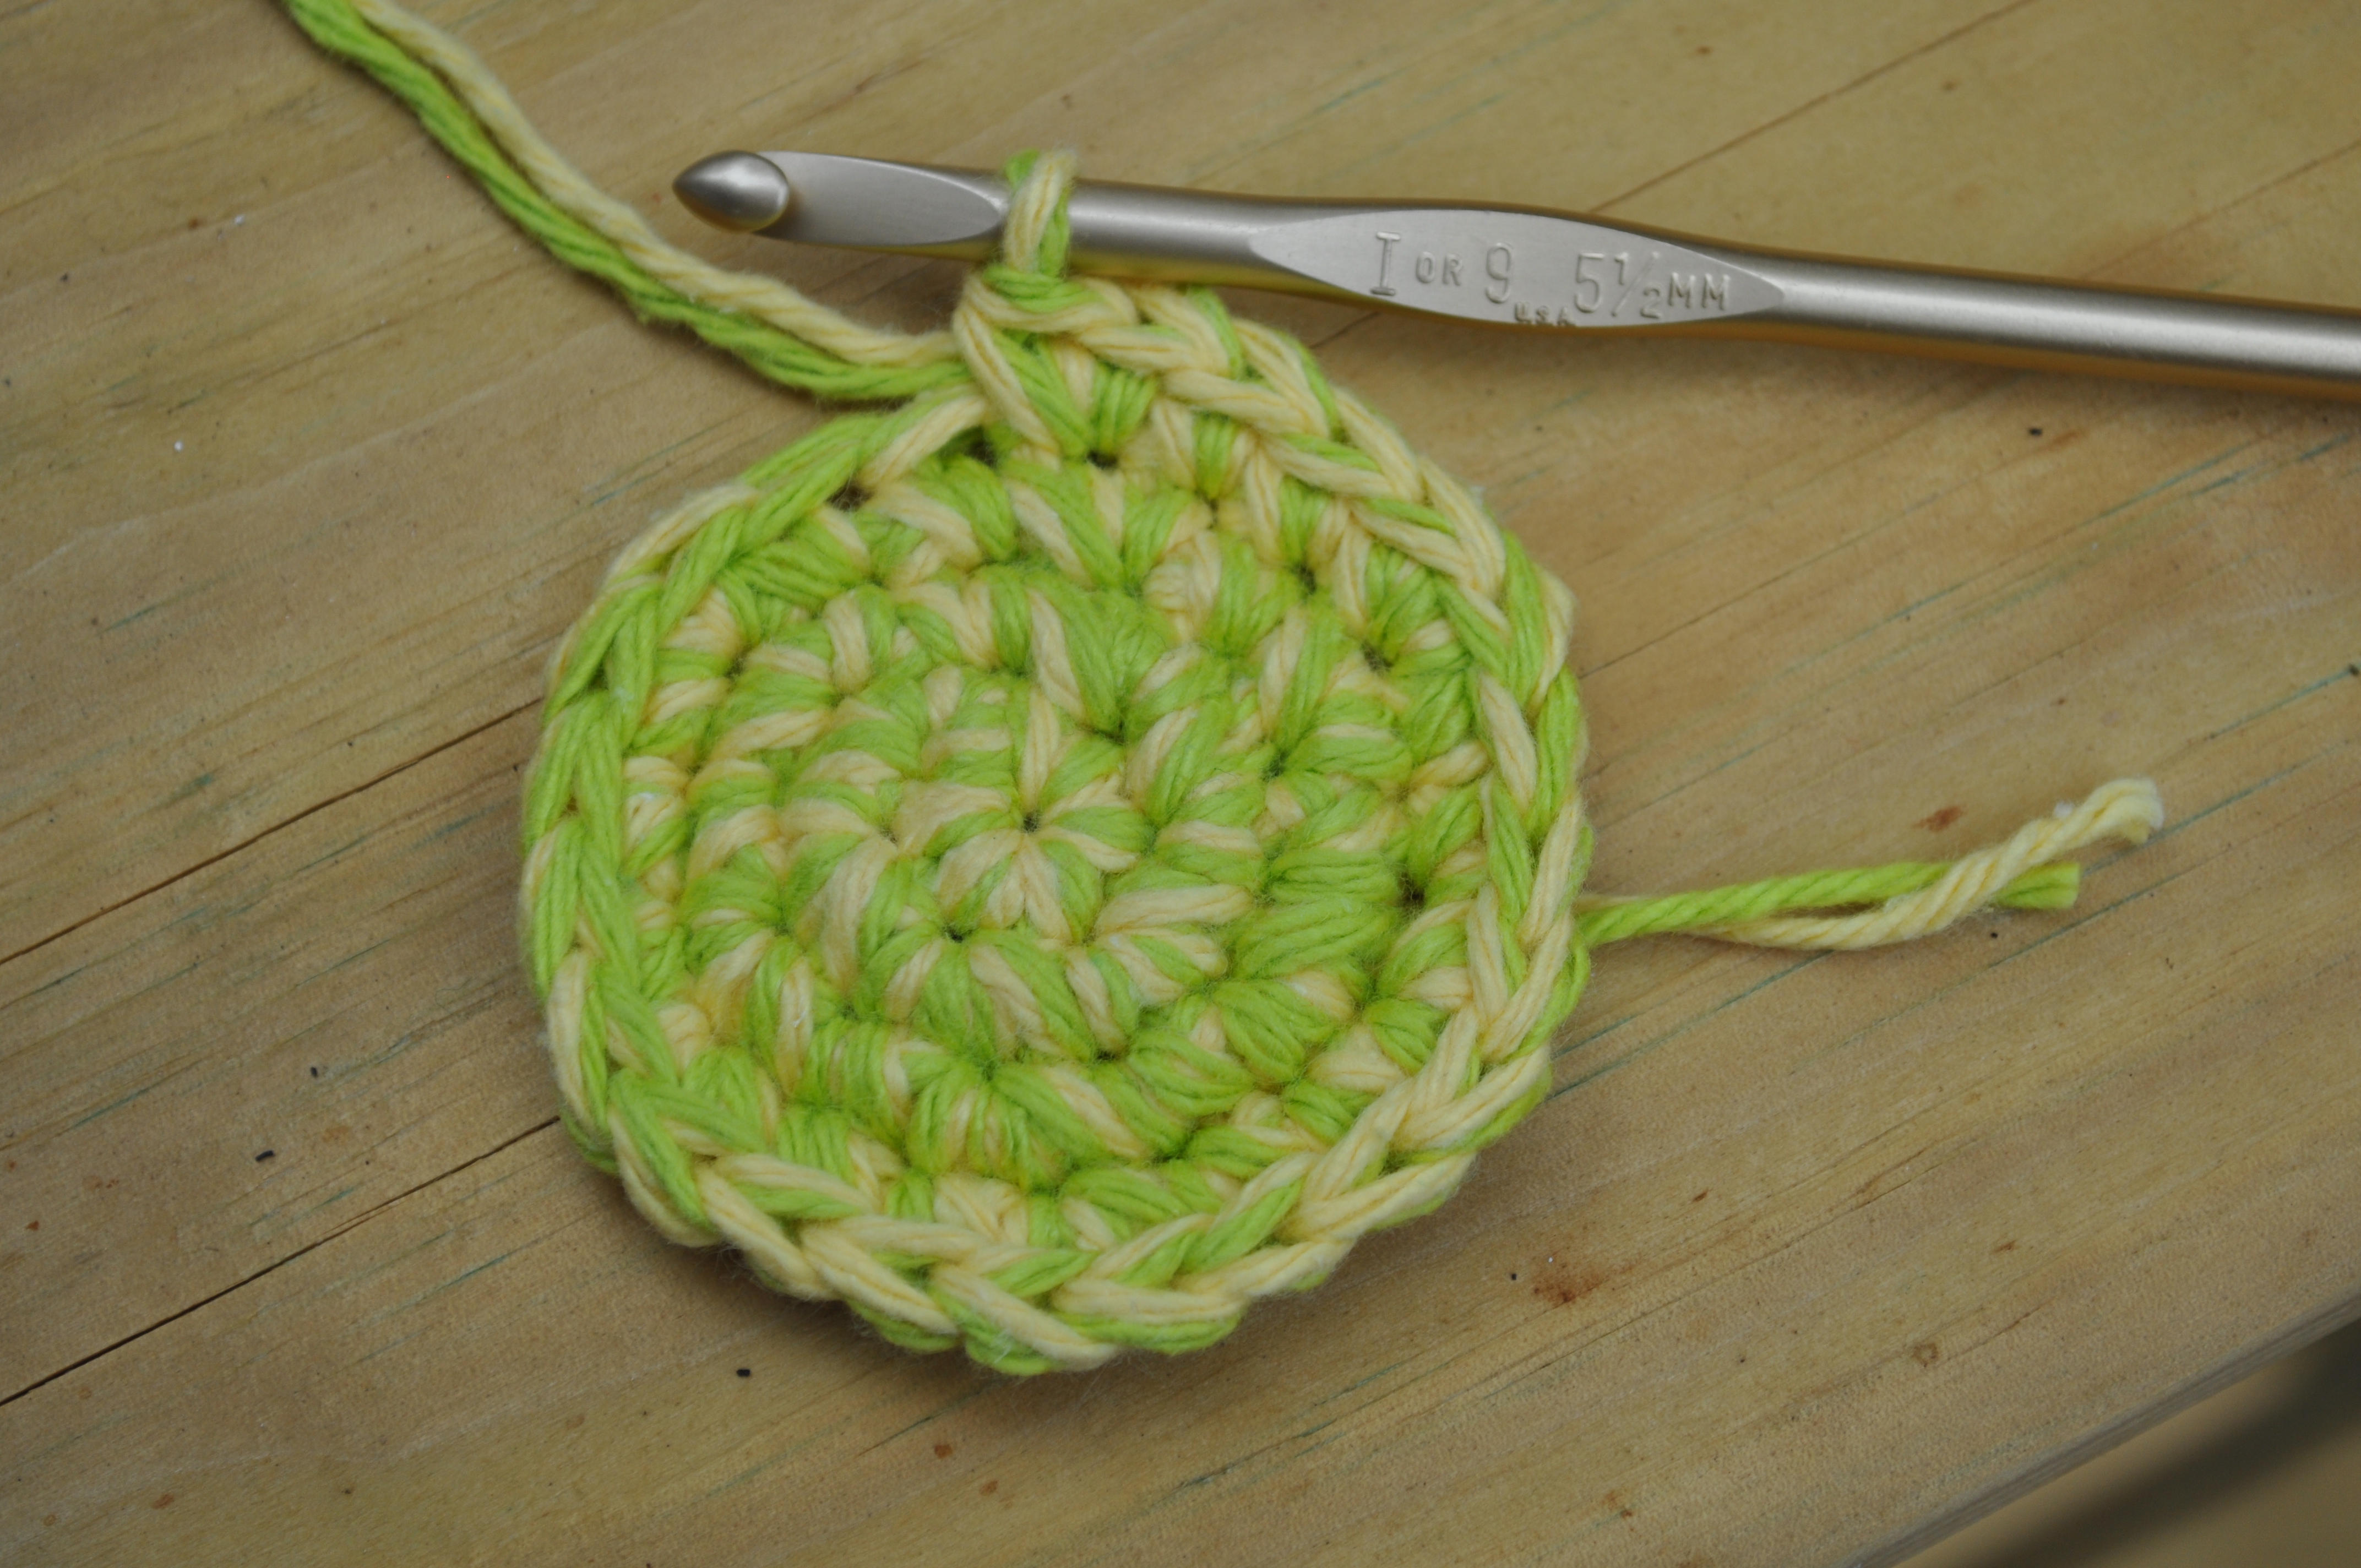
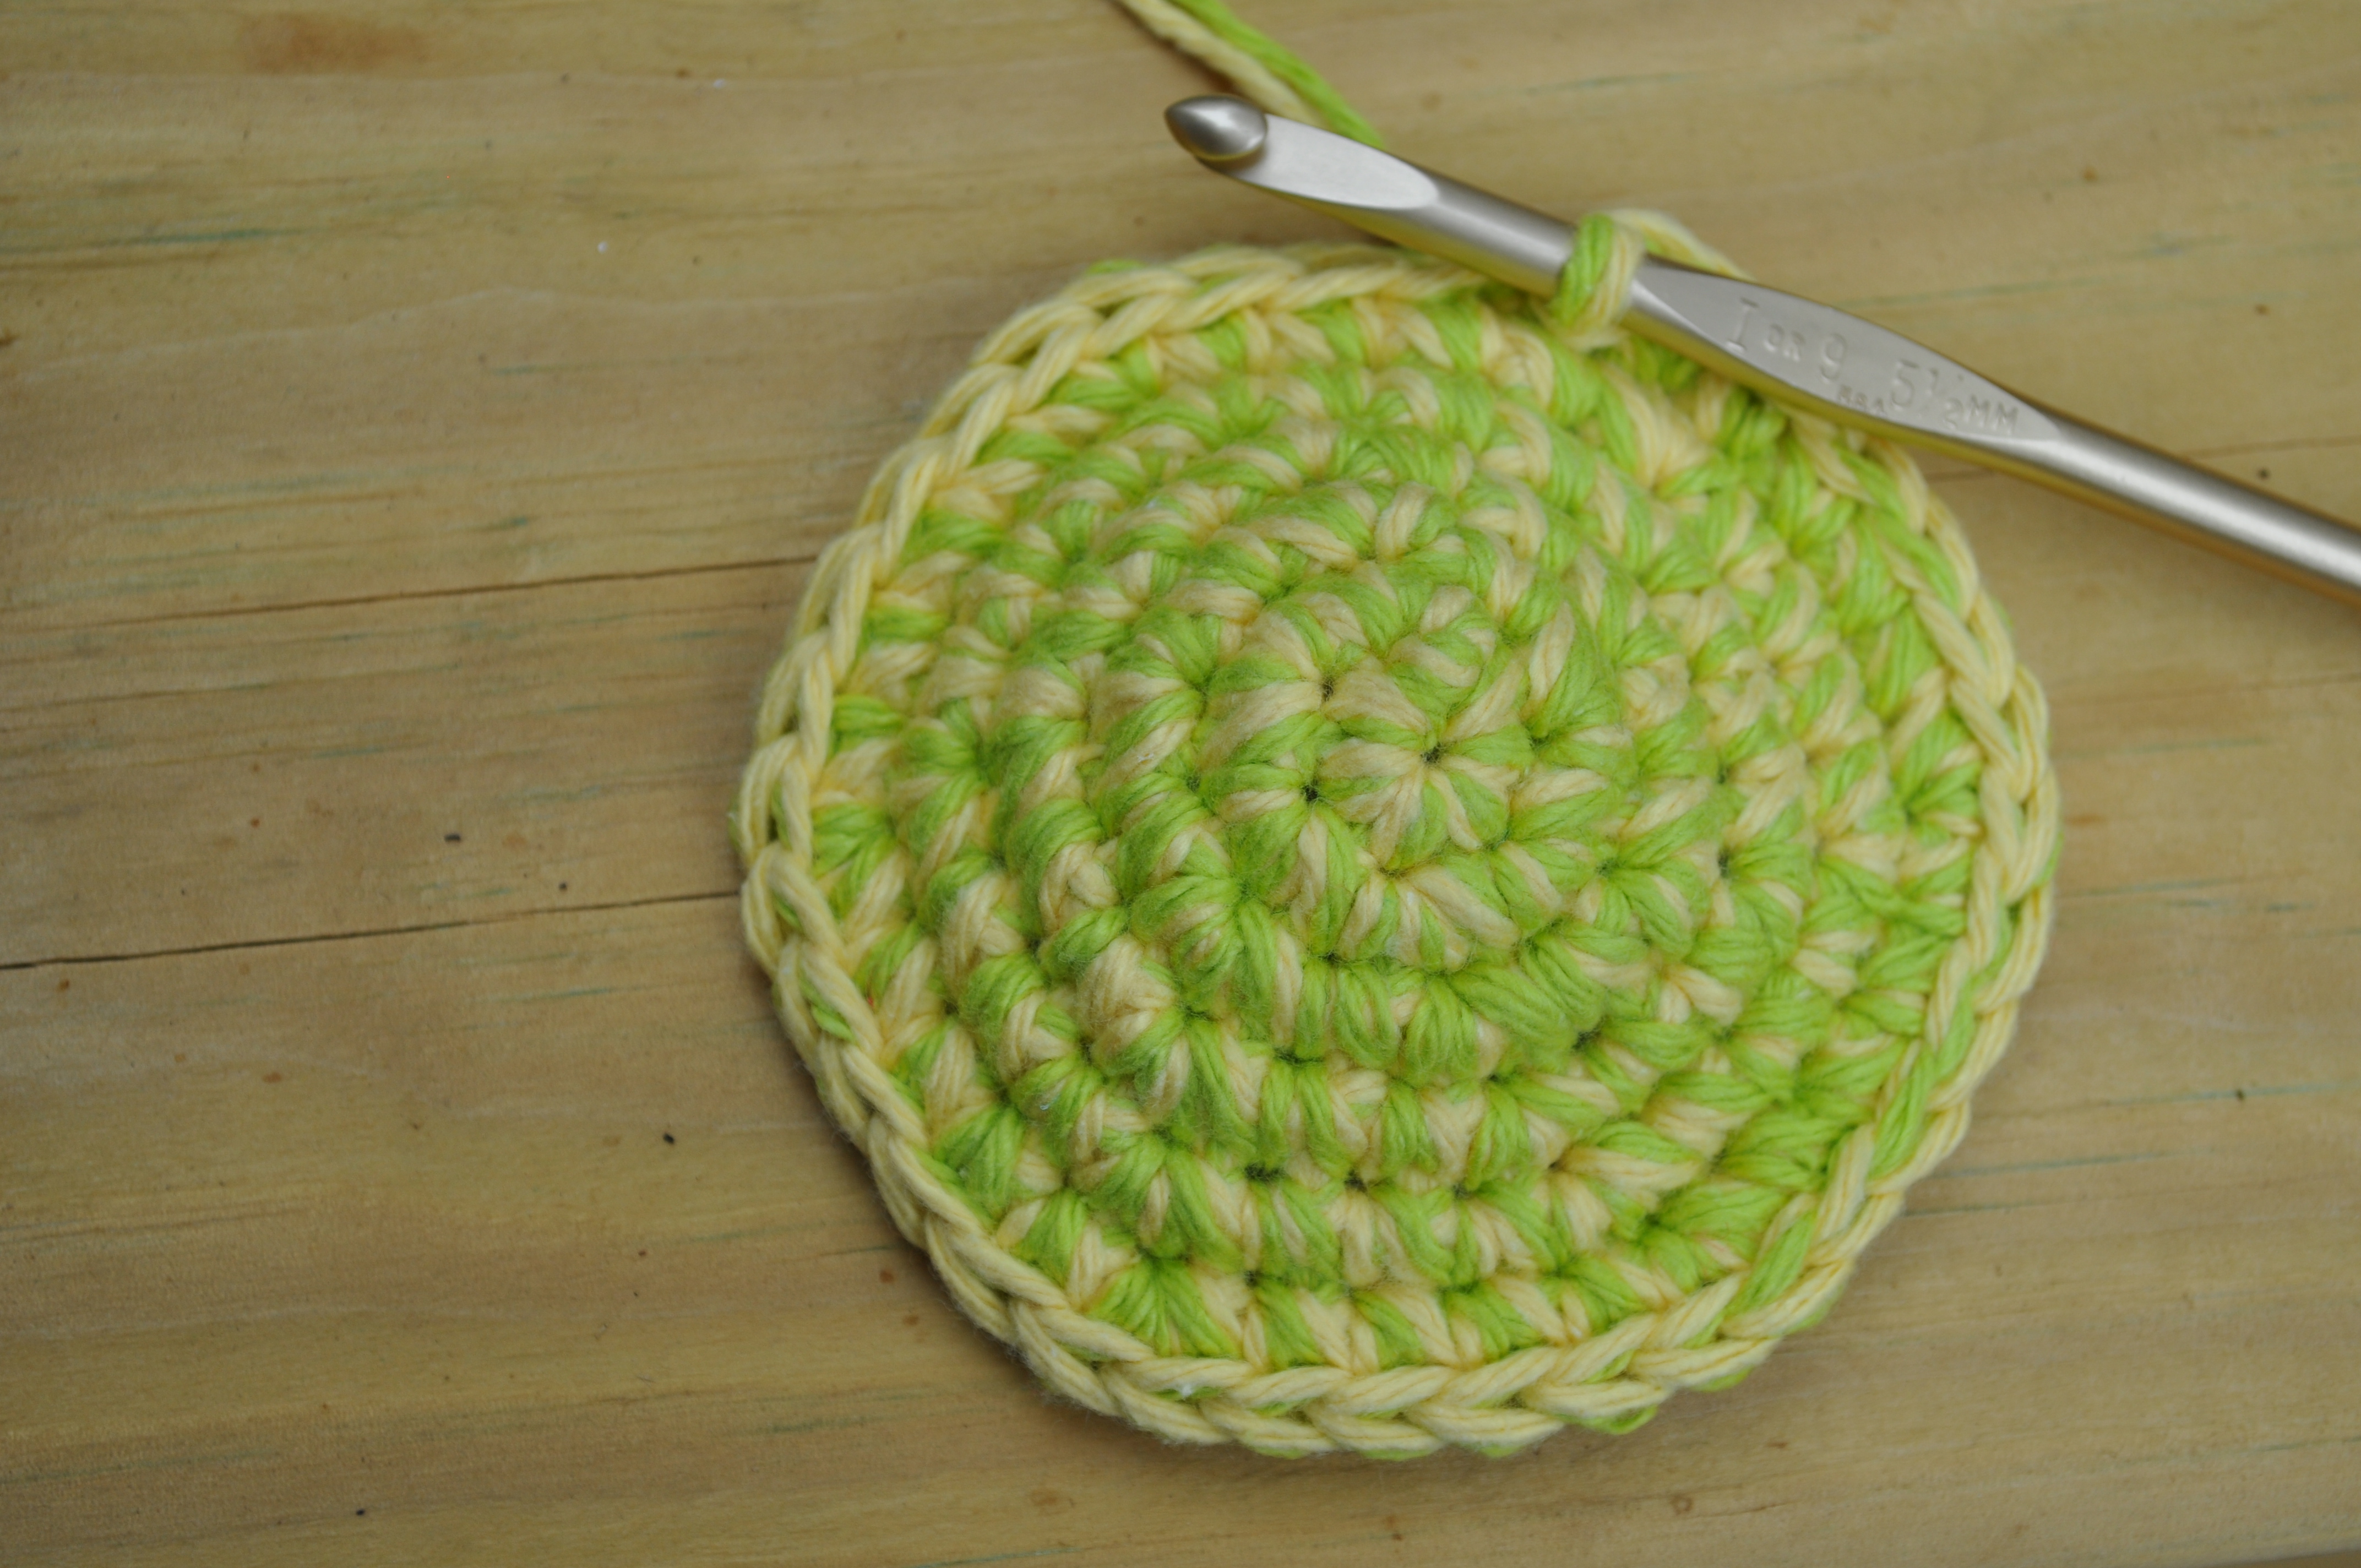
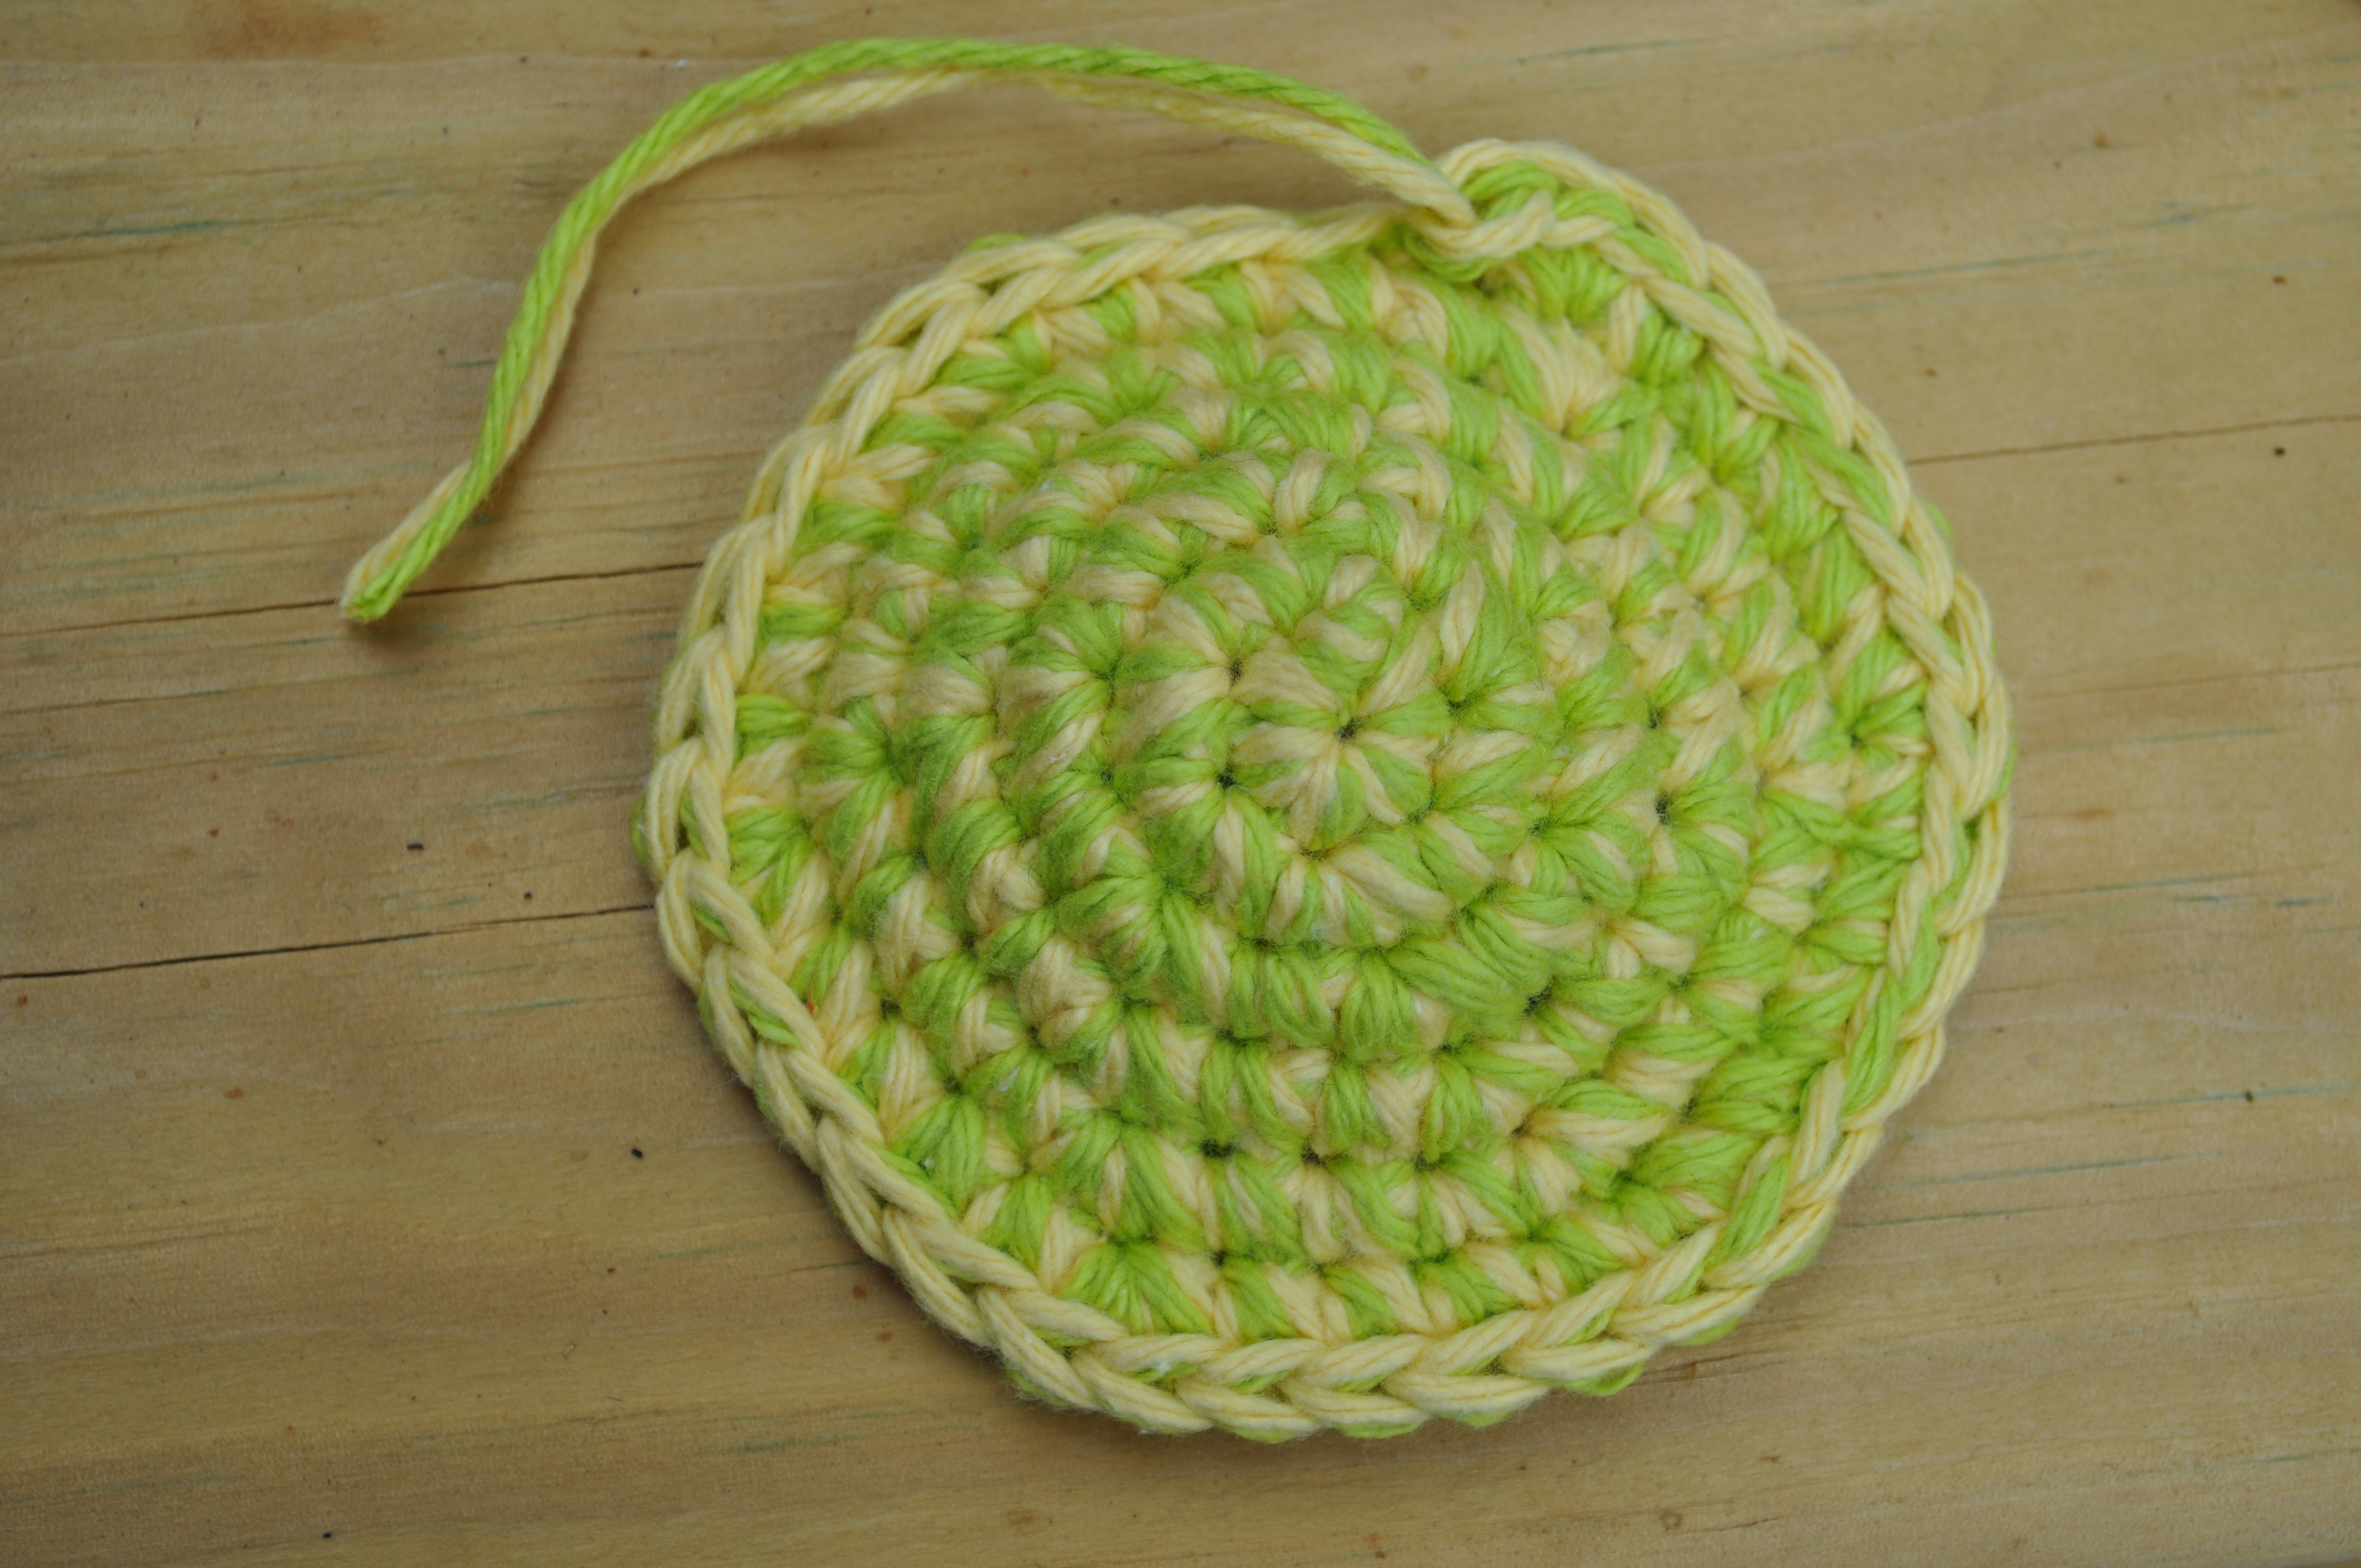
With an I hook and two strands of yarn, make a magic loop

Round 1: Make 6 sc in loop (6 sts)

Round 2: 2 sc in ea st around (12 sts)
Round 3: (1 sc in next st, 2 sc in next st) 6 times (18 sts)
Round 4: (1 sc in ea of next two sts, 2 sc in next st) 6 times (24 sts)

Round 5: (1 sc in ea of next three sts, 2 sc in next st) 6 times (30 sts)

Round 6: (1 sc in ea of next four sts, 2 sc in next st) 6 times (36 sts)
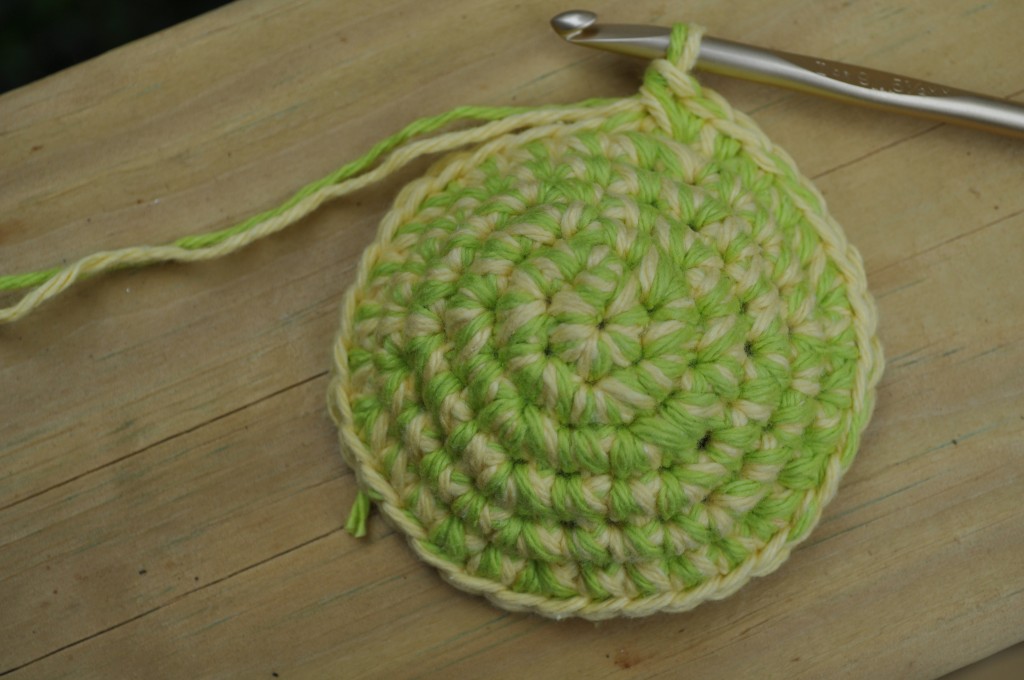
Sl st in next st
Cut yarn and fasten off leaving a tail a few inches long but don’t weave in end.
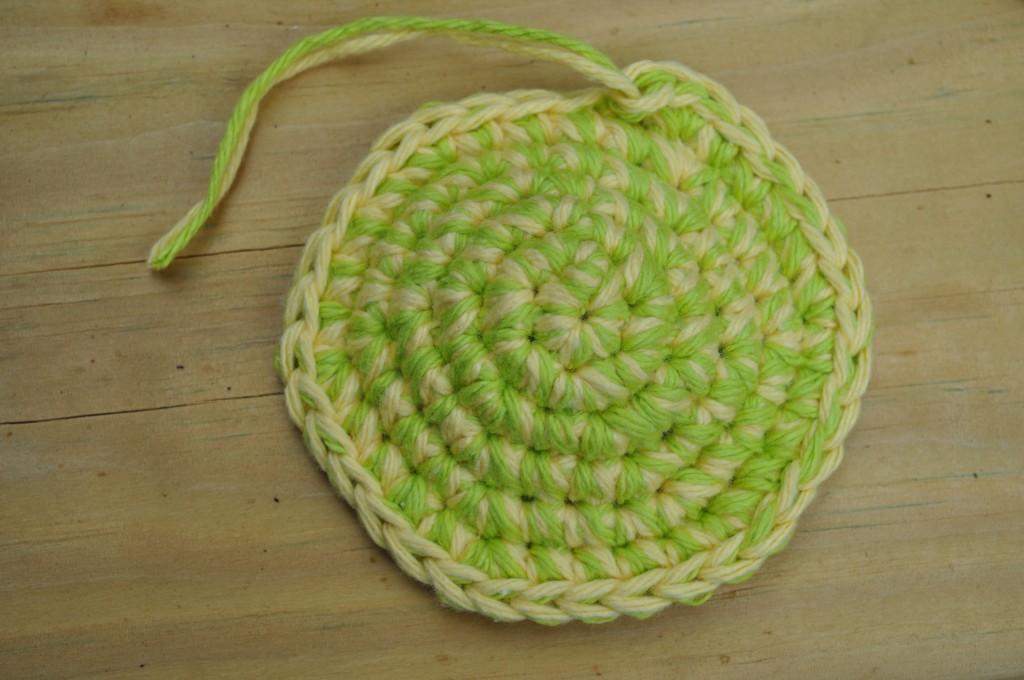
Make two of these. One is the front and one is the back of the bean bag.
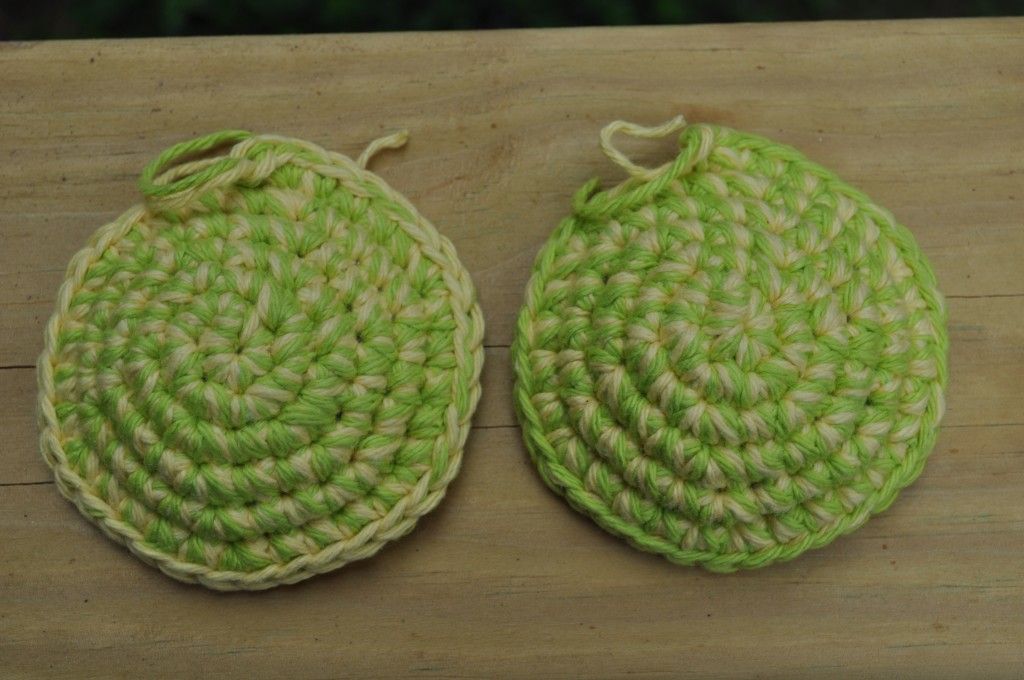
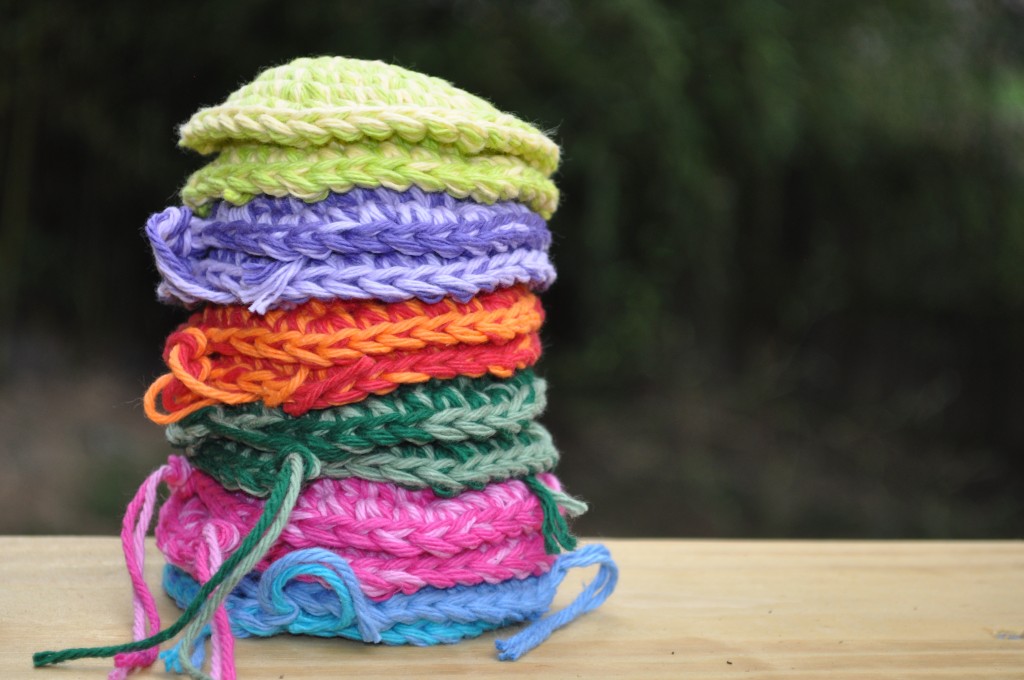
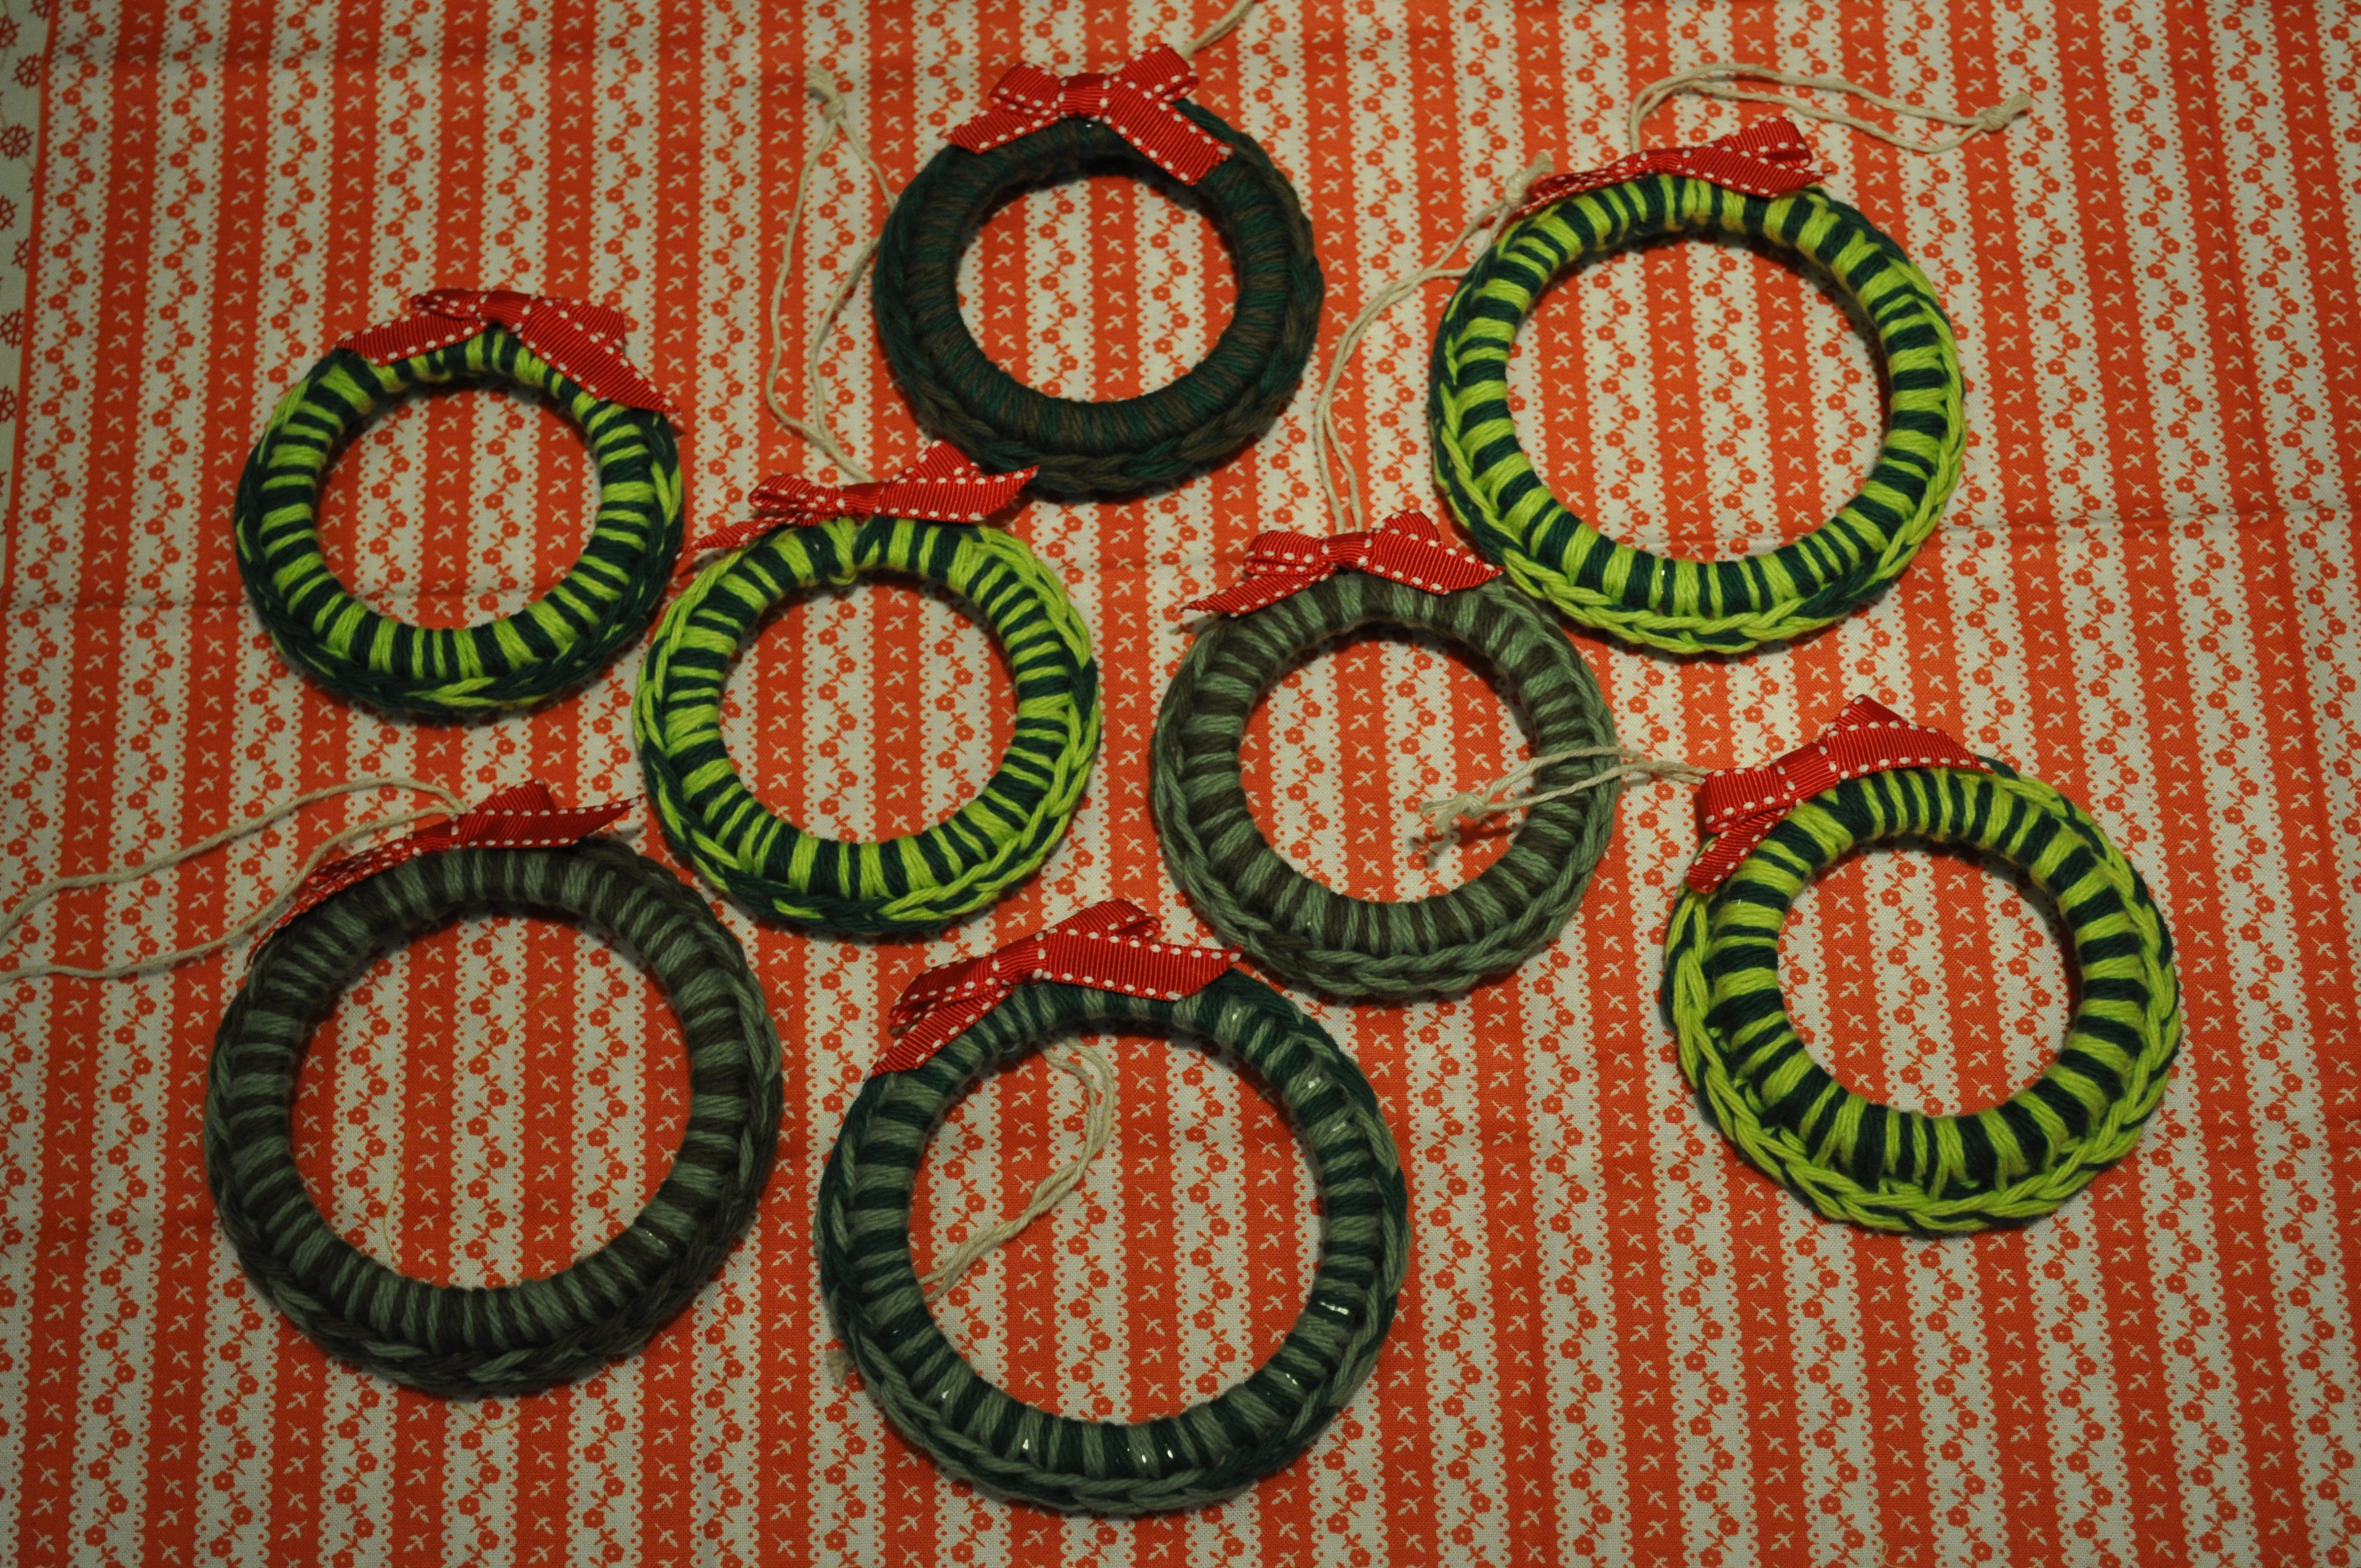
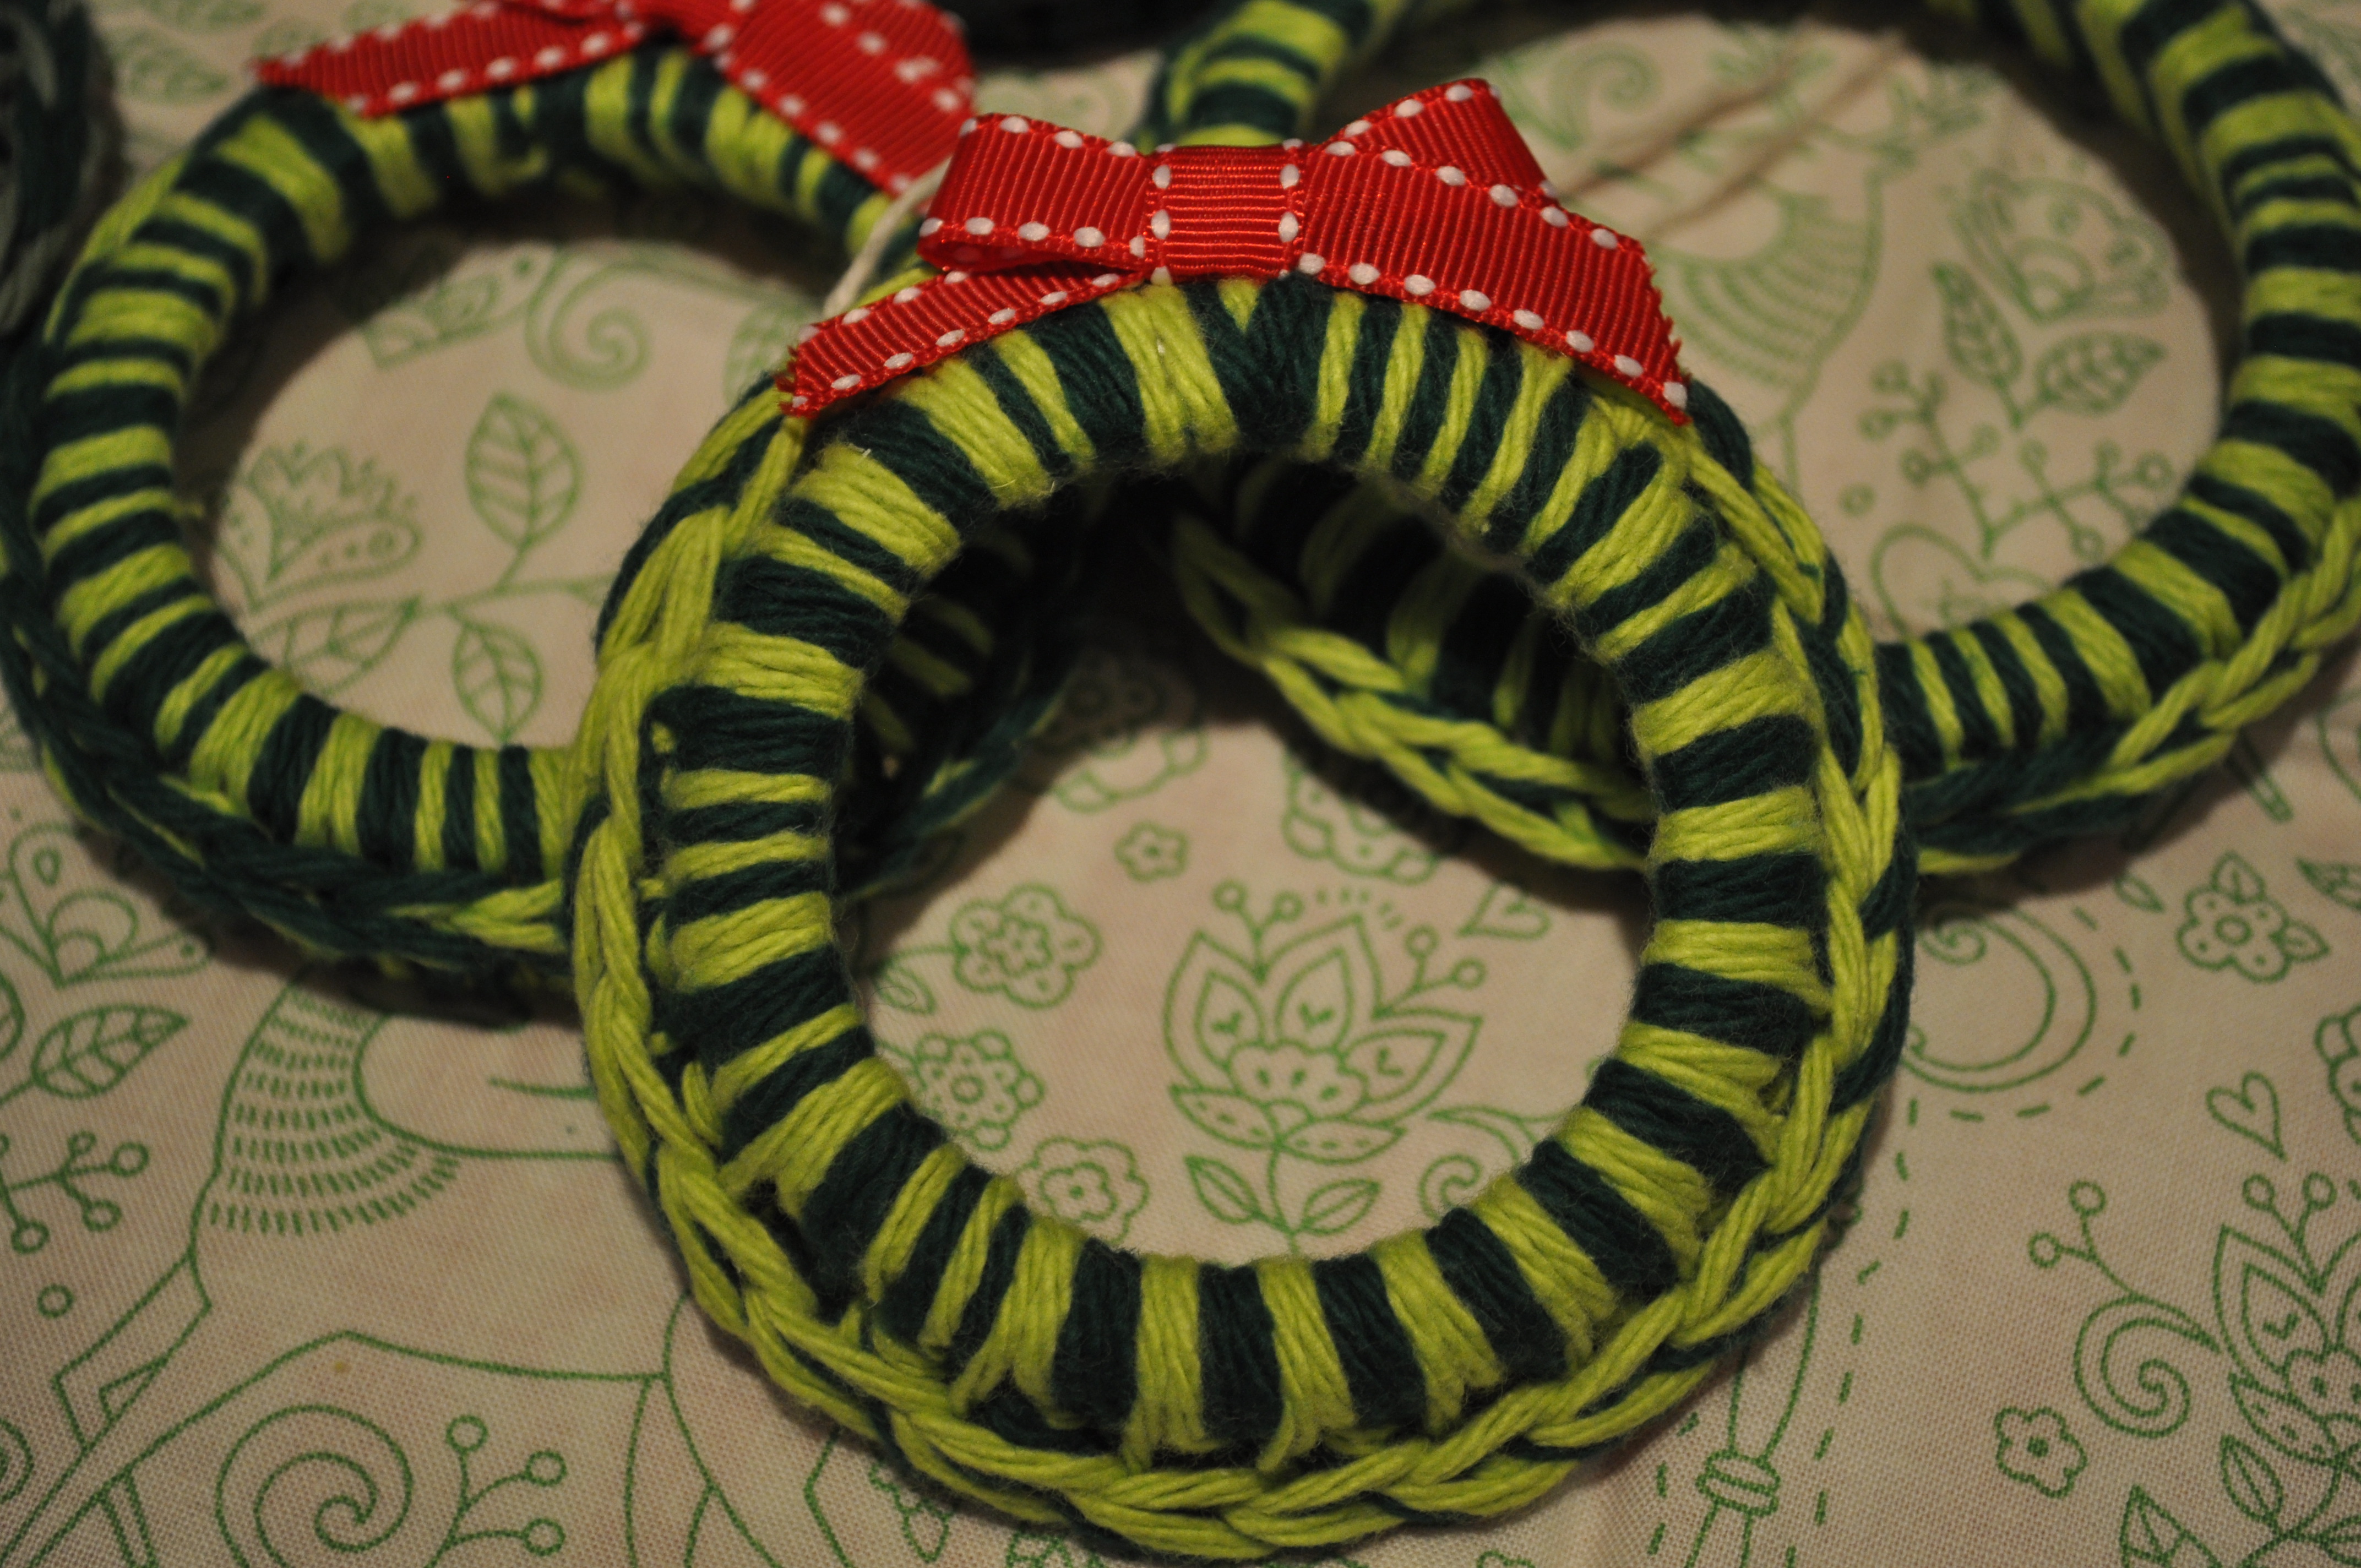
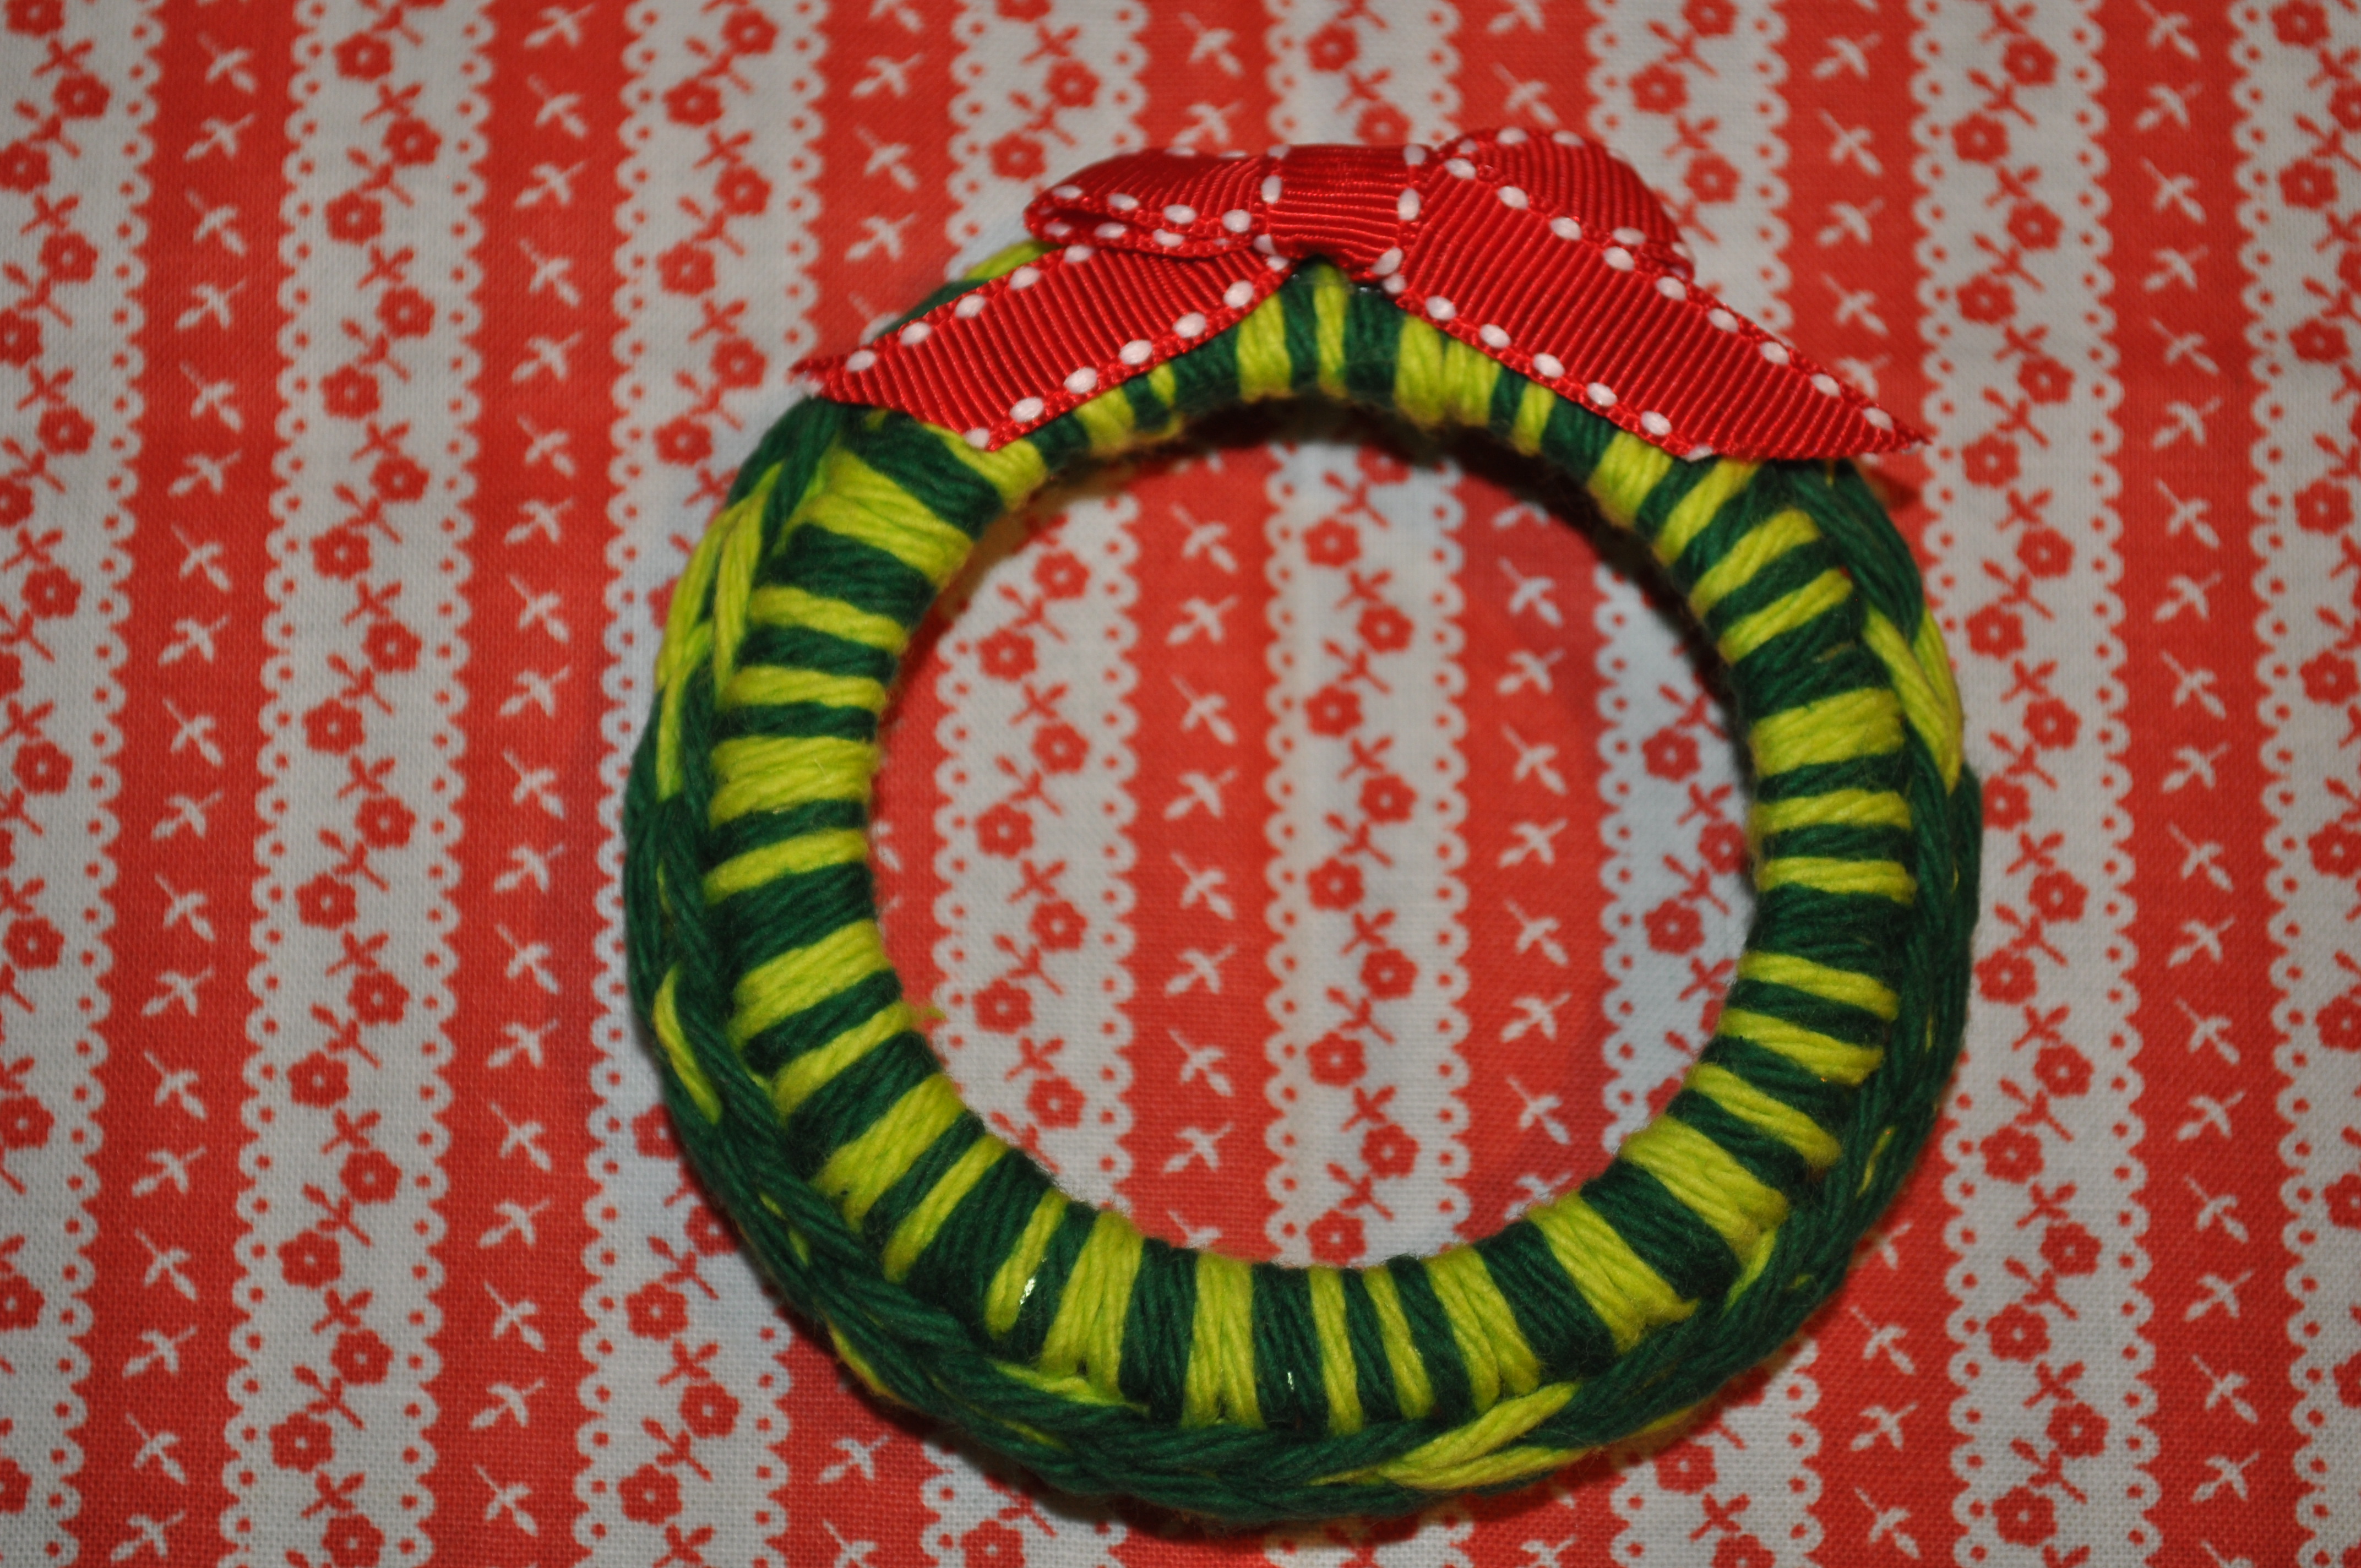
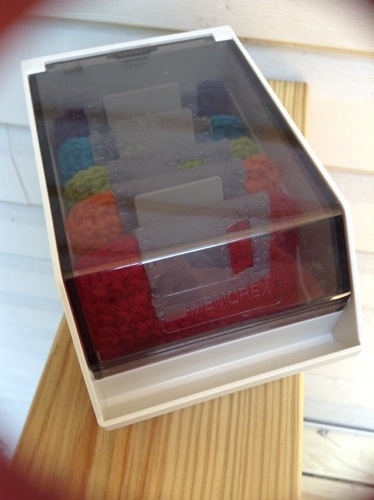
I made a set of six bean bags so I made two each of six different colors.
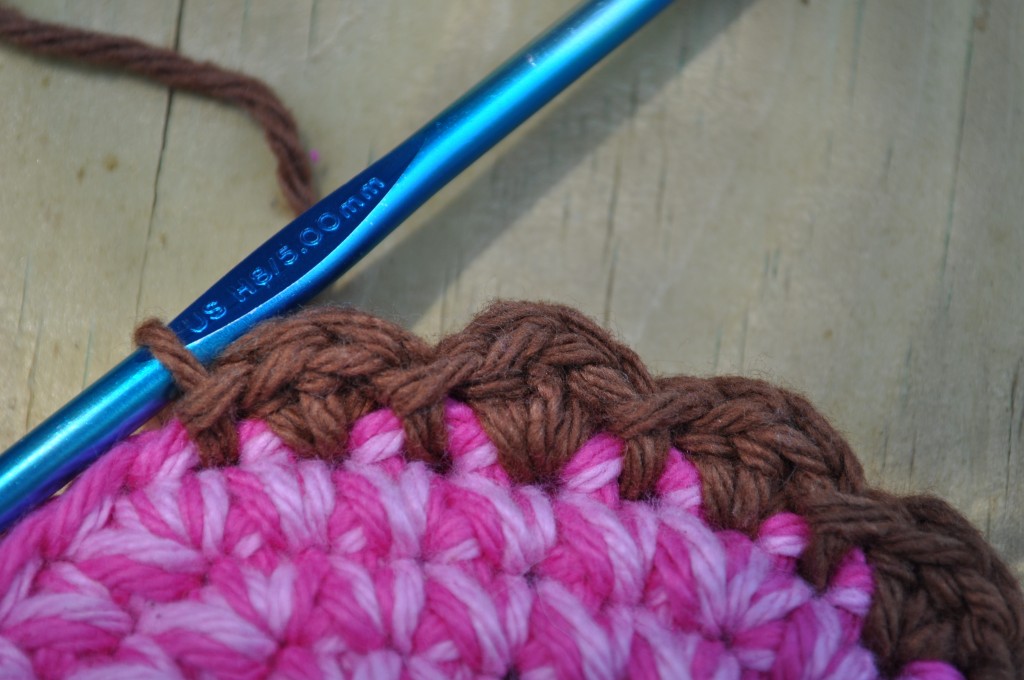
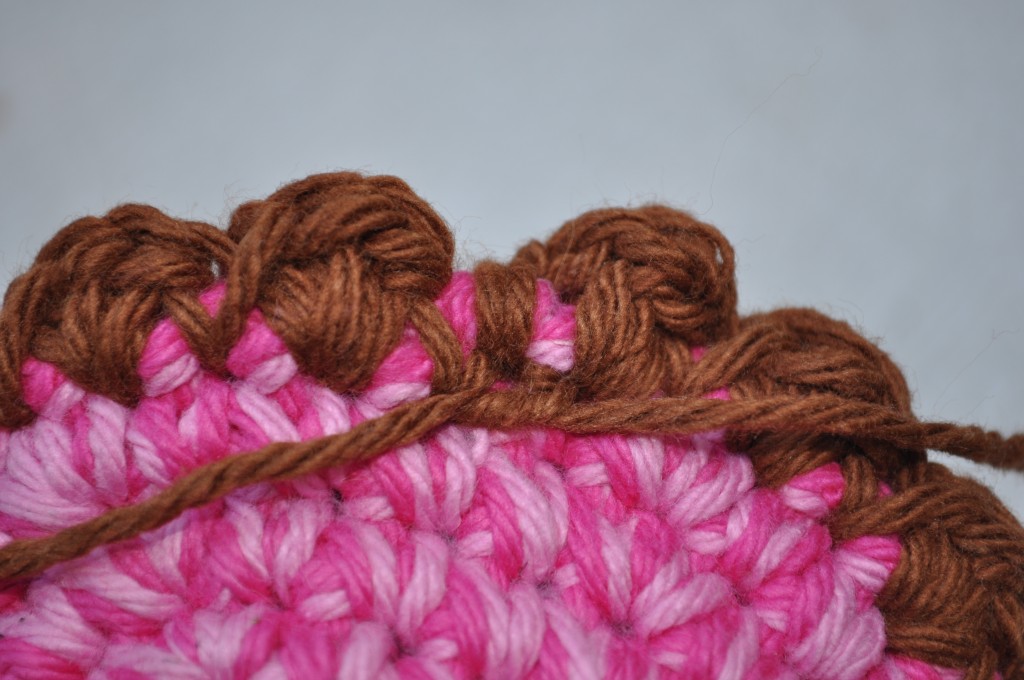
For the edging, I switched to an H hook and one strand of yarn. I made three with one color edging and three with a different color edging so that two teams could tells their bean bags from the others.

The pattern around the edging is (3 hdc in one st, sl st in next st) around.
Stop before you close it all the way so you can add the beans

Fill the bag nearly all the way with beans.
Finish crocheting the edging to close the hole and end with a slip stitch.
Tie the beginning and end tails in a knot for extra strength and weave in the ends.
Have fun!


 Bite-Size Candy Corn
 Chocolate Valentine Truffle and Wrapper
 Christmas Tree Coasters
 Crochet Tissue Cozy
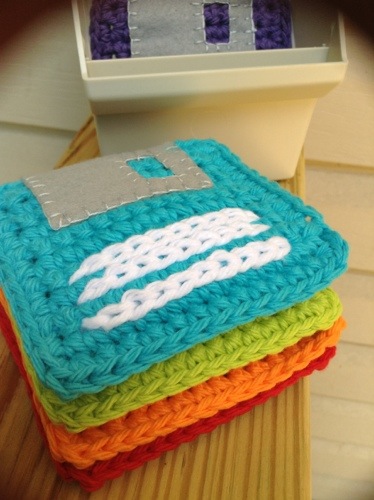
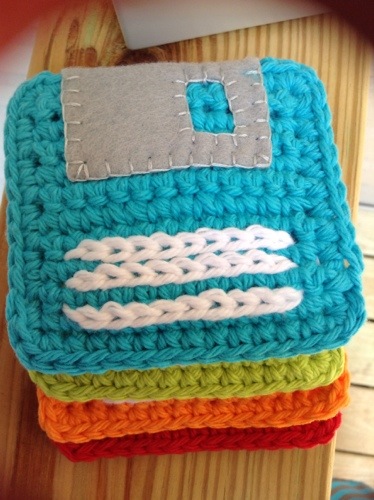
 Cute Cotton Coasters
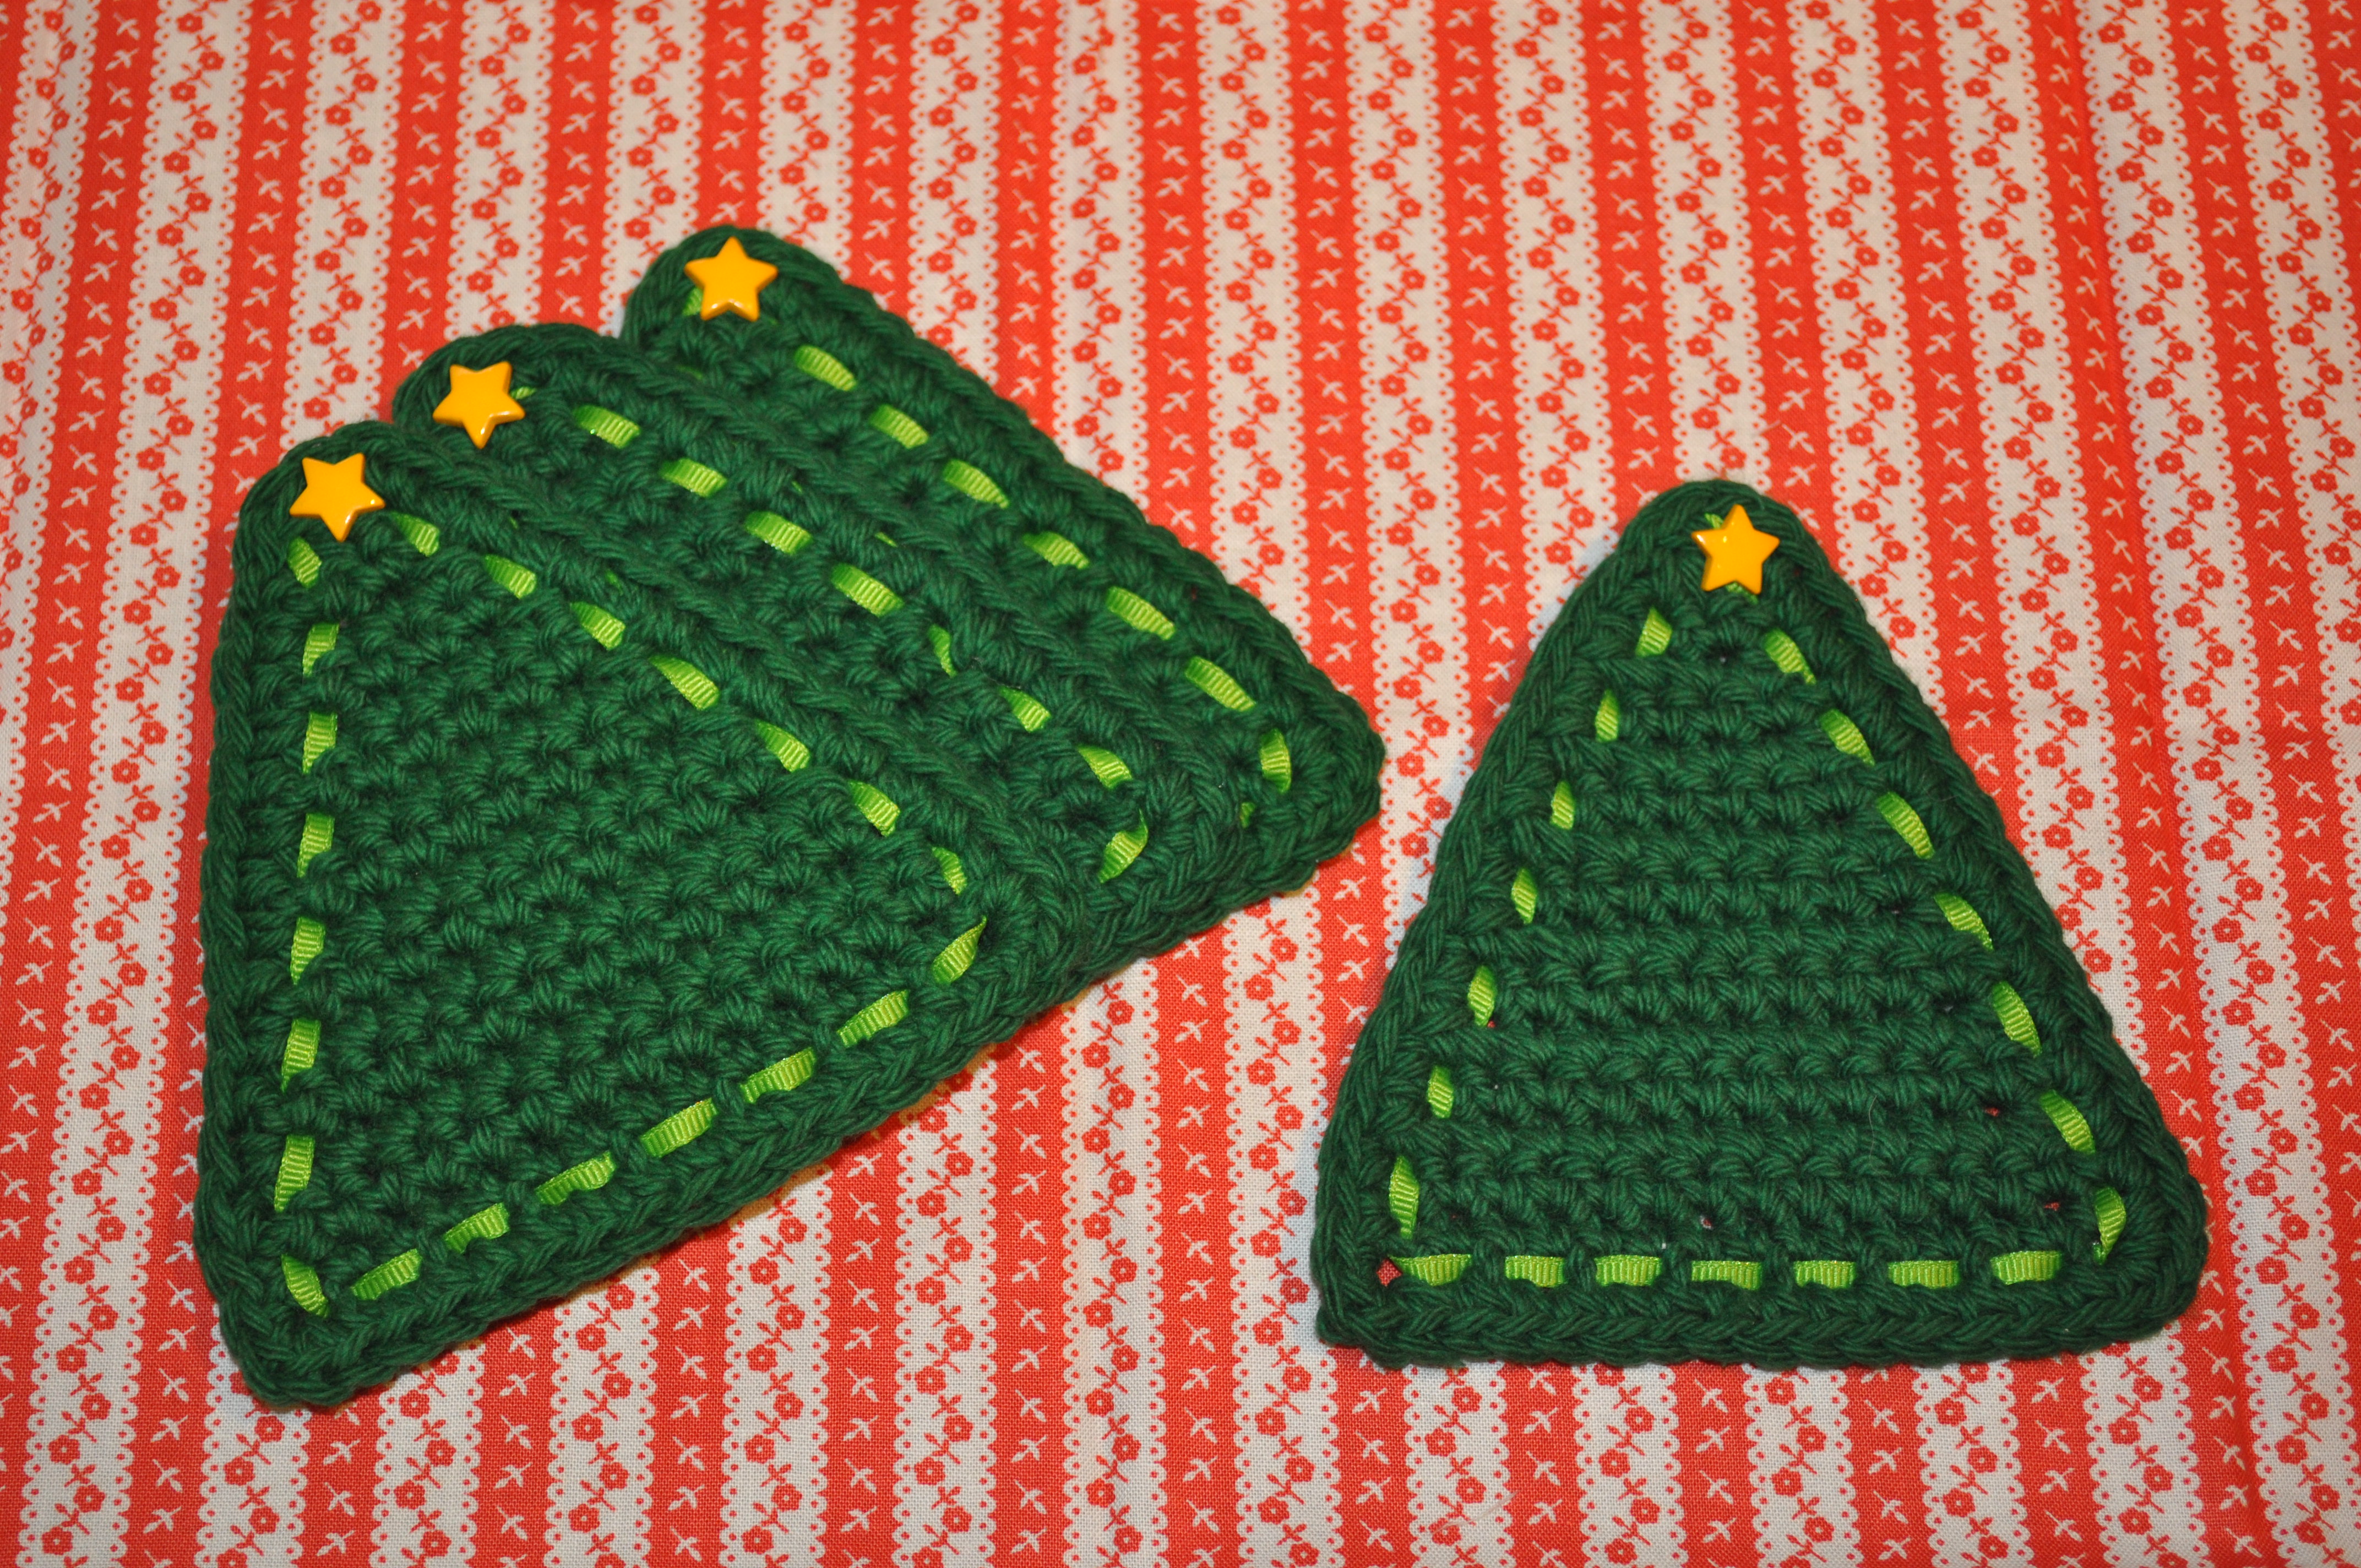
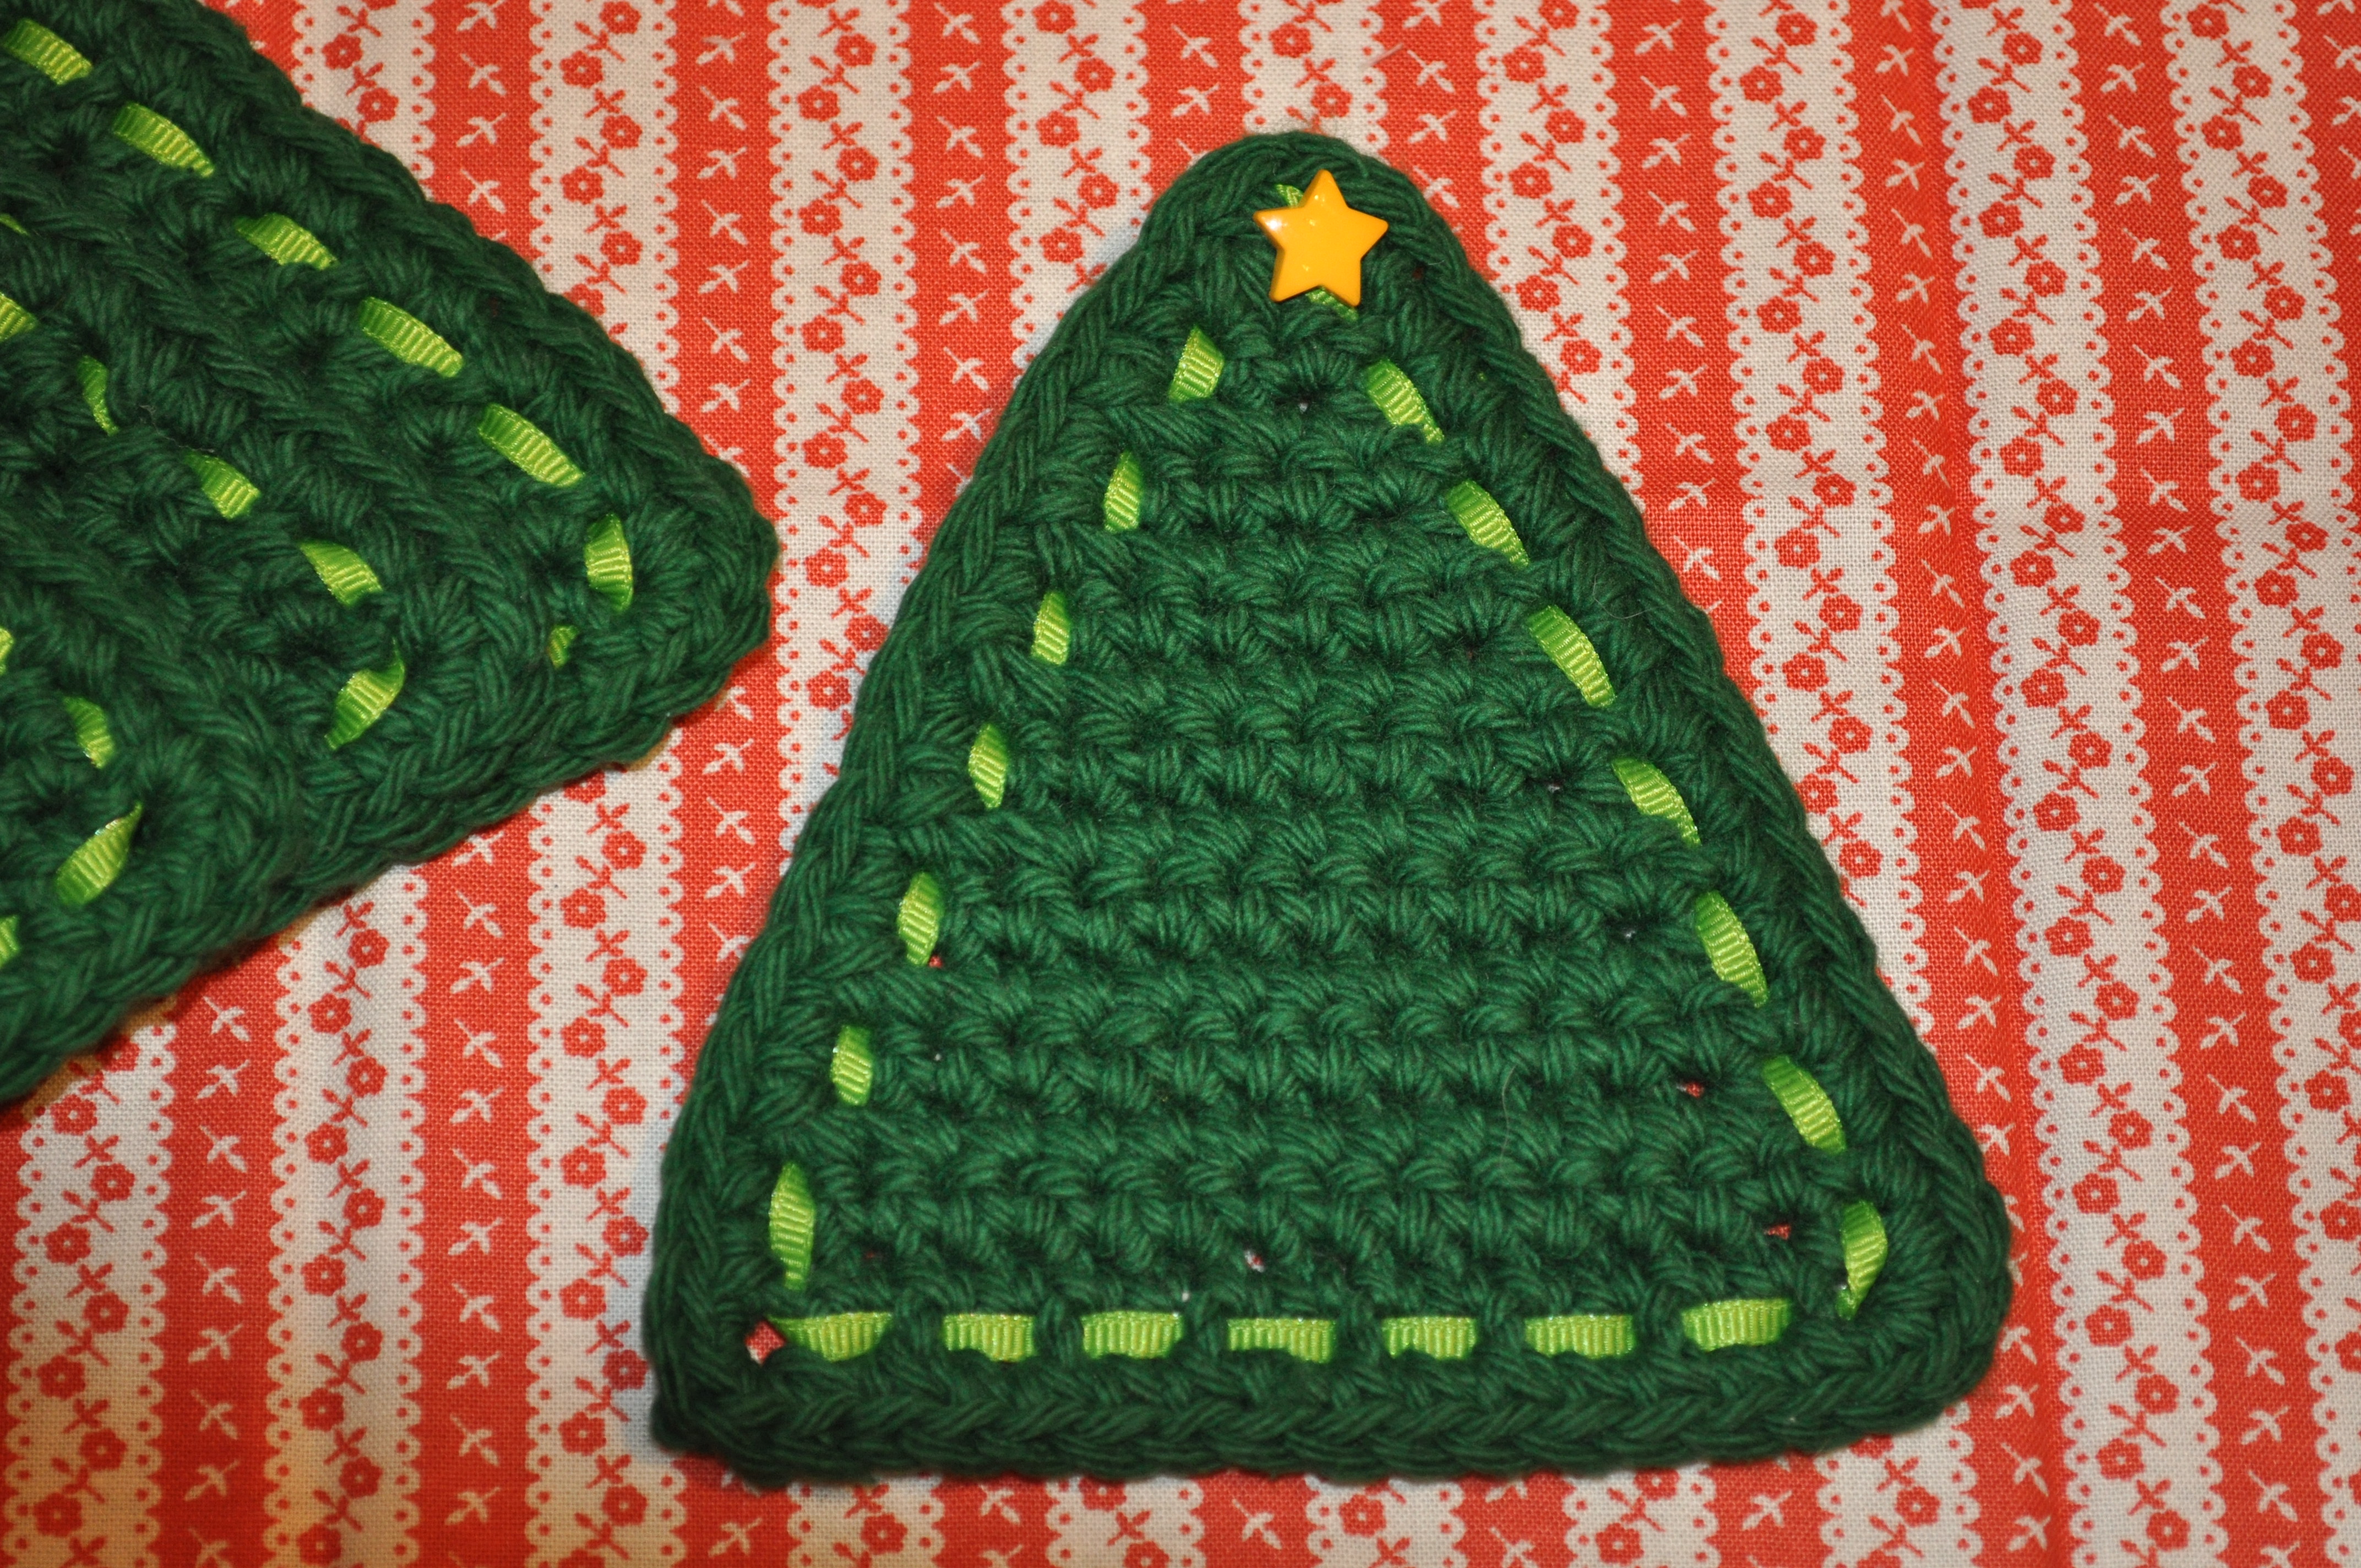
 Cute Little Christmas Trees
 July 4th Pennant Bunting
 Mini Frankenstein
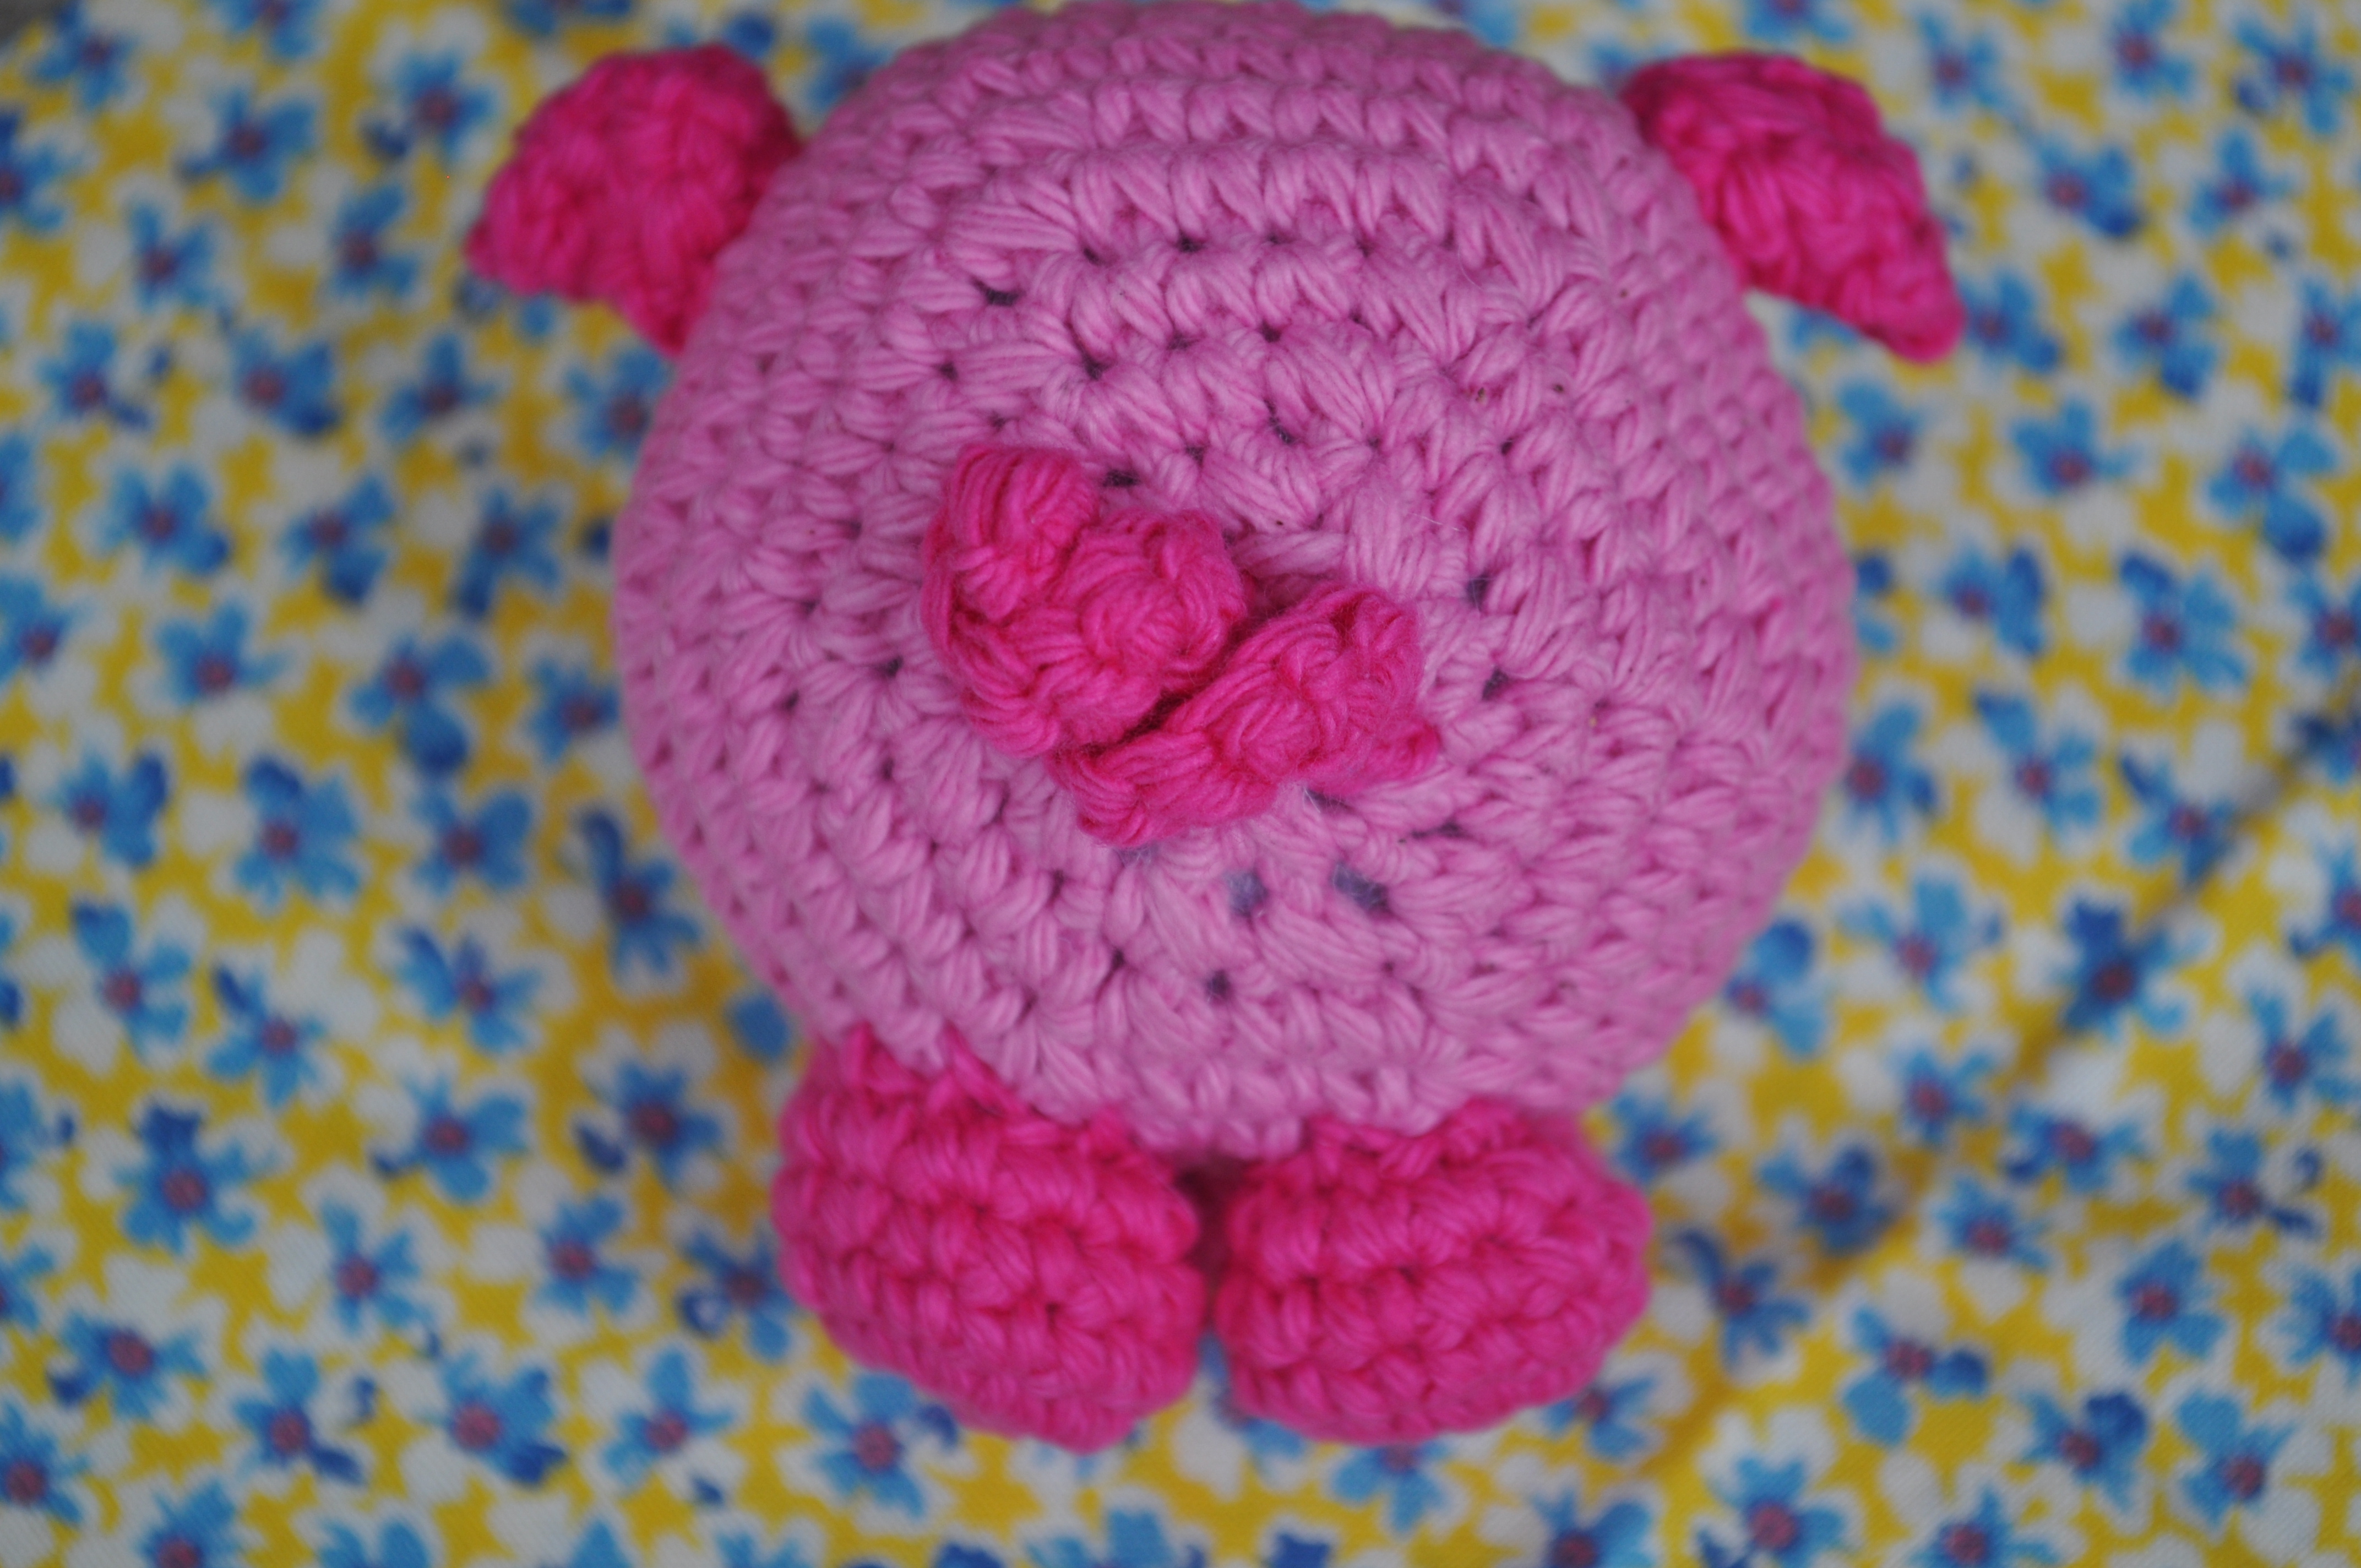
 Petunia the Palm-Size Pig
 Summertime Flip Flop Coasters
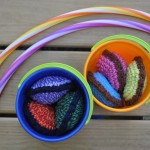 Super Fun Bean Bags
 Sweet Strawberry Coaster
 Teeny Tiny Apple Sweater
 Tic-Tac-Toe Travel Game