
So my latest kid organizing dilemma stemmed from my complete and utter denial of the way my kids create. Somehow I had imagined that the kids would work in one medium at a time, so I had organized all their art stuff into separate, neat and tidy containers. Furthermore, I imagined they would take out one container, say with scissors, glue and construction paper, make something fabulous using only those supplies, and put it all away before taking down another container to begin a new project, this time using crayons and coloring books only. Where do I come up with this stuff?
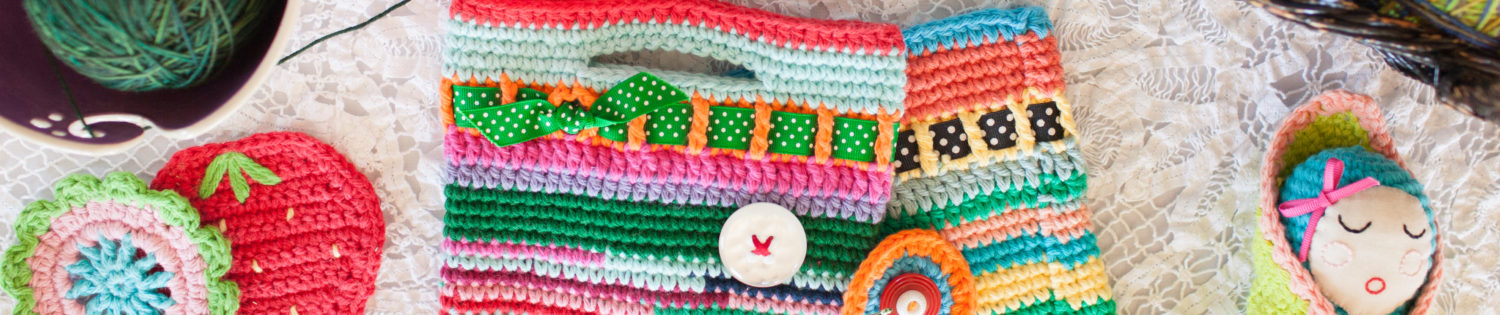
Turns out the older one especially, works best and most often in mixed media; hence the huge mess and multiple containers all out at once. I wanted to find a container to put it all in, but I couldn’t find exactly what I wanted, so I made one. I wanted it to be wide enough for a color book and folder to sit in the long way, with extra space for pencils, crayons, tape, glue, etc. Plus, I wanted it to have kid friendly handles to limit spillage…we’ll see. Anyway, this is what I came up with:

It’s got cute little corner pockets for things like tape…

…and teeny tiny colored pencils…
As well, I was happy to use this really cute fabric.

Following are a bunch of construction photos…

I used this folder as a guide for width. Then, I added the height I wanted for the sides and a little extra for seam allowances and joints (that is so vague, I know).

I cut a piece of cardboard to the width I needed for the bottom of the box, and just made it slightly less deep because I didn’t want a perfect square, but a nice rectangle that would fit easily on a shelf.

Then, I cut four more pieces of cardboard for the sides. They just needed to match up with the center piece and I wanted the sides to be about five inches high.

Once the pieces were all cut and laid out, I just cut a double layer piece of fabric to the whole size and a piece of felt to the same size for some body. I added a generous amount for seam allowance since there were going to be joints and some extra padding.

I layered the two pieces of fabric, right sides together, with the felt on top of the pile against one of the wrong sides of the fabric. Then, sewed all around the rectangle, but for a opening large enough to fit the card board pieces through.

I trimmed it all the way around…
Here’s the opening I left.

Then I turned it all right sides out and slid each piece of cardboard into its spot, under the felt. Once positioned, I sewed through all layers around the center piece which was super difficult to keep in place.

and Mona made me a little something while I was working…

I pinned the corners together to form the standing sides. Then sewed those together.


I sewed twill handles on as well, which are shown in the finished photos, but I forgot to take any construction photos of them. I only broke one needle before I figured out that I probably needed a heavy duty needle to go through cardboard…

Voila!

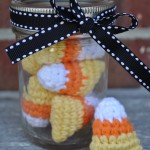 Bite-Size Candy Corn
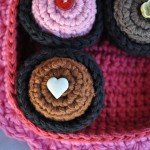 Chocolate Valentine Truffle and Wrapper
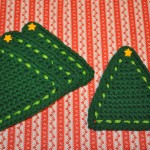 Christmas Tree Coasters
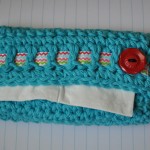 Crochet Tissue Cozy
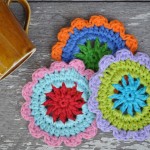 Cute Cotton Coasters
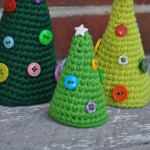 Cute Little Christmas Trees
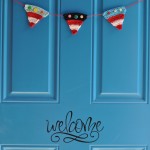 July 4th Pennant Bunting
 Mini Frankenstein
 Petunia the Palm-Size Pig
 Summertime Flip Flop Coasters
 Super Fun Bean Bags
 Sweet Strawberry Coaster
 Teeny Tiny Apple Sweater
 Tic-Tac-Toe Travel Game