I think I’ve determined that the short period between Christmas and New Year’s is my favorite time of year. There’s something so liberating and almost electrifying about packing up Christmas and putting it all back under the stairs…my excitement about the new year intensifies with each and every dry pine needle my vacuum sucks up. I just love it.
It must have something to do with the sense of completion I feel that I really don’t feel at any other time of year and somehow I’m not at all weighed down with thoughts of beginning that annual journey all over again in a week. Instead, I look forward to beginning again and to doing it different and better than I did the last year.
I hate to be thrown into things. I love to plan and be prepared and i think the week between is my special time to do that for the next year. Along with all that comes a cleaning frenzy, as if Spring cleaning comes early (or late – however you want to see it) for me. It’s that whole out with the old, in with the new thing too that happens after a flurry of gift giving.
Anyway, I have these feelings each year, but this year, it was all accompanied by something else…something kind of surprising and really wonderful…a sewing frenzy! Seriously, after not sewing for some time (I had been crocheting up a storm for months and not sewing much at all the whole year); then, immediately following Christmas, I went nuts and sewed all this stuff in a matter of a few days:
1. a whole bunch of elastic top bags for next xmas
2. a few drawstring bags for new toys with small pieces
3. a sewing machine placemat for a gift
4. four pair of pajama pants for the kids
5. a wine sack and set of wine glass coasters for a hostess gift
6. an overnight bag for the dogs
7. a casserole carrier
8. and helped the oldest with her very first mini quilt top
I’m not sure what’s going on, but I like it. One thing that’s not so awesome is the state of the ‘sewing room/play room/guest room/library/office/craft studio’. I nearly didn’t share this photo out of shame…

…yep, that’s what’s going on there. Just so we’re clear though, the rest of the house is spic and span – remember that Spring cleaning thing I was referring to above… (apparently that doesn’t apply to the ‘sewing room/play room/guest room/library/office/craft studio’).
Sooooo, there’s that.
But, in the spirit of the New Year, I have a fabulous idea for moving my creative activities out of that room altogether. I’m truly excited about it. Dave may be less so. I’ll keep you posted.
Anyway, this wouldn’t be a true New Year post without touching on resolutions, would it? I agree with most about them being silly and if you’re really going to do something, you should just do it no matter what time of year it is, etc, etc…but as a dedicated list maker, it’s only natural to list them out this time each year with everybody else. Mine this year include all the usual suspects (yawn…) but one in particular sticks out both because it is specific, measurable, sacrificial, and craft related…are you ready???
1. I resolve to not purchase any craft books or magazines.
This is kind of a big deal for me, as I would think it to be for any crafter. The fact is though, I have sooooo many books and magazines, and patterns and inspirational publications already that I could be crafting for years to come just out of those (plus there’s the whole freaking interweb!) But really, all those cute covers and photos just get me every time…so I’m putting my foot down and that is my resolution for 2013! (I’m super glad I bought that new crochet book I wanted back in November – plus, my wonderful friend signed me up for a Crochet Today magazine subscription (of which I received my first issue today! – thanks Erin) So, as difficult as those so cute images will be to resist in the stores and on Amazon, I will still have tons and tons of inspiration at hand. I think this will also help to keep me more focused on all that stuff I want to make that I already have ideas and patterns for.
Well, this is my first 2013 post and I promise I will not post another scary photo like that again. (I just felt like it wouldn’t be such a dirty secret if I posted it here…)
Happy 2013! May it be a super wonderful and crafty one for all!!!


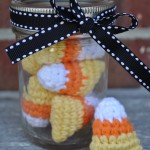 Bite-Size Candy Corn
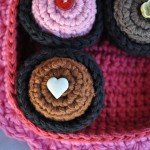 Chocolate Valentine Truffle and Wrapper
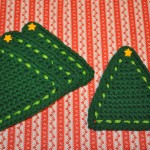 Christmas Tree Coasters
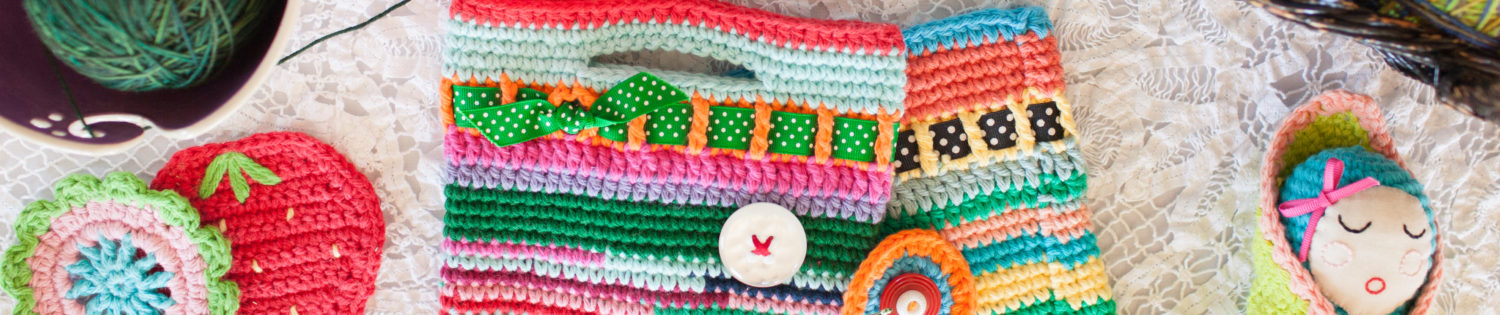
 Crochet Tissue Cozy
 Cute Cotton Coasters
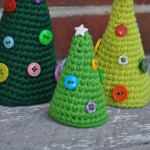 Cute Little Christmas Trees
 July 4th Pennant Bunting
 Mini Frankenstein
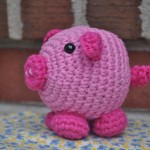 Petunia the Palm-Size Pig
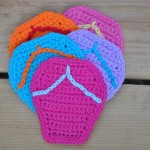 Summertime Flip Flop Coasters
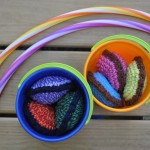 Super Fun Bean Bags
 Sweet Strawberry Coaster
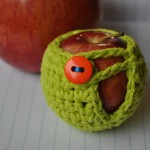 Teeny Tiny Apple Sweater
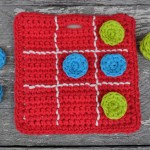 Tic-Tac-Toe Travel Game