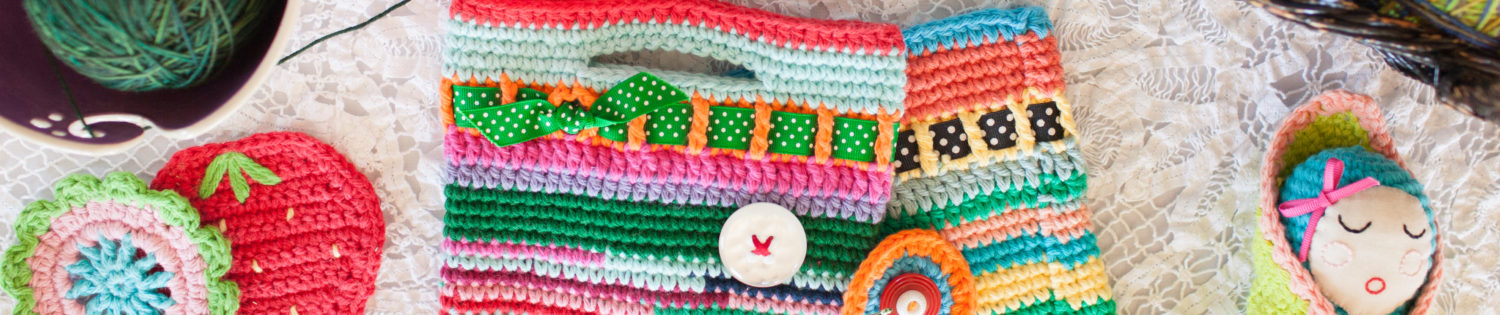
I made another easiest bag ever and I have attempted a tutorial for it here. Something that you should know about all of my projects before you attempt this one: everything I make is imperfect. So, this is really a tutorial on making the easiest, imperfect bag. Beware, there’s a lot of eyeballing, quesswork, and no pattern. It’s so simple though, you can whip it up in an hour or so and who doesn’t love instant gratification?

You need an outer fabric, a lining fabric, thread, felt, and handles. One thing I know about lining bags is that it’s really hard to find something in a bag with black lining, so I try to use brightly colored lining fabric. Now, if you want to make a large bag like the butterfly bag linked above, you need a half yard of each fabric and the felt. If you want to make a smaller handbag pictured here, you need a fat quarter of each fabric and an equal amount of felt. The type of purse handles you need are basically any that are continuous without openings.

First, cut your outer fabric in half and place with right sides together. The large bag is positioned as a portrait (vertical) and the smaller one is positioned as a landscape (horizontal). You’re basically going to sew the sides and bottom, eyeballing a curve at each corner. Also, don’t sew up the entire side. I measured 8 inches down from the top on the large bag and 5 inches down from the top for the small bag. This marks the stopping point for sewing. I marked it with a pin on each side. Leave the top completely open.


Next, cut your lining fabric in half the same way and position it the same way so that the right sides are together. Line the lining pieces up underneath the outer pieces you just sewed. Pin all four pieces of fabric together and trim along the seam, leaving about a quarter inch allowance. This will automatically make your lining the same shape, and you’ll pretty much get a good size to insert into the bag once you sew it because with a quarter to half inch seam allowance, it’ll turn out just a bit smaller than the outer part of the bag, which is what you want. Unpin everything and set the outer part of the bag aside. Don’t sew the lining yet.

Cut the felt in half and position both pieces the same way as the other pieces. Lay the lining pieces down on the felt pieces and cut the felt out the same size and shape. Once the lining and felt are cut the same size, make a sandwich with the two lining pieces together (right sides facing), and the felt pieces on the outside, like they are the bread. Pin the bottom and partially up the sides together.

This is where having a pattern might come in handy, but I don’t have one. Basically, you need to get rid of the top of each felt piece at approximately the point that you stopped sewing the outer pieces. So, approximately 5 or 8 inches from the top (depending on whether you’re making the small or large bag), just cut the top of each felt piece off. Cut straight across (I know it doesn’t look straight in the photo, but it eventually was). Don’t cut the lining! Trimming the felt will allow the fabric to bunch up better at the handles. The felt is just used to give the bag some additional body so it’s not all flimsy. This picture actually shows the lining and felt inside the bag, but don’t do that yet.

Next, sew around the bottom and partial sides of the bag, following the same basic shape that you did on the outer pieces. It should be a little easier to stick to the line this time though because the fabric has been cut to shape.
Next, turn the outer part of the bag so the right sides are facing out and then insert the lining so that the felt is between the lining and the bag as shown in the photo above.
This is where it gets tricky. You have to fold the four top, raw corners of the bag in so that the raw edges are between the lining and the bag. This is best done with a hot iron handy. You kind of have to eyeball it to get both sides the same, hence the imperfect bag. Also, you want to fold at an angle that leaves the top a couple inches wider than the center width or diameter of the purse handles you’ve chosen to use. Once you get this part right, you’ll have the basic shape of the bag with a raw top. Pin your folds and sew all four “corners” individually (although they’re not really corners anymore).


Now’s the hard part. You need to position the first purse handle on the inside of the bag and fold the top of the bag once about a half inch to hide the raw edge, and then once more over the handle to hold it in place.

Start in the center and pin it. Then pin each end and then put one more pin between, for a total of five pins. Don’t pin it too much because you’ll have to manually bunch the fabric up a little while you’re sewing.

Pin one handle in place and sew it on before you pin and sew the other one.

Voila! Totally cute, totally usable, totally imperfect bag! I went back later and added the awesome red and black pin that my multi-talented sister-in-law made for me because it just happened to fit this bag perfectly!


 Bite-Size Candy Corn
 Chocolate Valentine Truffle and Wrapper
 Christmas Tree Coasters
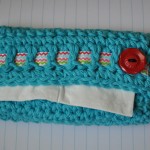 Crochet Tissue Cozy
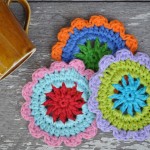 Cute Cotton Coasters
 Cute Little Christmas Trees
 July 4th Pennant Bunting
 Mini Frankenstein
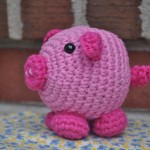 Petunia the Palm-Size Pig
 Summertime Flip Flop Coasters
 Super Fun Bean Bags
 Sweet Strawberry Coaster
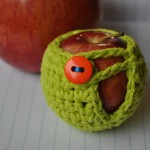 Teeny Tiny Apple Sweater
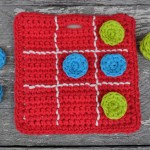 Tic-Tac-Toe Travel Game
One Response to Easiest Bag Ever How-To